
As I stood in my kitchen, I found myself captivated by the sheer simplicity of making a delightful batch of refrigerator dill pickles. This Easy Quick Refrigerator Dill Pickles Recipe is your passport to homemade snacking perfection—no canning or boiling required! With just a handful of fresh ingredients, including crisp cucumbers and aromatic dill, you can whip up a tangy treat that not only adds a crunchy punch to sandwiches but also serves as a refreshing side for any meal. What’s even better? They’re gluten-free, vegan-friendly, and low-carb! Imagine having a bright, zesty snack at the ready without any fuss. Ready to transform a few cucumbers into irresistible pickles? Let’s dive in together!
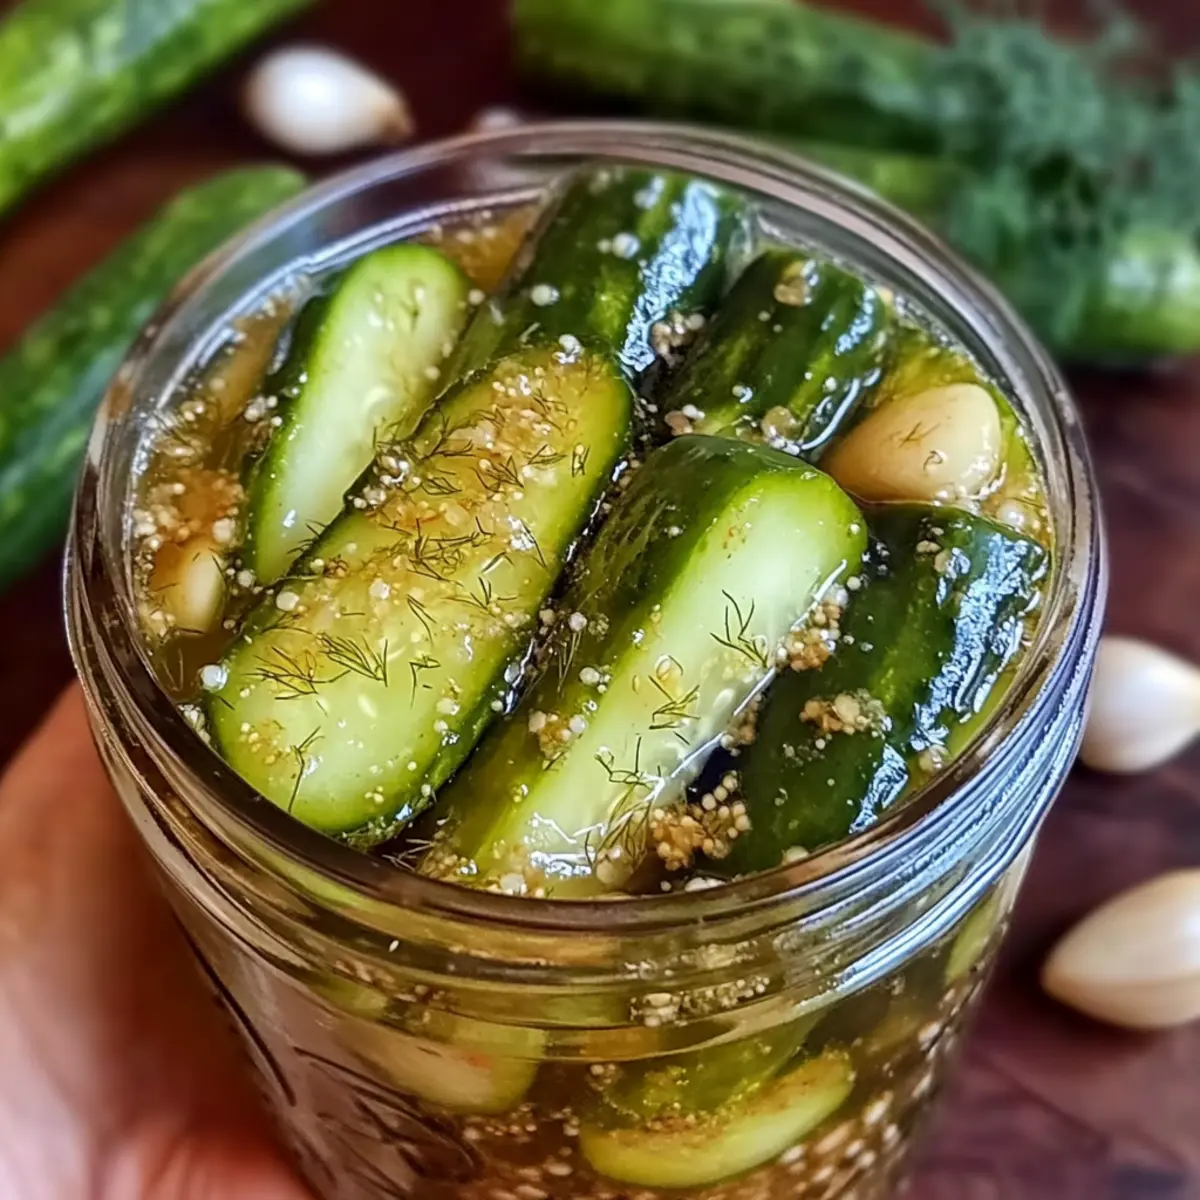
Why Are These Pickles a Must-Try?
Simplicity and Speed: You can create these effortless refrigerator dill pickles in no time, making them the perfect choice for busy weeknights or impromptu gatherings.
Crisp Texture: The secret lies in using fresh cucumbers and a quick brine, resulting in pickles that maintain a delightful crunch.
Customizable Flavors: Feel free to get creative! Add jalapeños for heat or experiment with different herbs, like tarragon, for a personalized touch.
Health-Conscious: These pickles are not only low in calories but also gluten-free and vegan-friendly, making them suitable for various dietary preferences. For more healthy options, check out my Cottage Cheese Spinach recipe.
Crowd-Pleasing Snack: Serve them cold as a refreshing side dish or brighten up your sandwiches—everyone will love the zesty kick!
Refrigerator Dill Pickles Recipe Ingredients
• Prepare to crunch your way to deliciousness!
For the Pickles
- Cucumbers – Fresh, firm cucumbers are key for that perfect crunch; try Kirby cucumbers for extra crispness.
- Garlic – Adds a delightful kick; feel free to substitute with garlic powder if fresh isn’t on hand.
- Fresh Dill – This classic herb gives pickles their signature flavor; however, dried dill can work in a pinch.
For the Brine
- Vinegar – Regular distilled vinegar provides that necessary tang; apple cider vinegar offers a fruity alternative if desired.
- Kosher or Pickling Salt – Essential for that ideal brining process; avoid table salt to prevent unwanted texture changes.
- Sugar/Honey – Balances vinegar’s acidity; you can reduce the sugar for a more tart pickle experience.
- Water – Dilutes the brine; always opt for filtered water if possible for the best taste.
Optional Flavor Enhancers
- Mustard Seeds – These little gems add a real flavor depth; substitute fennel seeds if you’re looking for something different.
- Red Pepper Flakes – Introduce a bit of heat if you like a spicy pickle!
- Sliced Jalapeños – Amp up the zing factor if you dare!
With these ingredients, your Refrigerator Dill Pickles Recipe will be bursting with flavor and crunch, perfect for snacking away or enhancing your meals. Enjoy the journey of pickle-making!
Step‑by‑Step Instructions for Refrigerator Dill Pickles Recipe
Step 1: Prepare the Cucumbers
Start by washing your fresh cucumbers thoroughly to remove any dirt. Slice off the blossom end to prevent softening. You can cut them into spears or rings, depending on your preference. Aim for thicker slices for a satisfying crunch. Set the prepared cucumbers aside as you move on to the next step of this delightful Refrigerator Dill Pickles Recipe.
Step 2: Make the Brine
In a mixing bowl, combine equal parts vinegar and water, along with kosher salt and sugar. Heat this mixture gently on the stove for about 2–3 minutes until the salt and sugar dissolve completely, stirring occasionally. Once dissolved, remove from heat and allow the brine to cool to just warm, which helps maintain the crunch of your cucumbers in the final pickles.
Step 3: Pack the Jar
Take a clean quart-sized jar and layer in your sliced cucumbers with crushed garlic cloves and fresh dill sprigs. If you’re using mustard seeds, add those now too. Pack the ingredients tightly, pressing down slightly to fit all the cucumbers snugly in the jar. This packing is crucial for ensuring every piece is infused with the vibrant flavors of this Refrigerator Dill Pickles Recipe.
Step 4: Add the Brine
Once your brine has cooled to warm, carefully pour it over the packed cucumbers, ensuring they are fully submerged. Use a spoon or a chopstick to push down any floating pieces, making sure they are covered by the brine. Seal the jar tightly with a lid, providing a secure environment for flavor infusion as the pickles develop.
Step 5: Refrigerate
Pop the sealed jar in the refrigerator. Allow the pickles to marinate for at least 24 hours, though 48 hours is best for enhanced flavor. This waiting period is essential for the cucumbers to absorb the tangy brine, transforming them into delicious Refrigerator Dill Pickles that pack a flavorful crunch.
Step 6: Enjoy
After the chilling time, your quick and crunchy refrigerator dill pickles are ready to be enjoyed! Serve them cold straight from the jar as a refreshing snack or side, or use them to enhance your sandwiches. These pickles keep well in the refrigerator for up to 3–4 weeks, although they’ll taste best within the first two weeks.
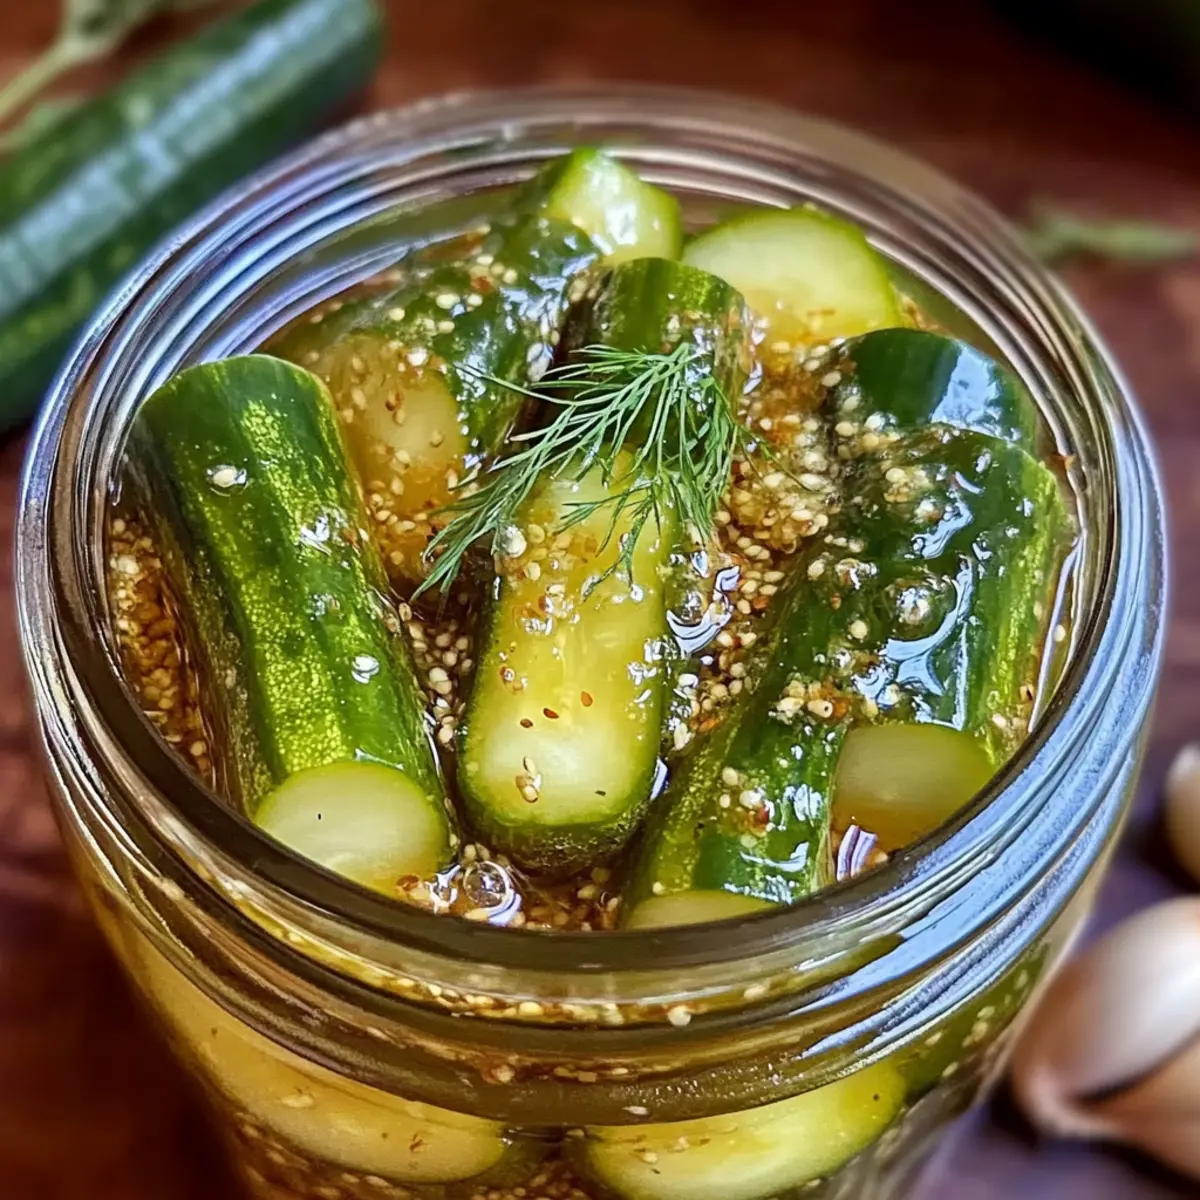
Refrigerator Dill Pickles Recipe Variations
Feel free to explore the delicious opportunities that await in customizing your dill pickles!
-
Spicy Kick: Add red pepper flakes to the brine for that perfect touch of heat. A little spice can elevate your pickles from ordinary to extraordinary.
-
Herb Twist: Experiment with fresh tarragon or thyme alongside the dill. These herbs bring their unique flair, adding complexity to the pickle flavor profile.
-
Fruit Infusion: Incorporate sliced jalapeños for a fresh zing that pairs beautifully with the crunch. The balancing act of the jalapeños’ heat with the pickle’s tang will keep you reaching for more.
-
Sweet Surprise: Use honey instead of sugar for a natural sweetness in your brine. This alternative is delightful, especially if you want a sweeter pickle to complement savory dishes.
-
Vinegar Variation: Try apple cider vinegar instead of regular distilled vinegar for a fruity twist. This adds a unique taste dimension that many find irresistible.
-
Flavorful Depth: Add mustard seeds to enhance the flavor depth. If you fancy switching things up, fennel seeds present an interesting alternative, offering a distinct taste.
-
Garlic Lovers: Go bold with double the garlic for a more aromatic experience. When garlic is your thing, it integrates seamlessly into the brine, giving you that comforting flavor punch.
-
Zesty Citrus: Squeeze in some lemon juice for a refreshing tarter note to the brine. This can brighten up the overall flavor and provide a delightful twist.
For further inspiration, be sure to check out my Barefoot Contessa Pear salad, which highlights how versatile flavors can transform a dish. There’s no limit to the creativity you can unleash while making your perfect batch of refrigerator dill pickles!
What to Serve with Easy Quick Refrigerator Dill Pickles
Imagine a vibrant spread that enhances your pickles’ zesty crunch and balances their tangy flavor.
- Creamy Potato Salad: This classic dish offers a creamy texture that contrasts nicely with the pickles’ crispness, making it a great side for picnics.
- Grilled Sandwiches: The warmth of a grilled cheese or panini pairs perfectly; the pickles add brightness and texture to each bite.
- Fresh Garden Salad: A light, crisp salad brings freshness; toss in some cucumbers to create a thematic connection with your pickles.
- Charcuterie Board: Include a variety of meats and cheeses, using pickles as a crunchy accent; their tangy flavor cuts through the richness beautifully.
- Sliders or Mini Burgers: They make the perfect accompaniment; the pickles will bring a refreshing zing that elevates the flavors of the meat.
- Beer or Hard Cider: A cold drink complements the pickles’ acidity; choose something crisp to cleanse your palate between bites.
- Fruit Salad: Sweet and juicy fruits contrast the savory pickles for a delightful balance; think watermelon, cucumber, and mint for a refreshing twist!
- Tacos: Use your pickles as a zesty topping; their crunch complements the warm, soft tortillas, creating a fun textural mix.
- Chocolate Chip Cookies: Finish the meal on a sweet note; the rich cookies highlight the tangy pickles’ flavors, leading to delightful contrasts.
Expert Tips for Refrigerator Dill Pickles
-
Cool the Brine: Always allow your brine to cool to warm before pouring it over the cucumbers. This step helps preserve their crunch, avoiding mushy pickles.
-
Jar Size Matters: Use a quart-sized jar to ensure there’s enough space for the pickles without crowding. A jar that’s too small can negatively impact texture.
-
Daily Shake: Give your jar a gentle shake every couple of days to help redistribute flavors. This will enhance the brine’s infusion with your fresh vegetables.
-
Watch the Salt: Avoid table salt in your brine; it contains iodine, which can alter the texture of your refrigerator dill pickles. Opt for kosher or pickling salt instead.
-
Experiment Wisely: While customizing flavors is encouraged, add one new element at a time, like mustard seeds or red pepper flakes, to ensure that you don’t overpower the classic taste.
-
Timely Enjoyment: For best flavor, enjoy your pickles within the first two weeks of refrigeration. Though they last up to four weeks, freshness is key for that irresistible crunch!
How to Store and Freeze Refrigerator Dill Pickles
Fridge: Keep your refrigerator dill pickles tightly sealed in the fridge for up to 3-4 weeks. They taste best within the first two weeks for maximum crunch and flavor.
Freezer: It’s not recommended to freeze these pickles as the texture may become mushy once thawed. Enjoy them fresh from the refrigerator instead!
Airtight Container: Always use a quart-sized jar or airtight container to store your pickles. This prevents air exposure, which can lead to spoilage and affect texture.
Reheating: These dill pickles are best enjoyed cold as a snack or side dish, adding a delightful crunch to your meals.
Make Ahead Options
These Easy Quick Refrigerator Dill Pickles are perfect for busy home cooks looking to save time in the kitchen! You can prepare the sliced cucumbers and make the brine up to 24 hours ahead of time. Simply wash and slice your cucumbers, then layer them with garlic and dill in a jar. Make the brine by combining vinegar, water, salt, and sugar, and allow it to cool before pouring it over the packed cucumbers. To maintain the quality, ensure the brine is warm but not hot when added, preventing mushiness. Once refrigerated, let them marinate for at least 24 hours before serving for maximum flavor—these tangy delights will be just as delicious and ready to enjoy with your meals!
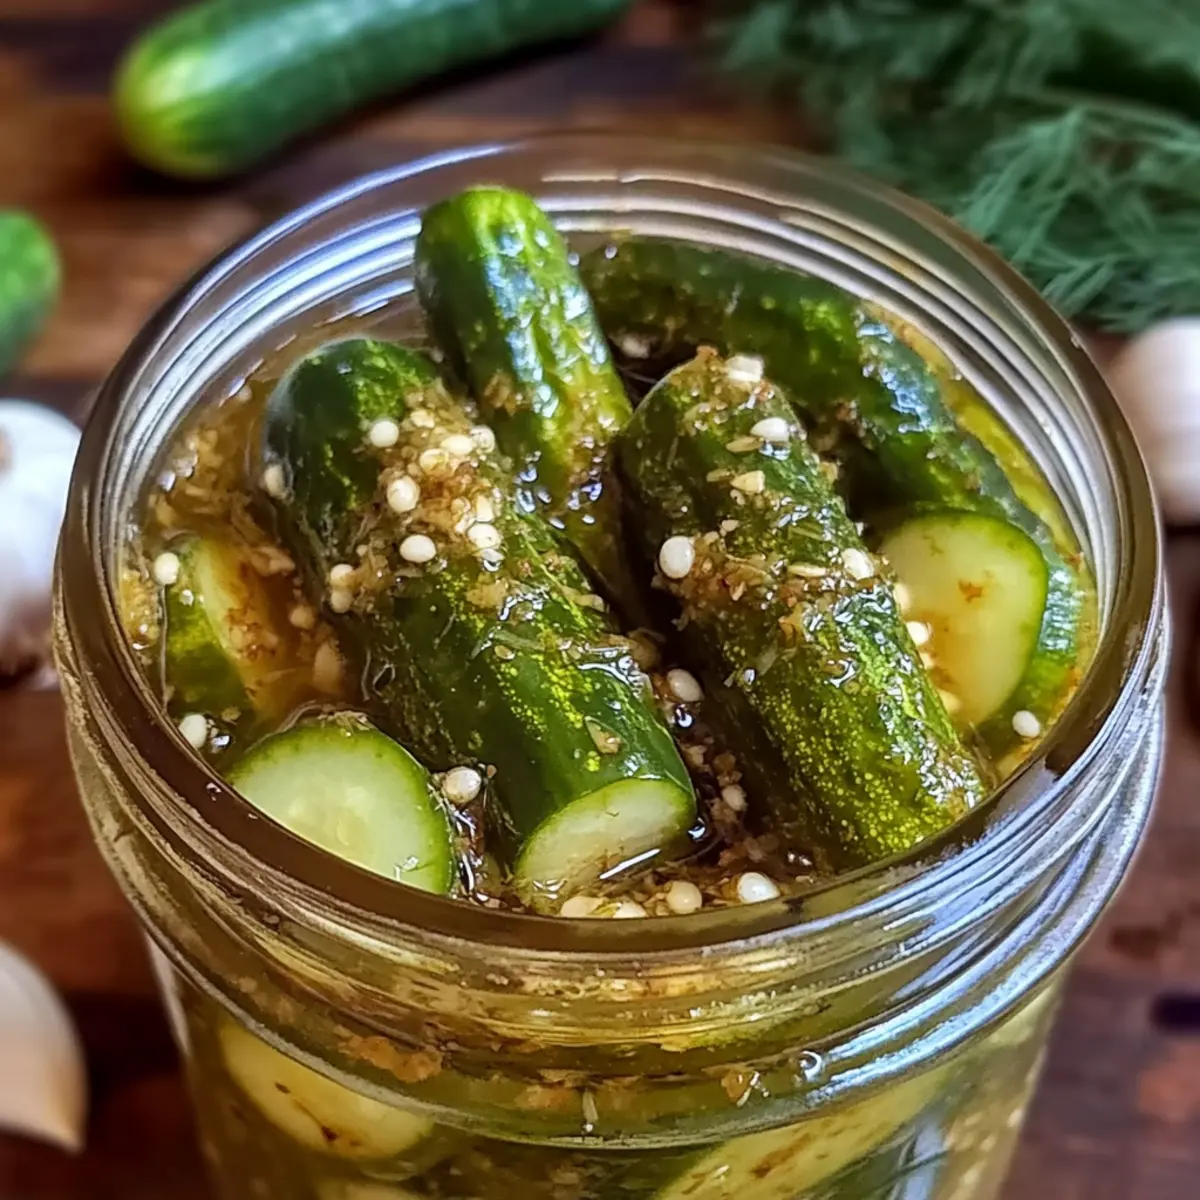
Refrigerator Dill Pickles Recipe FAQs
How do I choose the best cucumbers for pickling?
Absolutely! For the best refrigerator dill pickles, choose fresh, firm cucumbers. Look for those that are firm to the touch and have a vibrant color. I recommend Kirby cucumbers specifically because they tend to have fewer seeds and a crunchier texture. If you notice any dark spots or blemishes, it’s best to skip those as they may affect the final product’s quality.
How should I store my refrigerator dill pickles?
Very! After making your refrigerator dill pickles, keep them tightly sealed in the refrigerator. They’ll stay fresh for about 3-4 weeks, but trust me when I say they taste best within the first two weeks! Use a quart-sized jar or an airtight container to minimize air exposure, which can lead to spoilage.
Can I freeze my refrigerator dill pickles?
No, it’s not recommended to freeze these pickles. Freezing can change the texture, making them mushy and less enjoyable. Instead, focus on consuming them fresh from the refrigerator for that delightful crunch and tangy flavor!
What if my pickles turn out mushy? How can I avoid this?
Absolutely, I understand the frustration of mushy pickles! To prevent this, always ensure your brine has cooled to warm before pouring it over the cucumbers. Also, make sure to remove the blossom end of the cucumber before slicing; this step helps retain crunch. Using fresh, high-quality cucumbers and avoiding table salt in your brine will also help maintain that satisfying snap!
Are these refrigerator dill pickles safe for pets or people with allergies?
Very! This recipe is generally safe for pets, but it’s best to check with your veterinarian about pickle consumption. For allergies, the key ingredients are gluten-free and vegan-friendly. Always double-check any additional flavoring additives you may include, such as spices, to ensure they don’t cause allergic reactions. If you have concerns, leaving out garlic or mustard seeds can further reduce potential allergens while still keeping the pickles flavorful.
How can I customize the flavors in my refrigerator dill pickles?
The more the merrier! You can customize your pickles by adding sliced jalapeños for heat, or experimenting with herbs like tarragon and bay leaves for depth. Red pepper flakes work wonderfully for adding spice. Just remember to add only one new element at a time so you can balance those flavors without losing the classic dill taste!
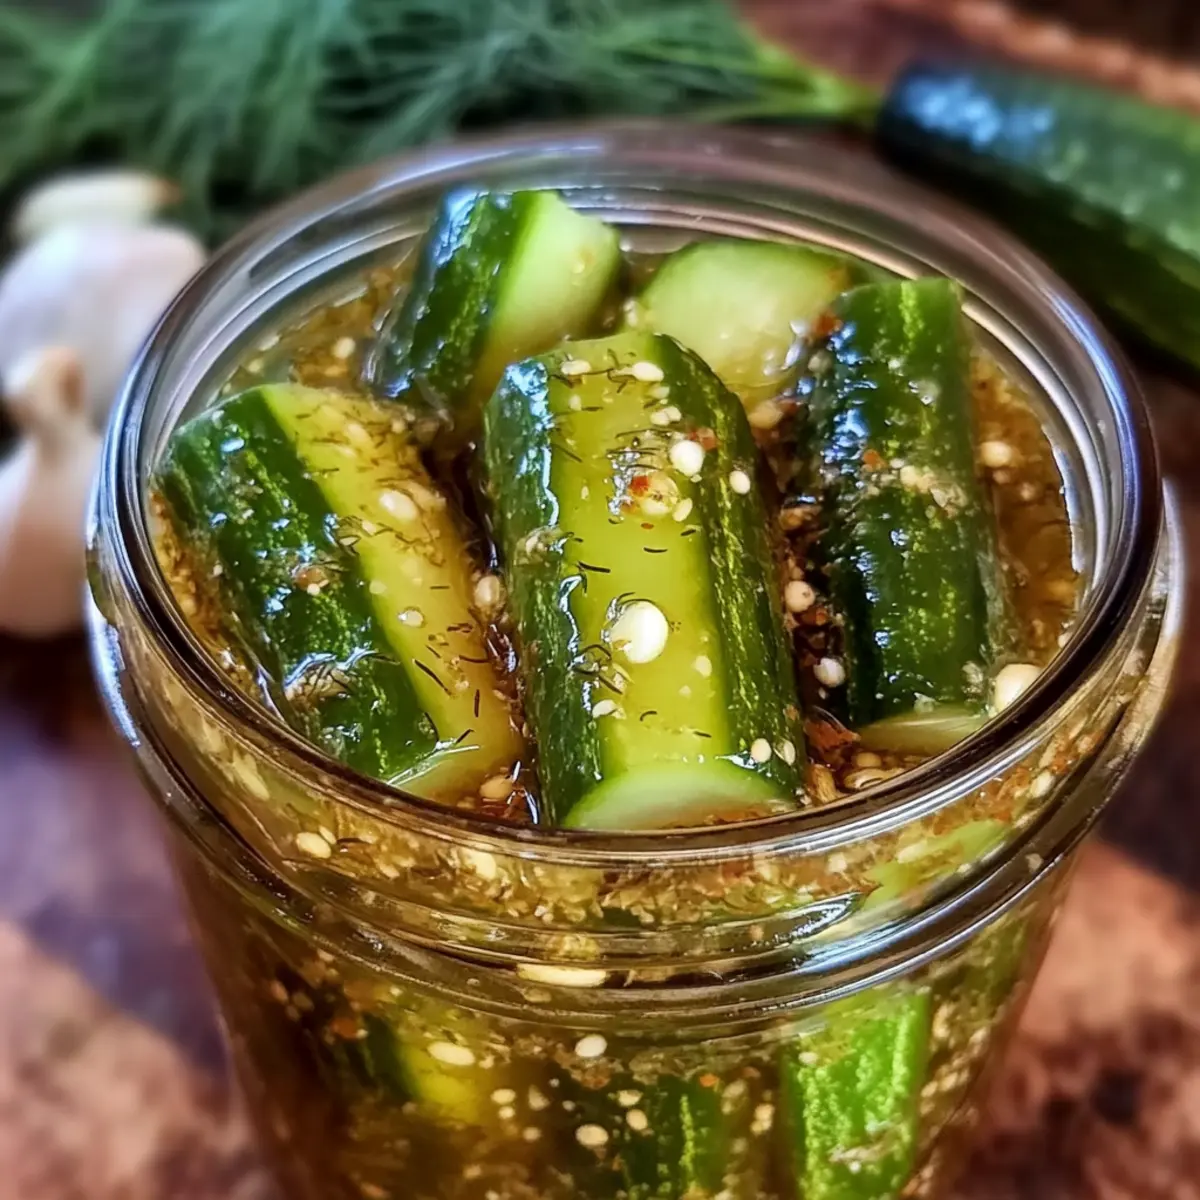
Quick and Crunchy Refrigerator Dill Pickles Recipe Everyone Loves
Ingredients
Equipment
Method
- Wash the fresh cucumbers thoroughly and slice off the blossom end. Cut cucumbers into spears or rings.
- In a mixing bowl, combine equal parts vinegar and water, kosher salt, and sugar. Heat gently on the stove for 2-3 minutes until salt and sugar dissolve. Allow to cool.
- Layer sliced cucumbers in a qt-sized jar with crushed garlic cloves and fresh dill. Pack tightly.
- Pour the cooled brine over the cucumbers so they are fully submerged. Seal the jar tightly.
- Refrigerate the sealed jar for at least 24 hours, preferably 48 hours, for best flavor.
- Once infused, enjoy your pickles cold as a snack or side, or enhance sandwiches.
Leave a Reply