
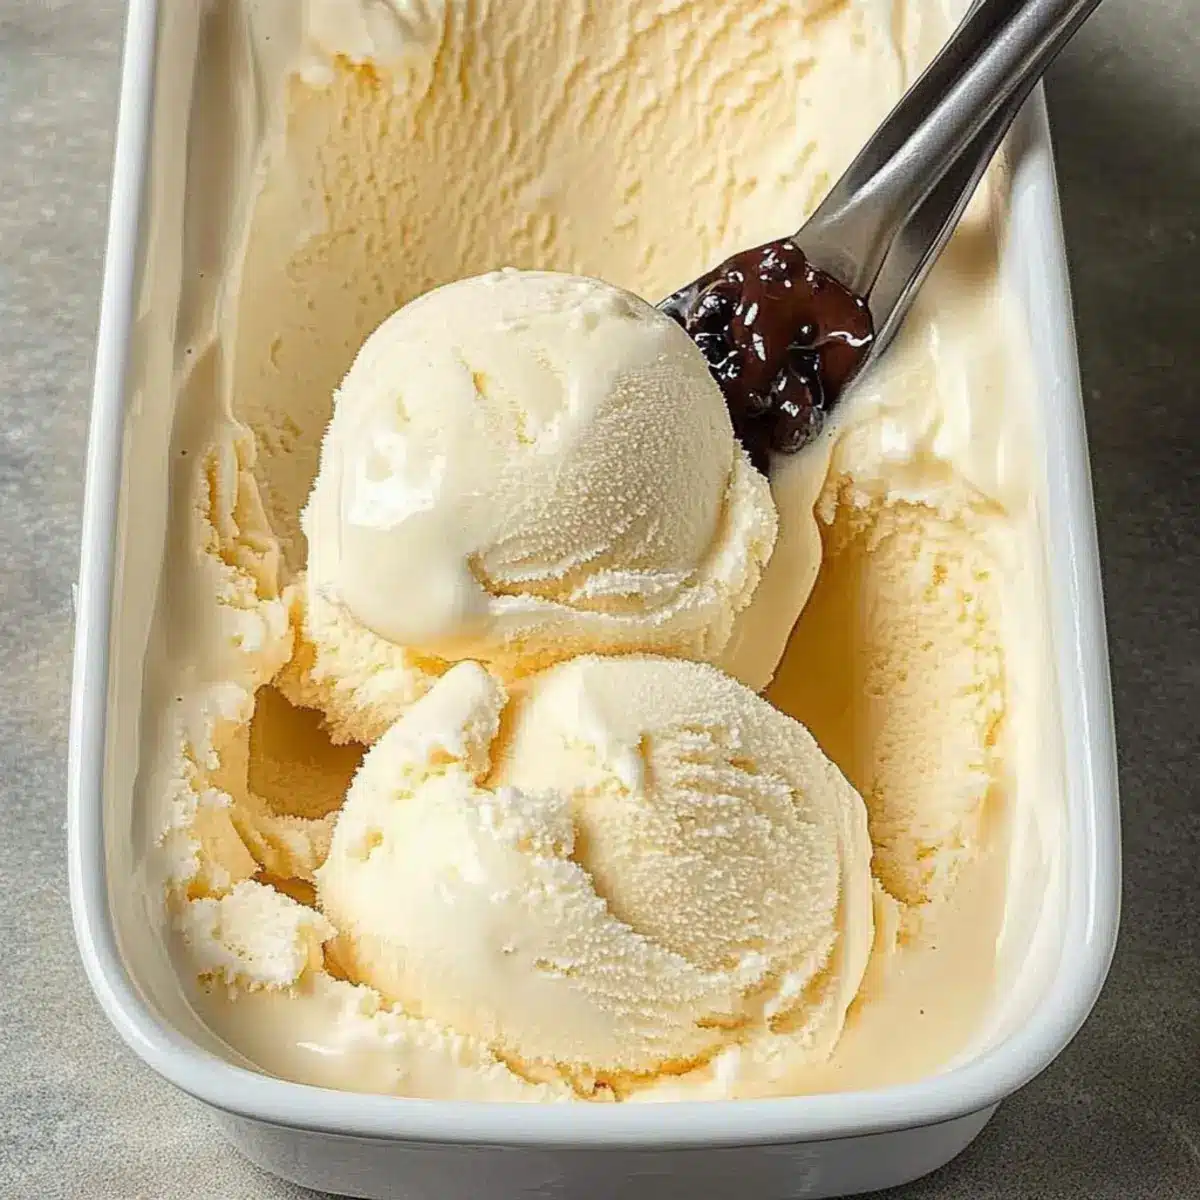
On a sweltering summer day, there’s nothing quite like the cool embrace of a perfectly churned vanilla ice cream. This easy homemade vanilla ice cream recipe takes just minutes to prepare, making it an absolute delight for both novice cooks and seasoned chefs. With only four simple ingredients and no need for an ice cream maker, you’ll be whipping up this rich and creamy treat in no time. Not only does it promise to elevate your dessert game, but you can personalize it with your choice of toppings or flavor variations, which gives you endless delicious possibilities. So, ready to transform your kitchen into your own ice cream parlor? Let’s dive into this delightful journey of creamy indulgence!
Why Is Homemade Ice Cream So Special?
Simplicity: This easy homemade vanilla ice cream recipe requires just four ingredients, making it accessible for everyone!
Customization: Endless opportunities for personalization await, from rich chocolate swirls to fresh fruit. Tailor it to meet your sweet cravings!
No Ice Cream Maker Needed: Don’t worry if you lack fancy equipment—step-by-step instructions guide you to creamy success using simple tools.
Crowd-Pleaser: This delicious treat is perfect for summer parties or cozy family nights, ensuring smiles with every scoop. Experience ultimate joy when paired with brownies or atop a slice of pie!
Time-Saving: Prep takes just minutes—ideal for those spontaneous ice cream cravings. Why not surprise your guests with a homemade dessert that rivals any shop?
Indulge in other flavors like creamy chocolate with Decadent Alfredo Lasagna for a well-rounded dessert experience!
Vanilla Ice Cream Ingredients
For the Base
- Heavy Whipping Cream – Use 2 cups for a rich, creamy texture that’s hard to resist.
- Half-and-Half Cream – Adds smoothness; you can substitute with whole milk for a lighter touch.
- Sugar – The sweetness you need (1 cup); consider using condensed milk for a richer flavor or reduce the amount if you’re looking for less sweetness.
- Vanilla Extract – Essential for that delightful vanilla flavor; 2 teaspoons will do the trick, or indulge with real vanilla beans for extra luxury.
Feel free to mix and match these ingredients, creating a delightful twist on the classic vanilla ice cream recipe!
Step‑by‑Step Instructions for Easy Homemade Vanilla Ice Cream
Step 1: Combine the Base Ingredients
In a large mixing bowl, pour in 2 cups of heavy whipping cream, 1 cup of half-and-half, 1 cup of sugar, and 2 teaspoons of vanilla extract. Whisk the mixture vigorously for about 2-3 minutes, until the sugar has completely dissolved and the blend is smooth and creamy. This forms the rich base for your vanilla ice cream recipe, setting the stage for a delightful treat.
Step 2: Churn the Mixture
If you have an ice cream maker, fill the cylinder up to two-thirds with your creamy mixture. Follow the manufacturer’s instructions and churn it for approximately 20-25 minutes or until it reaches a soft-serve consistency. This step is key to achieving that luxurious, creamy texture that makes your homemade vanilla ice cream irresistible.
Step 3: Store for Firmness
Once churning is complete, you can either serve the ice cream immediately for a soft texture, or transfer it to a freezer-safe container. To achieve a firm consistency, cover the surface with a piece of wax paper, seal the container, and place it in the freezer for 2 to 4 hours. This allows the ice cream to set perfectly, making each scoop a delight.
Step 4: Enjoy Your Creation
When you’re ready to serve your deliciously rich and creamy vanilla ice cream, remove it from the freezer. If it’s too hard, let it sit at room temperature for about 5-10 minutes to soften slightly. Scoop into bowls and enjoy your homemade vanilla ice cream as is, or dress it up with your favorite toppings like chocolate syrup or fresh fruit for a delightful treat.
Vanilla Ice Cream Recipe Variations
Feel free to get creative with your homemade vanilla ice cream and explore these delightful variations that will elevate your experience!
-
Dairy-Free: Substitute heavy cream and half-and-half with full-fat coconut milk for a rich and creamy vegan version.
-
Sugar-Free: Use a sugar alternative like erythritol or stevia; keep in mind the texture may differ slightly.
-
Flavor Infusion: Add 1 tablespoon of instant coffee or espresso powder to the base for a delicious coffee-flavored twist that espresso lovers will adore!
-
Fruit Swirls: Gently fold in pureed seasonal fruits like strawberries or mangoes before freezing for a fruity delight. The vibrant colors and flavors create a visually stunning treat.
-
Chocolate Chip Delight: Mix in 1 cup of mini chocolate chips when churning to create a fun, chocolatey depth. Each scoop will surprise and delight with unexpected chocolatey goodness.
-
Minty Fresh: Replace vanilla extract with peppermint extract for a refreshing mint ice cream. This variation is perfect for holiday treats or a cool summer scoop.
-
Nutty Bliss: Chop up your favorite nuts (like pecans or almonds) and fold them into the mixture for added crunch. The nutty flavors will complement the creamy sweetness beautifully.
-
Decadent Add-On: Drizzle in some caramel sauce or fudge during the last minutes of churning for a mouthwatering salted caramel twist that will make your dessert truly indulgent.
Let your imagination flow as you create different flavor combinations, and while you’re at it, don’t forget to pair your homemade ice cream with delectable desserts like Pistachio Pudding Icebox Cake or Cream Cheese Pound Cake!
Make Ahead Options
These Vanilla Ice Cream Recipe components are perfect for busy home cooks looking to indulge without the last-minute rush! You can prepare the ice cream base—consisting of heavy whipping cream, half-and-half, sugar, and vanilla extract—up to 24 hours in advance. Simply mix the ingredients in a bowl, cover it, and refrigerate overnight to let the flavors meld beautifully. When you’re ready to enjoy your homemade treat, churn the chilled mixture in an ice cream maker as per the instructions. For the best texture, remember to transfer the churned ice cream to a freezer-safe container and freeze for 2 to 4 hours before serving. This way, you’ll have delicious, creamy vanilla ice cream ready at a moment’s notice!
Storage Tips for Vanilla Ice Cream
Fridge: Store any leftover vanilla ice cream mixture in an airtight container for up to 3 days before freezing.
Freezer: Keep your completed vanilla ice cream in a well-sealed container for up to two months. To prevent ice crystals, press a piece of wax paper against the ice cream’s surface before sealing.
Reheating: When ready to enjoy, allow the ice cream to sit at room temperature for about 5-10 minutes for easier scooping.
What to Serve with Easy Homemade Vanilla Ice Cream
On a warm day, nothing enhances the joy of a creamy dessert more than delightful pairings that elevate every scoop.
-
Warm Brownies: Pairing with fudgy brownies brings a beautiful contrast of temperatures and textures, creating a heavenly experience with each bite.
-
Fresh Berries: Strawberries, raspberries, or blueberries offer a refreshing burst of flavor that complements the richness of vanilla ice cream wonderfully.
-
Chocolate Sauce: A drizzle of warm chocolate sauce will elevate your ice cream into a tempting treat that satisfies all chocolate cravings.
-
Ginger Snap Cookies: These crispy, spicy cookies create a delightful texture alongside the smooth ice cream, adding an unexpected zing.
-
Pecan Pie: The nutty sweetness of pecan pie works harmoniously with vanilla ice cream, making each spoonful a true indulgence.
-
Caramel Syrup: A luscious drizzle of caramel adds a sweet and salty element that beautifully contrasts with the creamy base.
-
Mint Chocolate Chip Cookies: Refreshing mint cookies add fun crunch and flavor to your dessert, making it feel like an elegant treat.
Consider creating a sundae bar with your favorite toppings to make the dessert experience even more exciting for family and friends!
Expert Tips for Vanilla Ice Cream Recipe
-
Use Quality Ingredients: Opt for high-quality heavy whipping cream and pure vanilla extract to ensure a rich and creamy flavor in your homemade ice cream.
-
Chill Your Tools: Before mixing, pre-chill your mixing bowl and any utensils. This helps maintain the cold temperature of the mixture, leading to a smoother consistency.
-
Avoid Over-Churning: Keep an eye on your ice cream maker while churning; over-churning can lead to a grainy texture instead of the smoothness you desire in your vanilla ice cream recipe.
-
Storage Secrets: For the best texture when storing, press a piece of waxed paper directly onto the surface of the ice cream before sealing the container to avoid ice crystals forming.
-
Experiment with Add-Ins: Feel free to get creative! Add chocolate chips, crushed cookies, or swirls of fruit to personalize your vanilla ice cream and make it even more enjoyable.
Vanilla Ice Cream Recipe FAQs
What type of cream should I use for the best flavor?
Absolutely! For a rich and creamy vanilla ice cream, I highly recommend using heavy whipping cream as it provides the best texture and taste. You can also use half-and-half; however, if you’re looking for a lighter option, whole milk makes a good substitute. Just remember, the creamier the base, the more delicious your ice cream will be!
How should I store homemade vanilla ice cream?
To keep your delicious homemade vanilla ice cream fresh, transfer it to a well-sealed, airtight container. It will stay good in the freezer for up to two months. A great tip is to press a piece of wax paper directly against the surface of the ice cream before sealing to prevent ice crystals from forming, keeping it smooth and creamy for each scoop.
Can I freeze any leftover ice cream mixture?
Yes, you can store the leftover vanilla ice cream mixture in an airtight container in the refrigerator for up to 3 days before freezing. This way, you can churn it later when you’re ready for fresh ice cream without wasting any ingredients!
What if my ice cream is too hard to scoop?
This happens to the best of us, and it’s easily fixable! If your homemade vanilla ice cream turns out too hard after freezing, simply let it sit at room temperature for about 5-10 minutes. This will help soften it just enough for easier scooping. Trust me, you’ll want to enjoy it every bit as much as possible!
Can I make this recipe without an ice cream maker?
Very! If you don’t have an ice cream maker, don’t fret! Just pour your mixture into a pre-chilled shallow container. Place it in the freezer and stir every 30 minutes for about 2-3 hours until it’s firm. This method allows you to achieve that creamy texture without needing any fancy equipment and is part of the fun!
Are there any dietary considerations for this ice cream recipe?
Definitely! If you have any lactose issues or are looking for a dairy-free option, you can explore substituting heavy cream and half-and-half with coconut cream or a nut-based milk like almond or cashew. However, keep in mind that your ice cream might have a slightly different flavor and texture—which can still be delicious! Also, always be cautious about allergies, especially with flavorings like vanilla extract; check your brands for any possible allergens.
Irresistibly Creamy Vanilla Ice Cream Recipe You’ll Love
Ingredients
Equipment
Method
- In a large mixing bowl, whisk together 2 cups of heavy whipping cream, 1 cup of half-and-half, 1 cup of sugar, and 2 teaspoons of vanilla extract for about 2-3 minutes until smooth.
- If using an ice cream maker, fill the cylinder with the mixture and churn for approximately 20-25 minutes until it reaches soft-serve consistency.
- Transfer the ice cream to a freezer-safe container, cover with wax paper, seal, and freeze for 2 to 4 hours to firm up.
- When serving, let the ice cream sit at room temperature for 5-10 minutes if too hard, then scoop into bowls and enjoy.
Leave a Reply