Go Back
+ servings
Arugula Plum Ricotta Toast

Arugula Plum Ricotta Toast: A Quick Luxurious Brunch Treat

Experience the delightful Arugula Plum Ricotta Toast, a quick and luxurious brunch treat that bursts with flavor.
Prep Time 5 minutes
Cook Time 3 minutes
Total Time 8 minutes
Servings: 2 slices
Course: Breakfast
Cuisine: Mediterranean
Calories: 250

Ingredients
  

For the Toast Base
  • 2 slices gluten-free bread Use gluten-free bread if needed for a delightful and satisfying base.
For the Creaminess
  • 1/2 cup ricotta Add rich creaminess; substitute with vegan ricotta made from silken tofu for a plant-based option.
For the Sweetness
  • 2 medium ripe plums Provides juicy sweetness; opt for ripe, seasonal plums to enhance flavor.
For the Peppery Kick
  • 1 cup arugula Introduces a fresh, peppery bite that beautifully balances the sweetness of the plums.
For the Crunch
  • 1/4 cup walnuts Adds delightful crunch; can be swapped with almonds or omitted for a nut-free version.
For the Sweet Finish
  • 1 tbsp honey Naturally sweetens the dish; use agave nectar or maple syrup for a vegan alternative.

Equipment

  • Toaster Oven

Method
 

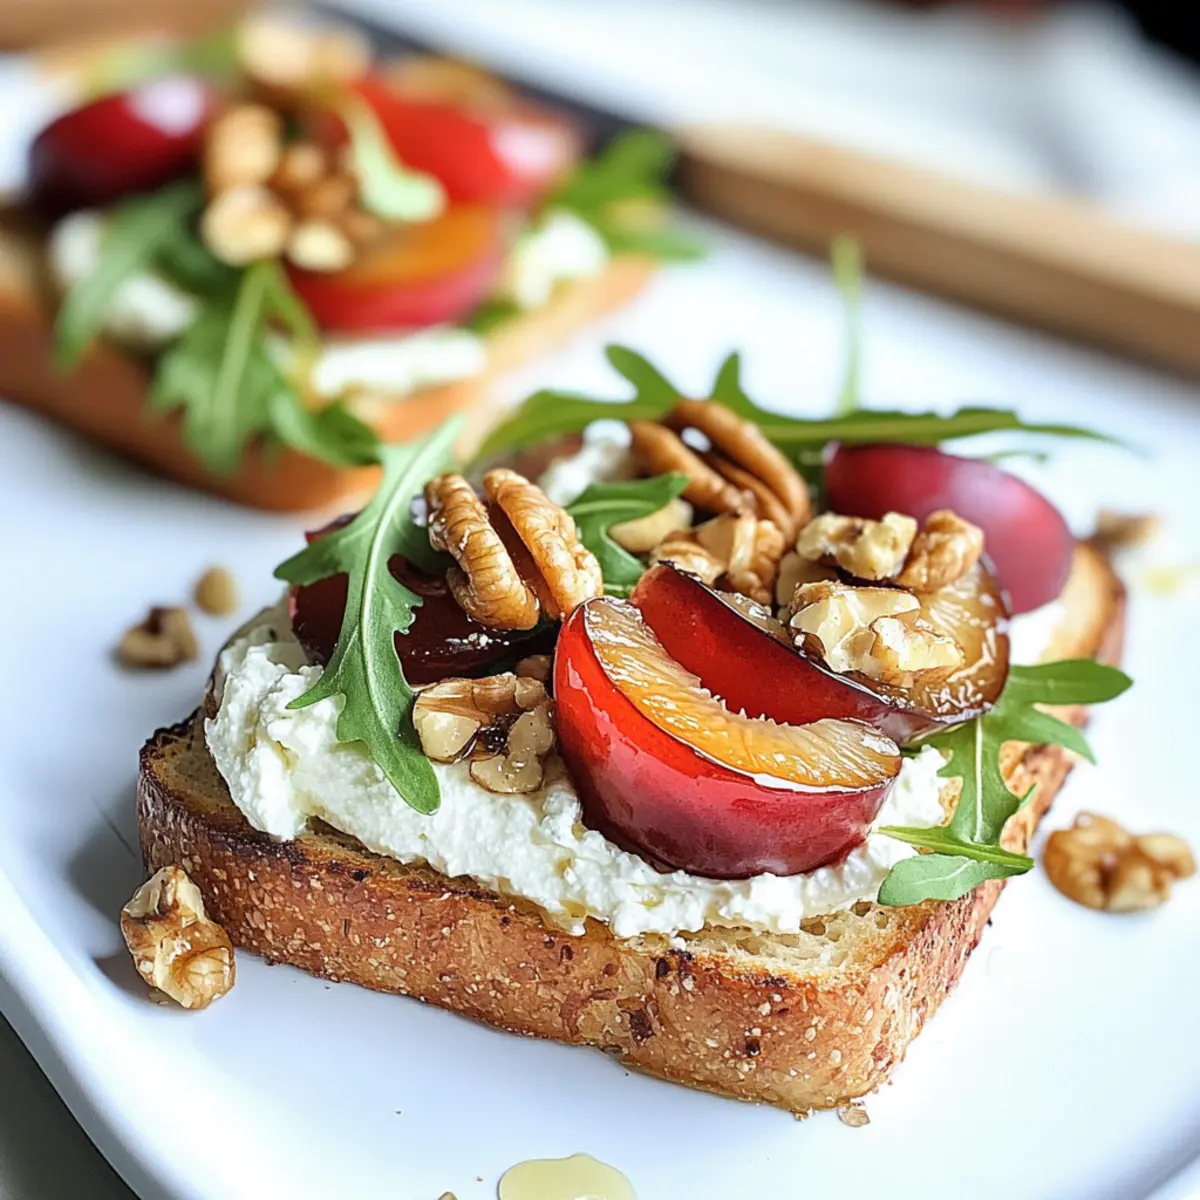
Step-by-Step Instructions for Arugula Plum Ricotta Toast
  1. Preheat your broiler or toaster oven to a high setting. Toast slices of gluten-free bread for about 3 minutes on each side until golden-brown.
  2. Spread a generous layer of creamy ricotta over the warm toast.
  3. Slice the ripe plums and layer them atop the ricotta-covered toast.
  4. Sprinkle fresh arugula generously over the sliced plums.
  5. Sprinkle crushed walnuts on top and drizzle with honey or your choice of sweetener.
  6. Serve immediately on a beautiful platter for a cozy brunch experience.

Nutrition

Serving: 1sliceCalories: 250kcalCarbohydrates: 30gProtein: 8gFat: 12gSaturated Fat: 4gPolyunsaturated Fat: 3gMonounsaturated Fat: 5gCholesterol: 15mgSodium: 300mgPotassium: 300mgFiber: 3gSugar: 8gVitamin A: 500IUVitamin C: 10mgCalcium: 100mgIron: 1mg

Notes

Best enjoyed fresh, but leftovers can be stored separately in the fridge for up to 3 days.

Tried this recipe?

Let us know how it was!