
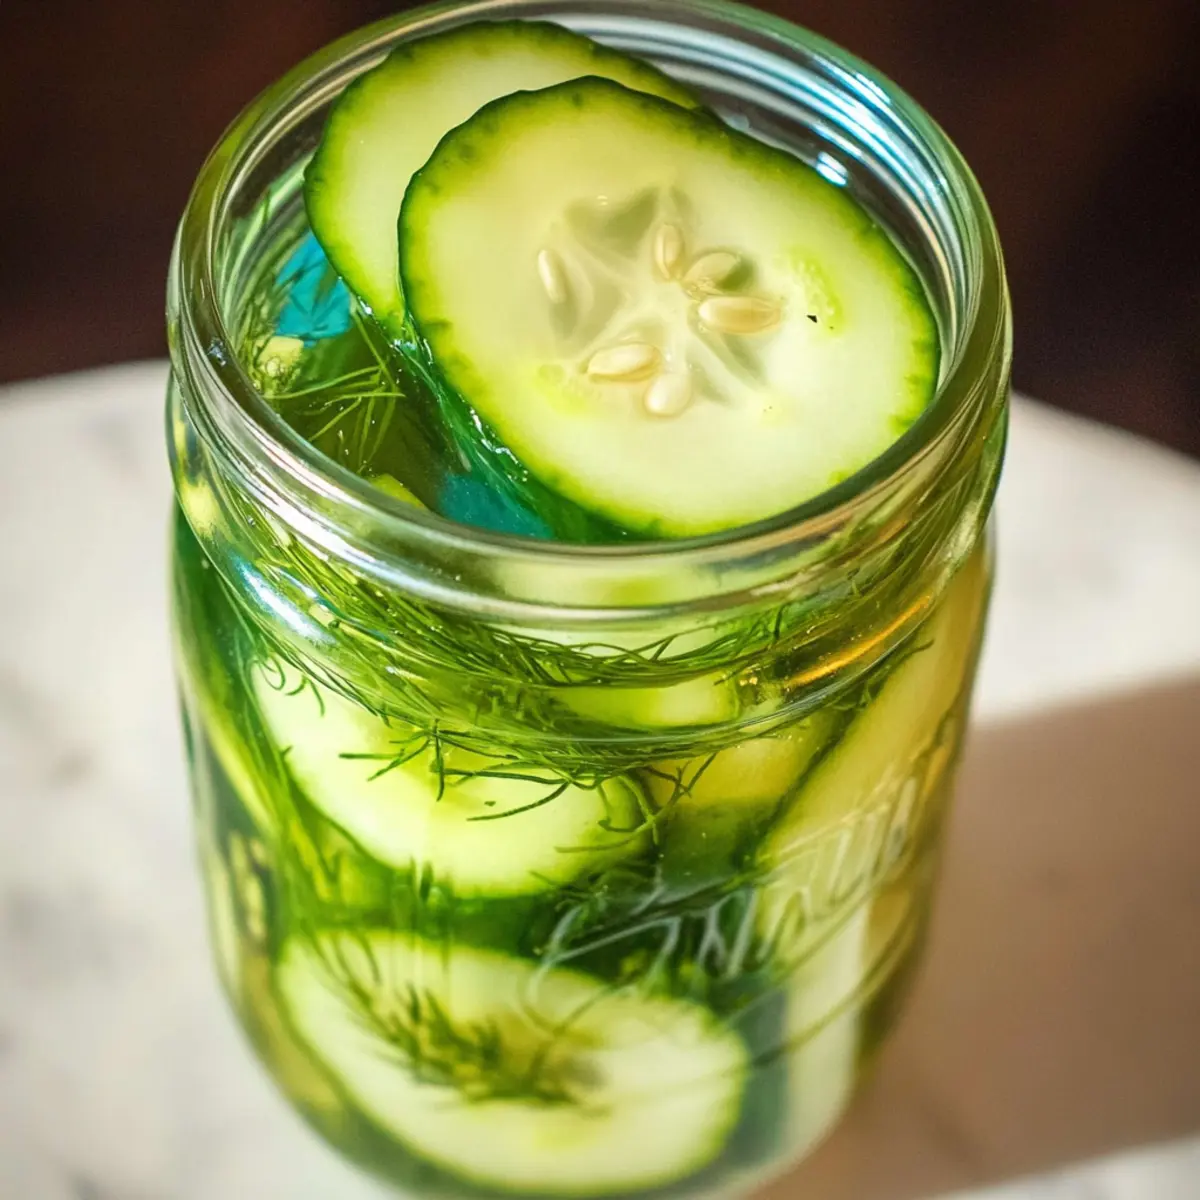
A fresh crunch filled the air as I sliced through a Kirby cucumber, the kind that beckons to be transformed into crispy, tangy joy. There’s something magical about picking up a jar of 24 Hour Dill Pickles from the fridge after just one day—no canning required. These quick refrigerator pickles are a game-changer for anyone who loves homemade flavors but is short on time. They’re not only packed with that signature dill taste but also serve as the perfect accompaniment to summer barbecues and sandwiches. Plus, you can customize them to your liking with a little sprinkle of spice or herb for a unique twist! Are you ready to dive into the world of quick pickling and elevate your meals?
Why Make 24 Hour Dill Pickles?
Quick and Easy: This recipe requires just 30 minutes of hands-on time and is ready in 24 hours, making it perfect for busy schedules.
Crispy Delight: The combination of fresh Kirby cucumbers and a simple brine results in a crunchy, satisfying pickle, ideal for sandwiches or as a snack.
Flavor Packed: Packed with garlic and dill, each bite bursts with flavor, elevating any meal or picnic.
Versatile Usage: Enjoy them on burgers, in potato salads, or simply on their own; they adapt to various dishes effortlessly.
Healthy Choice: Low in calories yet rich in taste, these pickles are a guilt-free addition to your meals, perfect for anyone steering clear of fast food!
Elevate your culinary skills and explore quick pickles to make the most of your fresh veggies!
24 Hour Dill Pickles Ingredients
For the Pickles
• Kirby Cucumbers – Freshness and crunchiness are key; look for 6-9 cucumbers, about 4 cups sliced.
• Garlic – Adds savory depth; use 2 cloves, minced for robust flavor.
• Dried Dill – Provides the iconic dill flavor essential for 24 Hour Dill Pickles; 1 tablespoon is needed.
• Peppercorns – Contributes mild heat and aroma; 1 tablespoon will suffice.
• Mustard Seeds – Enhances flavor complexity; use 1 tablespoon for an extra kick.
• Ball Pickle Crisp (optional) – Keeps pickles extra crunchy; 1/2 teaspoon is recommended if you desire that crunch.
For the Brine
• Water – Forms the brine base; use 3 cups of filtered water for the best taste.
• Sea Salt – Essential for flavor and preservation; 2 tablespoons will give a perfect balance.
• Sugar – Balances the brine’s saltiness and enhances flavor; 1 tablespoon is ideal for a deliciously sweet touch.
Step‑by‑Step Instructions for 24 Hour Dill Pickles
Step 1: Prepare the Cucumbers
Begin by washing 6-9 Kirby cucumbers thoroughly under cool water to remove any impurities. Next, slice them into thin rounds until you reach about 4 cups of cucumber slices. Lay them out on a clean kitchen towel or cutting board, allowing any excess moisture to drain away while you gather your jars and other ingredients.
Step 2: Pack the Jars
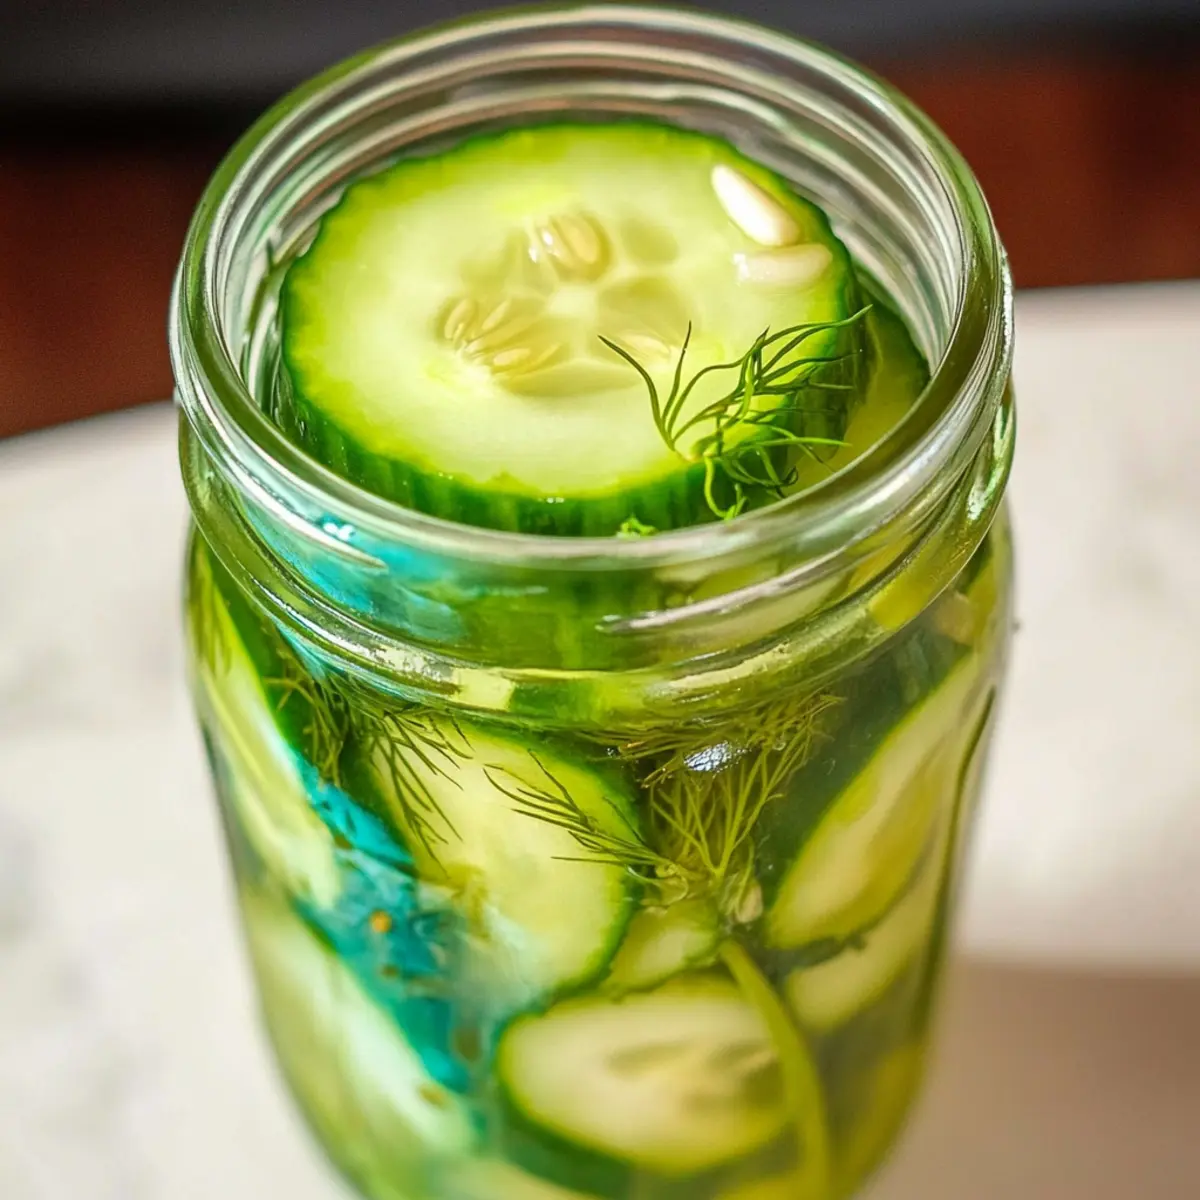
Take three 1-pint mason jars and pack the cucumber slices evenly into each one. Aim for a tight fit without squishing them, helping to ensure they soak in the brine. Leave some space at the top of the jars to allow for brine coverage. This step is crucial for achieving the perfect crunchy texture in your 24 Hour Dill Pickles.
Step 3: Mix the Spice Mixture
In a mixing bowl, combine 2 minced cloves of garlic, 1 tablespoon of dried dill, and 1 tablespoon each of peppercorns and mustard seeds. If using, add ½ teaspoon of Ball Pickle Crisp to enhance the crunchiness of your pickles. Stir the mixture thoroughly until well blended, ensuring that the flavors are evenly distributed for the ultimate dill pickle experience.
Step 4: Layer the Spices
Once your spice mixture is ready, distribute it evenly over the cucumber slices in each jar. Use a small spoon to help pack the spices down into the cucumbers, ensuring they are well coated. The fragrant blend of spices will provide deep flavor as the pickles absorb them during the marinating process over the next 24 hours.
Step 5: Create the Brine
In a separate bowl, pour 3 cups of filtered water. Add 2 tablespoons of sea salt and 1 tablespoon of sugar, stirring the mixture until both the salt and sugar are fully dissolved in the water. This brine will be the magical liquid that transforms your cucumber slices into delectable 24 Hour Dill Pickles, adding flavor and preserving them effectively.
Step 6: Fill the Jars with Brine
Carefully pour the brine mixture into each jar, ensuring that the cucumber slices are completely submerged. Leave about half an inch of space at the top of each jar to allow for expansion. This step is essential to ensure that all the cucumbers absorb the savory brine, resulting in the perfect crunchy pickles after 24 hours.
Step 7: Seal and Shake
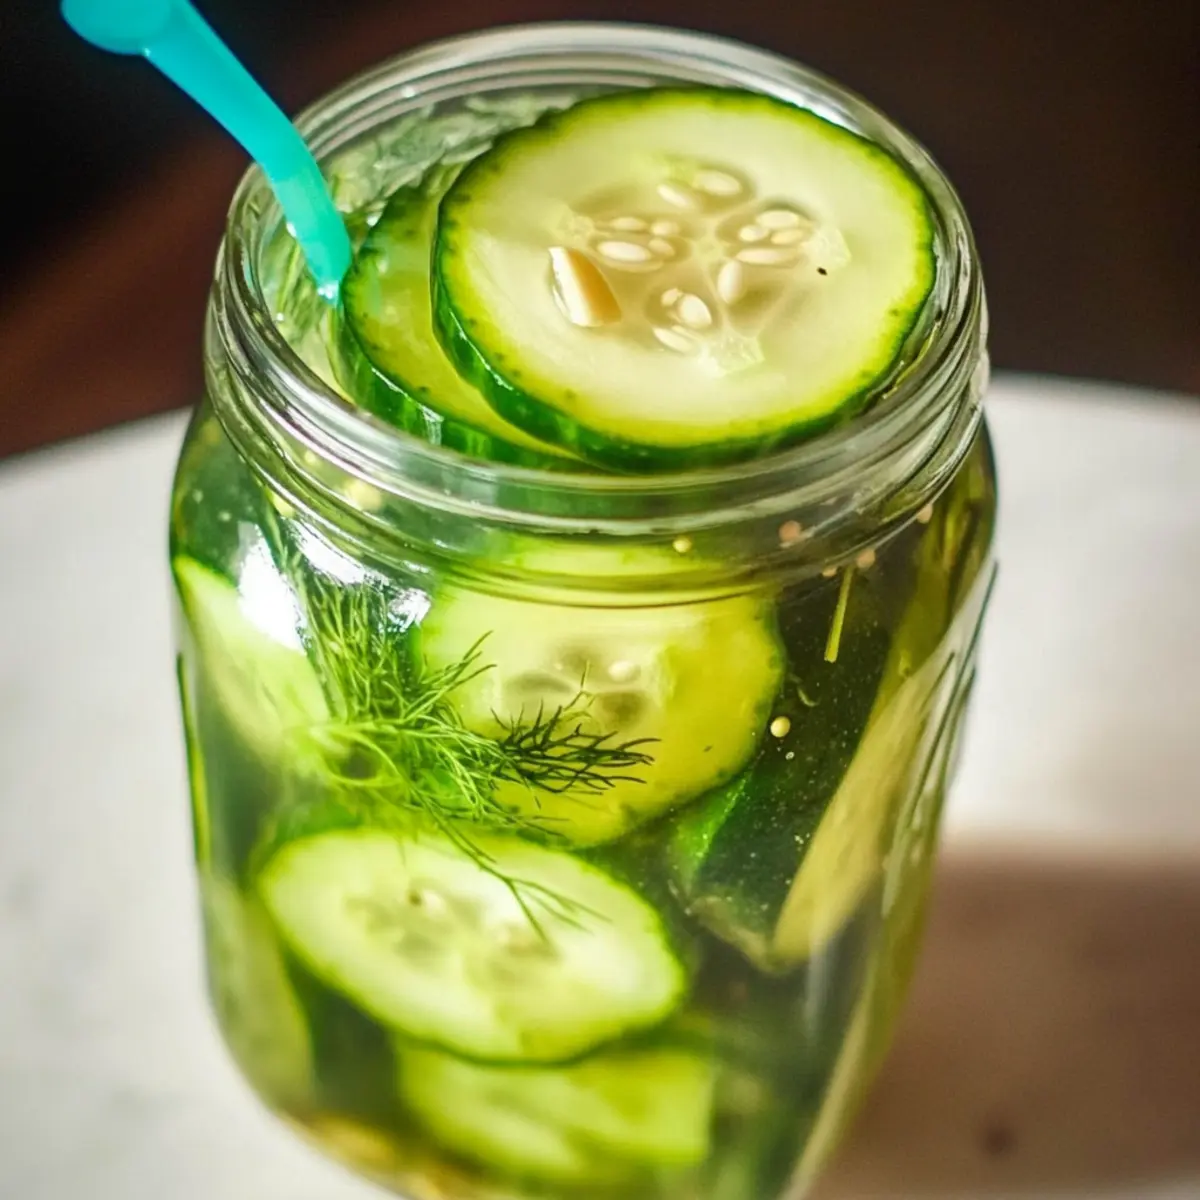
Once the jars are filled, securely seal each mason jar with its lid. Gently shake the jars to help distribute the spices and brine evenly among the cucumbers. This little shake ensures that every bite of your upcoming 24 Hour Dill Pickles is bursting with flavor, creating a delightful snacking experience.
Step 8: Refrigerate and Enjoy
Place the sealed jars in the refrigerator and allow them to marinate for 24 hours. Resist the temptation to open the jars during this time, as the pickling process works best undisturbed. After a day of refrigeration, your 24 Hour Dill Pickles will be ready to enjoy, showcasing their crisp texture and bright flavors!
What to Serve with Crunchy 24-Hour Dill Pickles
Elevate your picnic spreads and weeknight dinners with delightful complements that bring out the best of these tangy, crunchy gems.
-
Classic American Burger: The crunch and tang of these pickles make them the perfect topping for juicy burgers, enhancing every bite with flavor.
-
Creamy Potato Salad: Their zesty bite cuts through the creaminess of potato salad, creating a refreshing balance that brightens up your picnic table.
-
Pulled Pork Sandwiches: Slice the pickles and pile them onto your smoky pulled pork sandwiches for a delightful contrast of flavors and textures.
-
Spinach Salad: Toss these pickles into a spinach salad for an unexpected crunch and a burst of flavor that elevates your leafy greens.
-
Mediterranean Platter: Pair alongside olives and feta for a vibrant mezze, where the pickles add a zing to the other mild, savory elements.
-
Craft Beer: A chilled craft beer enhances the experience while complementing the richness of the pickles with its hoppy notes.
Each pairing provides a unique twist, offering various textures and flavors that make your meals special!
Expert Tips for 24 Hour Dill Pickles
- Choose Fresh Cucumbers: Use Kirby cucumbers for the best crunch. They hold up well in brine and provide an ideal texture for your 24 Hour Dill Pickles.
- Don’t Skip the Brine: Ensure cucumbers are fully submerged in the brine to absorb all the flavors. Leaving them exposed can lead to undesired soft spots.
- Label Your Jars: Keep track of freshness by writing the date on each jar. This way, you’ll know exactly when to enjoy your tasty pickles!
- Shake Gently: After sealing the jars, give them a gentle shake. This distributes the spices evenly, enhancing the flavor of every bite in your pickles.
- Refrigerate Immediately: To preserve freshness and crunch, place your jars in the fridge right after preparation. Avoid opening them during the first 24 hours for the best results.
24 Hour Dill Pickles Variations
Feel free to play with flavors and textures to make these pickles truly your own!
-
Cucumber Swap: Substitute Kirby cucumbers with English or Persian cucumbers for a smoother texture. These variations maintain that delightful crunch you crave!
-
Herb Infusion: Incorporate fresh herbs like dill, cilantro, or even basil for a unique flavor profile. Each herb adds its own personality, transforming the pickles into something special.
-
Spicy Kick: Add a dash of red pepper flakes or sliced jalapeños for a spicy twist. This elevates the heat levels, making every bite a thrilling adventure.
-
Sweet Alternative: For a sweeter taste, replace sugar with honey or maple syrup. This simple swap gives a different flavor dimension while keeping them delicious.
-
Garlic Lovers: Increase garlic up to 4 cloves for an extra savory hit. This buttery, robust flavor pairs beautifully with sandwiches and burgers.
-
Zesty Citrus: Squeeze some fresh lemon or lime juice into the brine for a zesty kick. The acidity brightens the pickles and adds a refreshing twist to your snacking.
-
Smoky Flavor: Toss in a few smoked paprika flakes for a delightful smoky taste. This unconventional twist adds a depth to the pickles, perfect for summer grilling.
-
Sugar-Free Version: Use a sugar substitute like Stevia or Erythritol for a no-sugar variant. Just keep in mind, the flavor will shift slightly, but you’ll still enjoy that crunchy goodness.
Experimenting with these variations makes it easy to create a batch that suits your personal taste. Check out more ideas for quick pickles to inspire even more delicious magic in your kitchen!
Make Ahead Options
These 24 Hour Dill Pickles are ideal for meal prep, saving you valuable time during busy weeks! You can slice the cucumbers and pack them into jars up to 24 hours in advance. Simply prepare the spice mixture and the brine, and keep them separate in the fridge until you’re ready to finish the pickles. To maintain their crispness, do not seal the jars until just before pouring the brine over the cucumber slices. When it’s time to enjoy, just combine all the components and refrigerate for a delicious and crunchy snack that’s ready in no time!
Storage Tips for 24 Hour Dill Pickles
-
Room Temperature: Keep these pickles in the refrigerator for optimal freshness; do not store at room temperature for more than a couple of hours.
-
Fridge: Store your 24 Hour Dill Pickles in the fridge where they can last up to 2-3 weeks. Ensure the jars are sealed tightly to preserve their crunchiness.
-
Freezer: While freezing is not recommended for these pickles due to texture changes, excess brine can be frozen for future pickling projects.
-
Reheating: Enjoy the pickles straight from the fridge for the best experience. If you wish to incorporate them into dishes, add them fresh or mix them in without reheating to maintain their crispness.

24 Hour Dill Pickles Recipe FAQs
What cucumbers are best for 24 Hour Dill Pickles?
Absolutely! Kirby cucumbers are the star for this recipe. Their thick skin and firm texture ensure maximum crunch and flavor retention. Look for cucumbers that are firm, bright green, and free from any blemishes or soft spots. This will help you achieve those delightfully crisp pickles you’re craving!
How should I store my 24 Hour Dill Pickles once made?
Keep your jars of 24 Hour Dill Pickles in the refrigerator to maintain their freshness and crunchiness. They’ll last up to 2-3 weeks when stored properly in sealed jars. I recommend putting a date label on your jars so you can keep track of their freshness and make sure to enjoy them while they’re at their best!
Can I freeze 24 Hour Dill Pickles?
Freezing isn’t the best option for these pickles because the texture can become mushy upon thawing. However, if you find yourself with excess brine, you can freeze that for future pickling adventures! When you’re ready to pickle again, just thaw the brine and use it with fresh cucumbers for another batch.
What if my pickles don’t seem crunchy after 24 hours?
If your pickles aren’t as crunchy as you’d like, there could be a few reasons. First, ensure that you’re using fresh, firm cucumbers – the fresher, the better! Additionally, double-check that the cucumbers are fully submerged in the brine and that you used the optional Ball Pickle Crisp for extra crunch. In future batches, also try to minimize air exposure by packing the jars tightly. With those adjustments, you should enjoy the crispiest pickles possible!
Are these pickles suitable for a vegan diet?
Yes, these 24 Hour Dill Pickles are completely vegan! They are made with all plant-based ingredients, making them a perfect addition to any vegan or vegetarian meal. They provide a delicious, tangy crunch that pairs wonderfully with a variety of dishes without any animal products. Enjoy guilt-free snacking!
Crunchy 24 Hour Dill Pickles You’ll Love to Snack On
Ingredients
Equipment
Method
- Wash the Kirby cucumbers thoroughly and slice them into thin rounds to reach about 4 cups.
- Pack the cucumber slices evenly into three 1-pint mason jars.
- In a bowl, mix garlic, dill, peppercorns, mustard seeds, and pickle crisp if using.
- Layer the spice mixture evenly over the cucumber slices in each jar.
- In a separate bowl, mix filtered water, sea salt, and sugar until dissolved.
- Pour the brine into each jar until cucumber slices are submerged, leaving space at the top.
- Seal the jars and gently shake to distribute the spices and brine.
- Refrigerate the jars for 24 hours to allow pickles to marinate.
Leave a Reply