
The first time I sprinkled homemade Dill Flavored Salt on my roasted potatoes, it was like a flavor lightbulb flicked on in my kitchen. This easy recipe transforms simple dishes into delightful experiences, capturing the bold, refreshing essence of dill in every grain. Not only is this herb-infused seasoning a perfect way to preserve that fresh dill from your garden or the market, but it also elevates everything from veggie dips to grilled fish with just a pinch. Plus, it’s gluten-free and lasts for months when stored properly! Whether you’re a busy home chef or someone craving a break from fast food, this dill salt will quickly become a go-to in your spice rack. Ready to embark on a flavorful journey that adds a twist to your everyday meals? Let’s dive into the recipe!
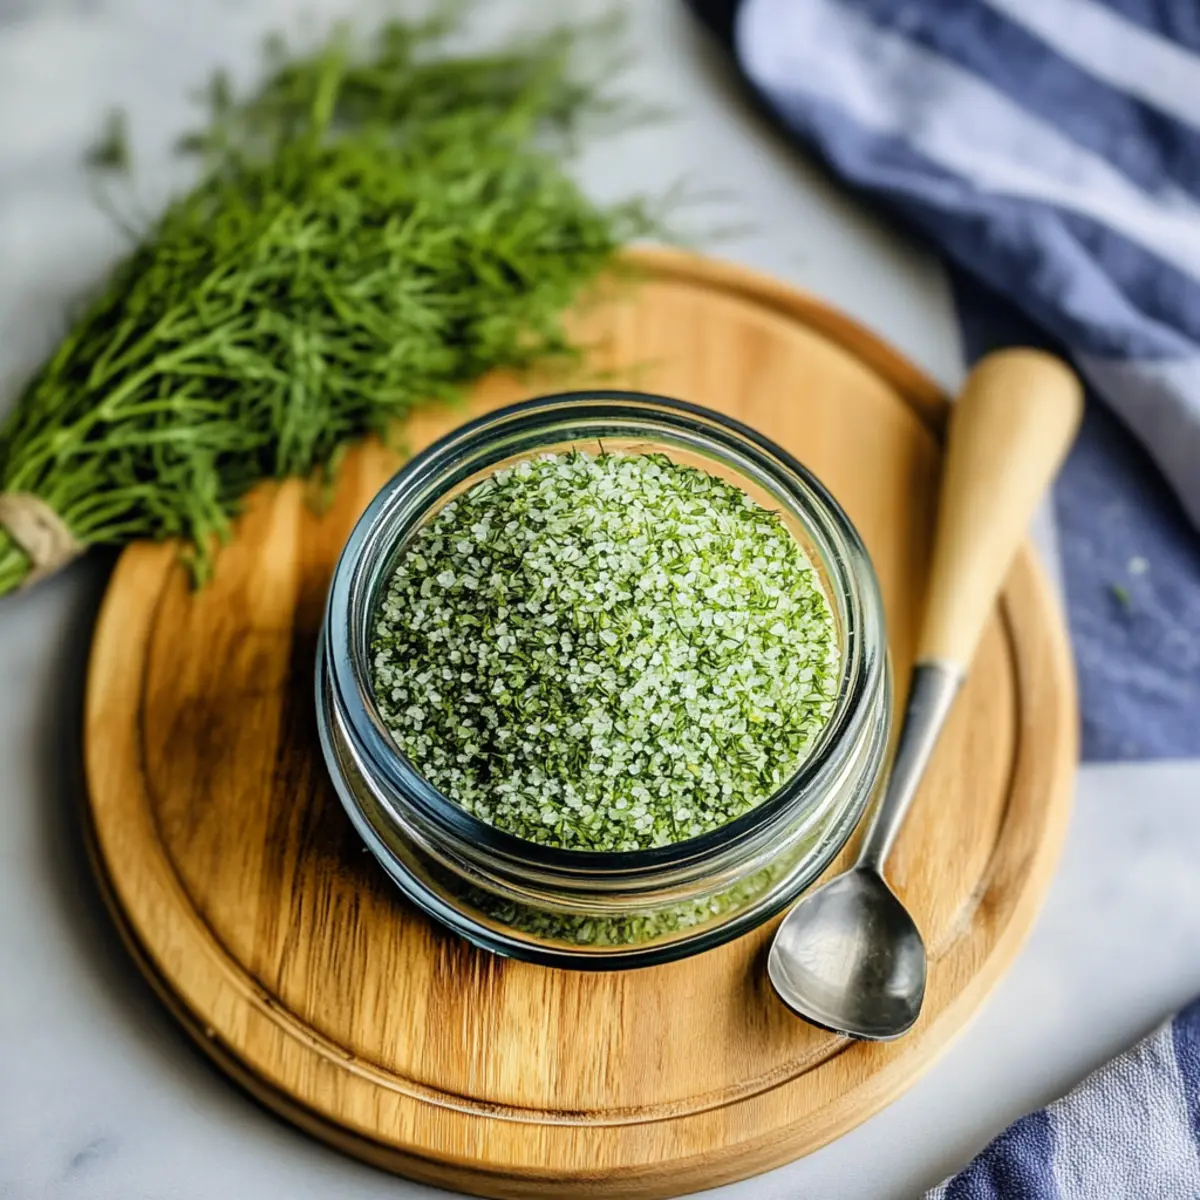
Why Make Dill Flavored Salt?
Vibrant Flavor Boost: A simple sprinkle of this dill salt can transform even the most basic dishes into culinary delights, invigorating everything from scrambled eggs to roasted chicken.
Easy to Make: With only two ingredients, you can quickly whip up this herb-infused seasoning without any specialized skills—perfect for busy cooks!
Preserve Fresh Dill: Capture the essence of fresh dill at its peak and ensure none of your herbs go to waste.
Customizable: Feel free to experiment! Add garlic powder or other herbs to create your unique twist.
Long-Lasting: Properly stored, this dill salt stays fresh for months, ready to enhance all your meals at a moment’s notice. Try pairing it with a Gooey Salted Caramel dessert for a flavor contrast that’s sure to impress!
Dill Flavored Salt Ingredients
For the Dill Salt
• Fresh Dill – Ensure it’s washed and dried for a vibrant herbal flavor.
• Kosher or Sea Salt – This preserving agent enhances flavor and maintains the dill’s freshness; avoid table salt for a balanced taste.
Optional Additions
• Garlic Powder – For those who love an extra punch of flavor, this can mimic dill pickle taste when combined!
• Onion Powder – It adds a deeper savory note that complements the dill beautifully.
• Citric Acid – Just a pinch can brighten the flavor profile, particularly if making dill pickle salt.
With these easy-to-find ingredients, you’re ready to create your very own homemade Dill Flavored Salt that promises to elevate all your everyday meals!
Step‑by‑Step Instructions for Dill Flavored Salt
Step 1: Prepare the Dill
Start by washing fresh dill thoroughly under cold water to remove any dirt or grit. Gently pat the dill dry with a clean cloth or paper towels, ensuring it’s free of moisture, as excess water can hinder the drying process. Once dried, roughly chop the dill to make it easier to blend and release its vibrant flavor in your homemade dill flavored salt.
Step 2: Blend the Ingredients
In a food processor, combine the prepared dill and kosher or sea salt. Pulse the mixture until it forms a coarse paste, scraping down the sides as needed to ensure even blending. This usually takes about 30 seconds. The goal is to achieve a consistent, fine texture that evenly distributes the herb’s essence throughout your dill flavored salt.
Step 3: Spread the Mixture for Drying
Once blended, transfer the dill and salt mixture onto a lined baking sheet or a dehydrator tray. Spread it out evenly into a thin layer to promote uniform drying. Make sure the mixture isn’t too thick, as this will increase drying time. Now your homemade dill salt is ready for the drying process.
Step 4: Dry the Herb-Salt Mixture
Preheat your oven to its lowest setting or set your dehydrator to 105°F. Place the baking sheet or dehydrator tray in the oven or dehydrator and allow the mixture to dry for about 2 hours. Keep an eye on it, ensuring that no moisture remains—your dill flavored salt should feel completely dry and crumbly rather than sticky.
Step 5: Check for Moisture and Clumping
After the drying time, take out the tray and check for any clumps. If you notice any areas that are still damp or clumped together, return the mixture to the oven or dehydrator for an additional 30 minutes to an hour. The completed dill flavored salt should have a fine, uniform texture and be entirely moisture-free before cooling.
Step 6: Break Apart and Store
Once thoroughly dried, allow the dill flavored salt to cool completely on the baking sheet. Break apart any remaining clumps with your fingers or a spoon, ensuring an even consistency. Then, transfer the finished product into an airtight container, where it can be stored for up to a year—ready to elevate your favorite dishes at a moment’s notice!
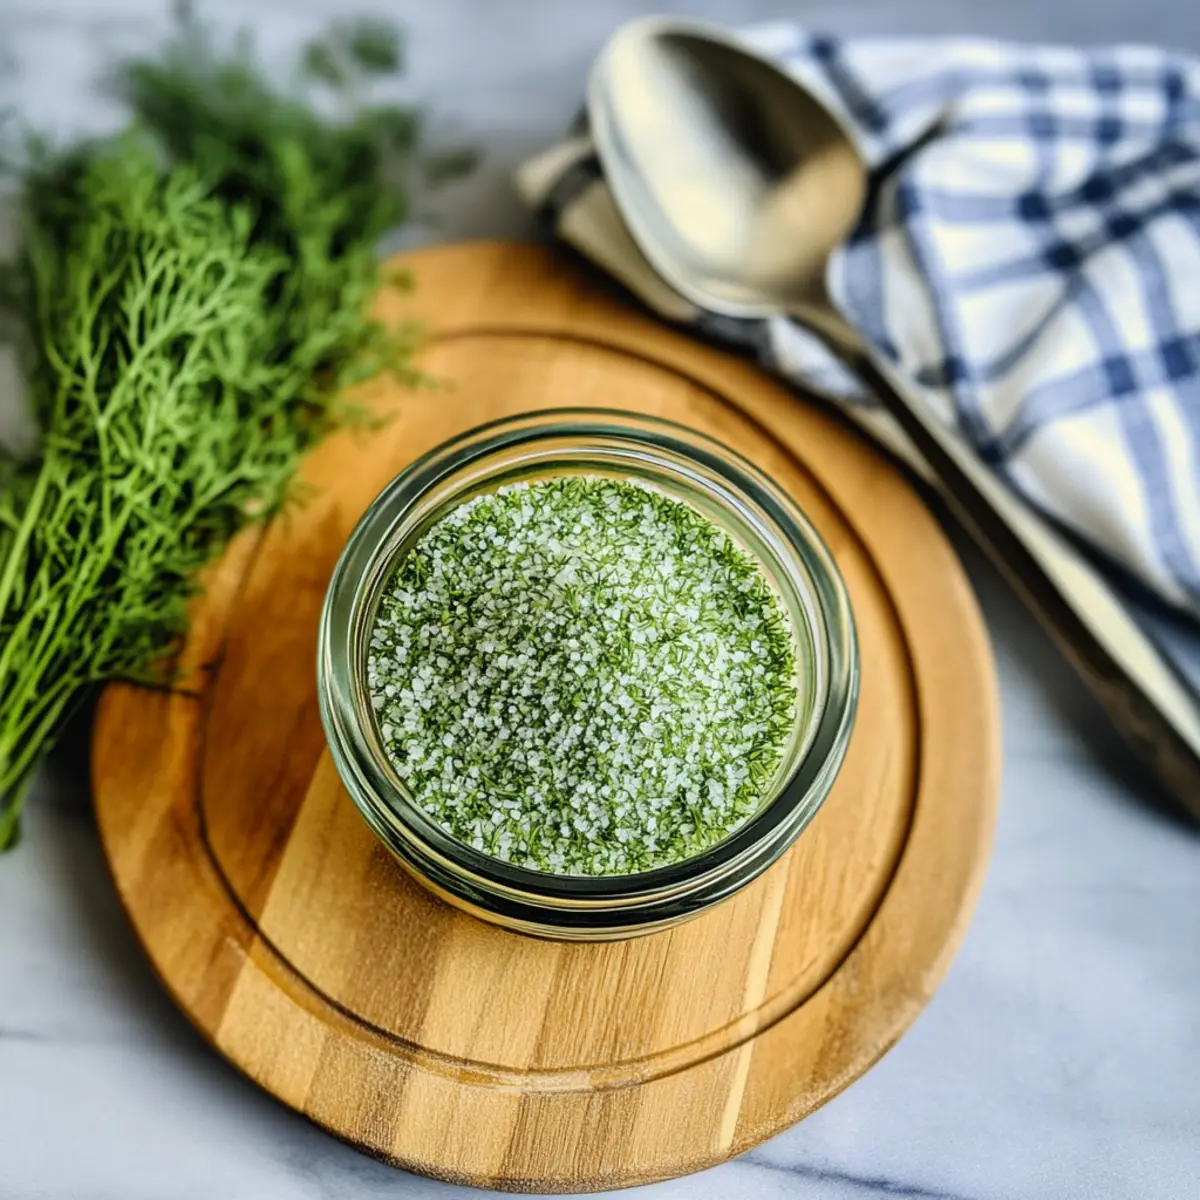
How to Store and Freeze Dill Flavored Salt
Airtight Container: Store your dill flavored salt in a cool, dark place in an airtight container to maintain freshness and flavor; it can last up to one year.
Avoid Moisture: To keep the salt free from clumping, ensure it is fully dry before storing; consider adding a silica gel packet to absorb excess moisture.
Freezing (Optional): While not necessary for salt, you can freeze dill in ice cube trays for future use; simply blend with a bit of water and pour into trays.
Reheating: When using stored dill salt, there’s no need for reheating. Simply sprinkle it on your dishes directly for that vibrant flavor boost!
Make Ahead Options
These homemade Dill Flavored Salt options are perfect for busy home cooks looking to save time in the kitchen! You can prepare the herb-salt mixture up to 24 hours in advance by blending the fresh dill and salt as directed and storing it in an airtight container until you’re ready to dry it. If you prefer, you can even dry the mixture in a dehydrator or oven and then refrigerate it for up to 3 days before seasoning. To maintain its vibrant flavor and prevent clumping, ensure the mixture is completely moisture-free before transferring it to storage. When you’re ready to enjoy, simply use the dried salt as a delightful finishing touch to elevate your dishes!
Expert Tips for Homemade Dill Flavored Salt
• Freshness Matters: Use the freshest dill you can find, as its flavor diminishes quickly over time, directly affecting your dill flavored salt.
• Parchment Paper: Always use parchment paper for drying the mixture; it makes transferring the salt much easier than a silicone mat.
• Monitor Drying: Be vigilant while drying; humidity can prolong this process. Ensure the mixture is crumbly and moisture-free before cooling.
• Grind for Texture: If your salt is too coarse after drying, a quick spin in a spice grinder will create a fine, uniform consistency for best flavor distribution.
• Adjust Your Ratio: For a stronger dill taste, try a 1:2 ratio of dill to salt, but adjust based on your personal palate to avoid overpowering other flavors.
Dill Flavored Salt Variations
Get creative and discover the wonderful ways you can personalize your dill flavored salt!
-
Dill Pickle Salt: Add garlic powder, onion powder, and a pinch of citric acid to mimic the tangy flavor of dill pickles. This twist is perfect for seasoning snacks and dips!
-
Spicy Kick: Mix in some crushed red pepper flakes or smoked paprika to give your dill salt a fiery punch. The heat enhances dishes like roasted chicken, balancing the fresh dill beautifully.
-
Herbal Blend: Combine dried parsley or chives with the dill to create a mixed herb salt. This variation can elevate salads and enhance vegetable dishes with a delightful array of flavors.
-
Fennel Twist: Add a touch of crushed fennel seeds to your dill flavored salt. This unexpected twist deepens the flavor and works wonderfully on fish and roasted vegetables.
-
Lemon Zest: Incorporate finely grated lemon zest into the mixture to brighten the dill salt. A citrusy note gives your seasoning a refreshing zing, especially for seafood dishes!
-
Garlic Lover’s Blend: For a more assertive flavor, increase the garlic powder in the mix. This combination pairs beautifully with mashed potatoes or roasted meats.
-
Rustic Grains: Combine your dill salt with coarse sea salt for a textured finishing salt. This rustic salt adds a lovely crunch and can be sprinkled on top of grilled vegetables or salads.
Feel free to pair your flavorful creations with a sticky-sweet treat like Gooey Salted Caramel for a balanced meal that dazzles the taste buds!
What to Serve with Easy Homemade Dill Salt?
Transform your meals into a culinary masterpiece by pairing this vibrant dill salt with the perfect accompaniments.
-
Creamy Mashed Potatoes: This comforting side becomes a flavor sensation with a sprinkle of dill salt, enhancing its creamy texture and earthy flavor.
-
Grilled Salmon: The refreshing taste of dill salt complements the richness of salmon, making every bite a delightful experience, whether you’re hosting a dinner or enjoying a weeknight meal.
-
Roasted Vegetables: Add a sprinkle of dill salt to crisp-tender veggies for a burst of flavor that brightens up your plate, enhancing the natural sweetness of vegetables like carrots and zucchini.
-
Potato Salad: Elevate your classic potato salad with a touch of dill salt; its herbaceous notes harmonize beautifully with creamy dressings, making it a standout dish at any BBQ or potluck gathering.
-
Scrambled Eggs: Imagine fluffy scrambled eggs with a hint of dill. A sprinkle of this salt brings a fresh twist that transforms breakfast into a gourmet affair.
-
Chilled Cucumber Soup: Add depth to this refreshing soup with a dash of dill salt, creating a flavor interplay that tantalizes the taste buds with its bright and savory notes.
-
Sparkling Lemonade: For a unique twist, pair your meals with a glass of sparkling lemonade. The refreshing acidity balances perfectly with the savory profile of dishes seasoned with dill salt.
-
Cheese Platter: Incorporate dill salt as a finishing touch on soft cheeses or as a dip alongside herbs and olive oil; it will enhance the flavors and leave your guests wanting more.
-
Fresh Fruit Salad: A light sprinkle of dill salt over fruit adds an unexpected twist, balancing sweetness with a hint of herbal freshness that’s delightful on a hot day.
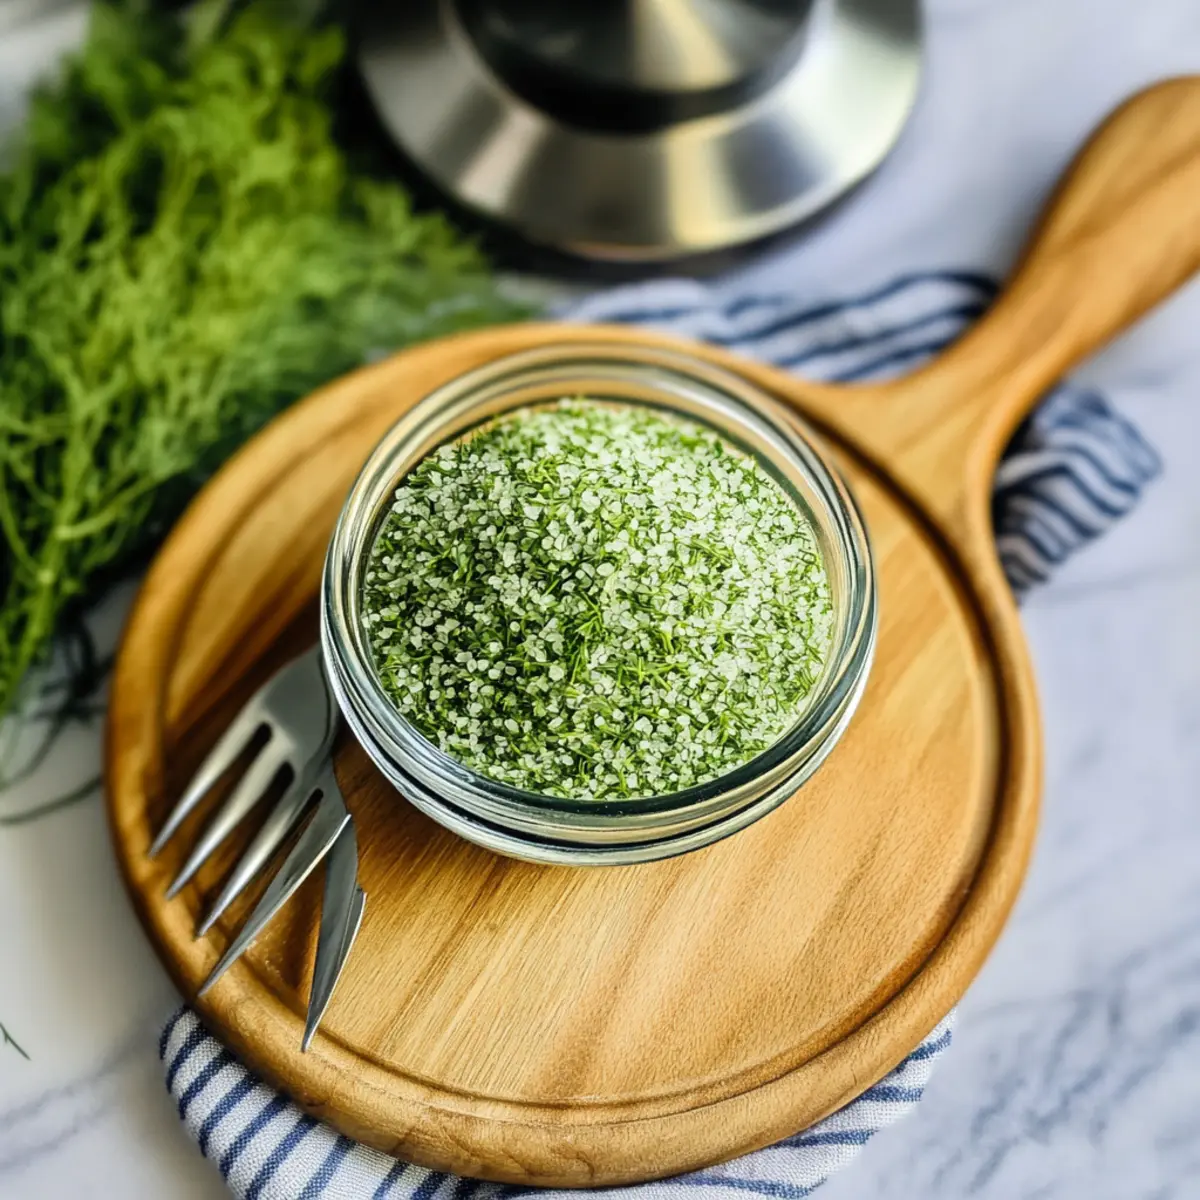
Dill Flavored Salt Recipe FAQs
How do I choose the freshest dill?
Absolutely! When selecting fresh dill, look for vibrant green fronds without any dark spots or wilting. The dill should feel crisp and aromatic, indicating its freshness. Try to use it the same day you buy it, but if not, store it wrapped in a damp paper towel in a plastic bag in the fridge for up to 5 days.
What is the best way to store dill flavored salt?
Very! Store your dill flavored salt in an airtight container in a cool, dark place, such as a pantry or cupboard. Properly dried and stored, it can last up to one year. To prevent clumping, consider adding a small silica gel packet in the container to absorb moisture.
Can I freeze dill flavored salt?
While freezing isn’t necessary for salt, you can freeze fresh dill for future use! Chop the washed dill, blend it with a bit of water, and pour the mixture into ice cube trays. Once frozen, transfer the cubes to a freezer bag. They’ll last up to 6 months, allowing you to have fresh dill on hand anytime.
What should I do if my dill flavored salt is clumping?
If your dill flavored salt is clumping, it’s likely due to moisture content. Store it in a cool, dry place and ensure it’s fully dried before storing. If clumps form, you can easily break them apart with your fingers or a spoon, or run it through a spice grinder for a finer texture.
Is this recipe safe for pets or people with allergies?
Absolutely! Dill flavored salt is generally safe for most diets; however, ensure that members of your household are not allergic to dill or salt. Always consult with your veterinarian if you’re considering adding new seasonings to your pet’s diet.
Can I customize the dill flavored salt?
Very! Feel free to experiment by adding garlic powder, onion powder, or even other herbs like chives or parsley. This allows you to craft your unique blend that caters to your personal taste preferences. A little experimentation can lead to delicious new variations of your homemade dill flavored salt!
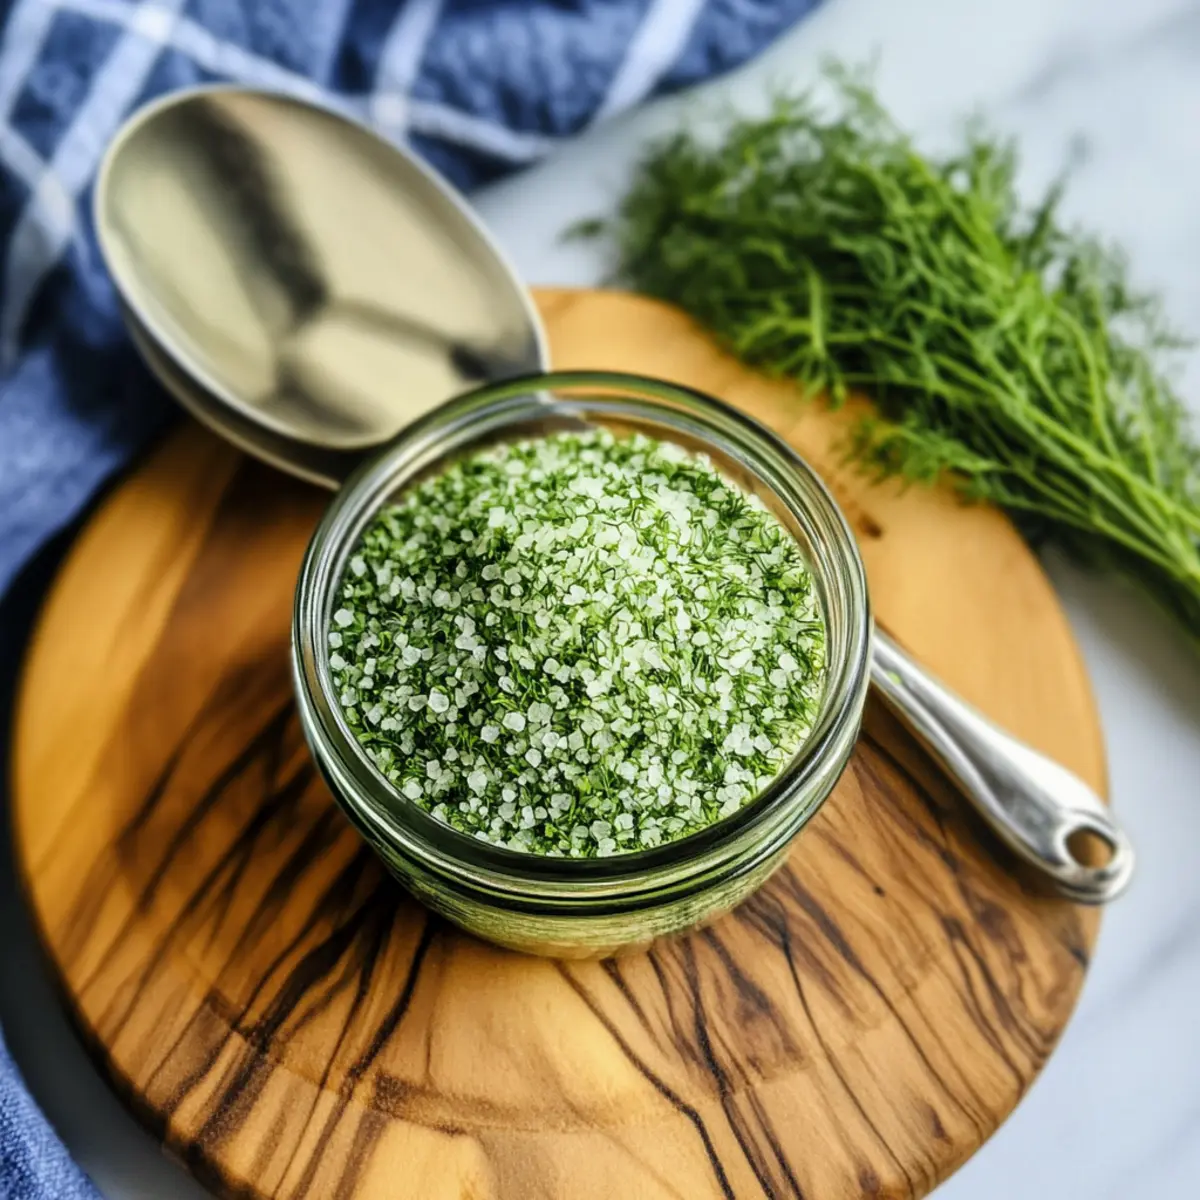
Homemade Dill Flavored Salt: Elevate Your Everyday Dishes
Ingredients
Equipment
Method
- Wash fresh dill thoroughly under cold water and pat dry.
- In a food processor, combine the dried dill and kosher or sea salt; pulse until it forms a coarse paste.
- Transfer the mixture onto a lined baking sheet, spreading it evenly into a thin layer.
- Preheat the oven to its lowest setting and dry the mixture for about 2 hours.
- Check for any clumps; if damp, return to the oven for 30 more minutes.
- Allow the mixture to cool, break apart clumps, and store in an airtight container.
Leave a Reply