
There’s something magical about the holiday season that awakens a craving for warmth and sweetness, and these Eggnog Cookie Bars are just the answer. With a buttery shortbread base and a creamy eggnog cheesecake layer, this festive treat captures the essence of holiday joy in every bite. Not only are they a delightful way to use up any leftover eggnog, but they also come together with ease, making them perfect for busy home chefs looking to impress friends and family. Imagine the aroma of nutmeg and cinnamon wafting through your kitchen as you bake—who wouldn’t be excited to enjoy these during a cozy gathering? So, are you ready to add a little holiday cheer to your dessert menu?
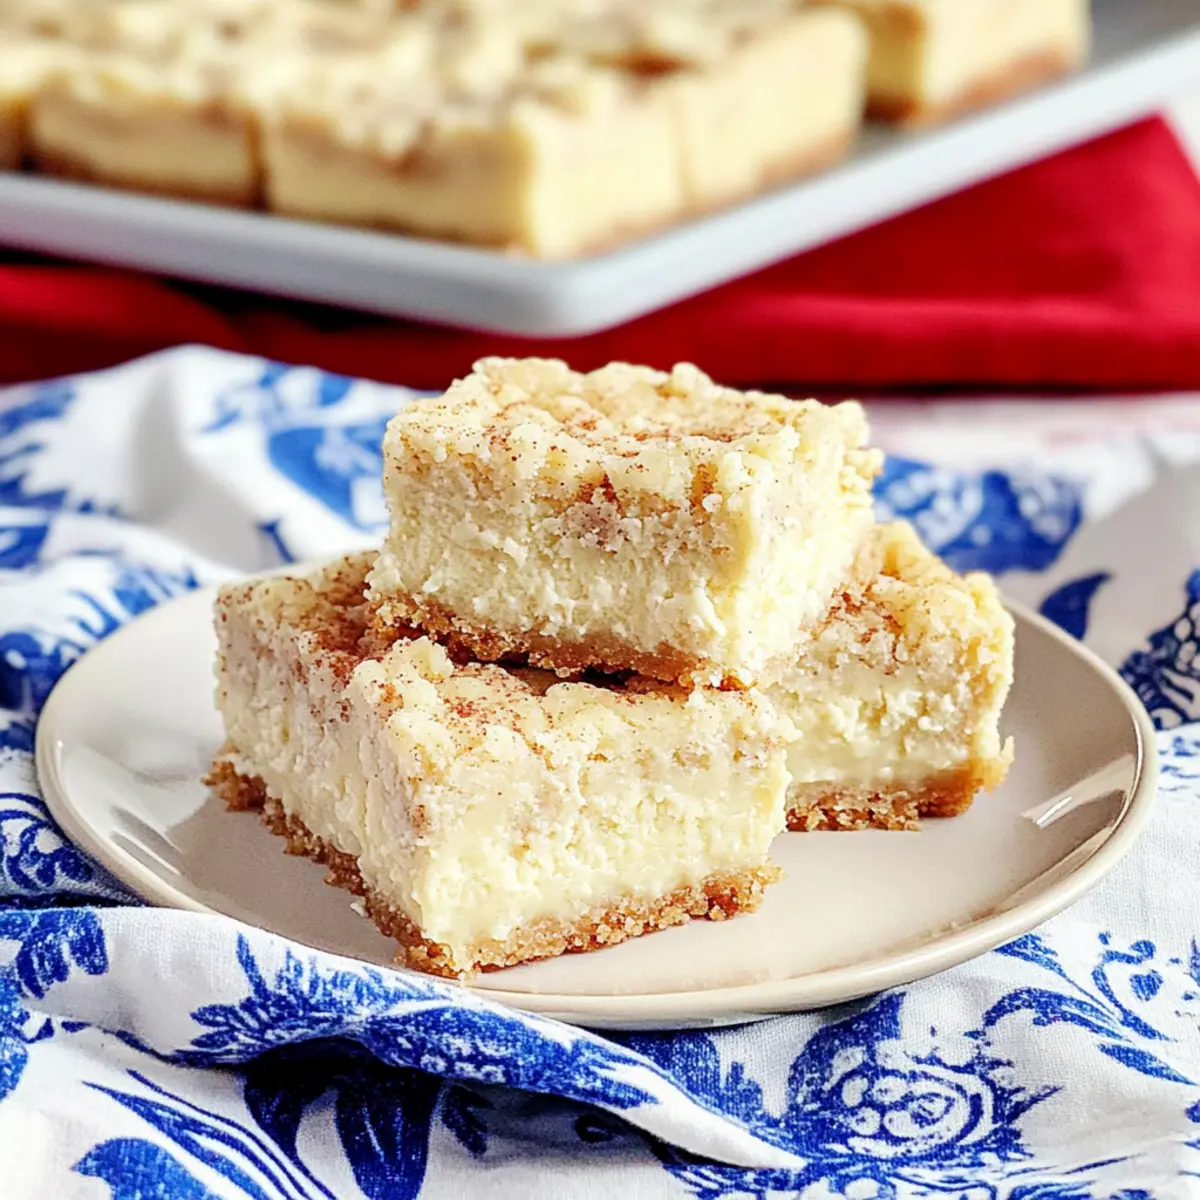
Why are Eggnog Cookie Bars a must-try?
Festive Delight: These Eggnog Cookie Bars capture the very essence of the holiday spirit, transforming your favorite seasonal drink into a scrumptious dessert.
Creamy Indulgence: The luscious cheesecake layer merges perfectly with the buttery shortbread, creating a luxurious dessert that’s hard to resist.
Quick and Easy: With straightforward ingredients and simple steps, even novice bakers can whip these up in no time, allowing for more holiday fun.
Party Pleaser: They make for an impressive addition to any holiday gathering, sure to spark joy among family and friends. Pair them with some fresh whipped cream or serve alongside your favorite Maple Pecan Cookies with Brown Butter for a delightful spread!
Versatile Adaptations: Feel free to switch up the flavors with various spices or even swap out the eggnog for unique additions, giving your dessert a personalized twist!
Eggnog Cookie Bars Ingredients
-
For the Shortbread Base
• All-Purpose Flour – Provides structure to the bars; use a gluten-free blend for a gluten-free option.
• Granulated Sugar – Adds sweetness; substitute with coconut sugar for a lower GI option.
• Baking Powder – Helps the bars rise and remain fluffy; make sure it’s fresh for the best results.
• Kosher Salt – Enhances flavor; can substitute with fine sea salt.
• Ground Nutmeg – Adds that quintessential holiday flavor; freshly grated nutmeg is highly recommended.
• Ground Cinnamon – Offers a warm spice note; optional if you prefer a lighter flavor.
• Cold Unsalted Butter – Contributes richness and flaky texture; grating it makes mixing a breeze—vegan butter works as a substitute.
• Eggnog – Provides moisture and festive flavor; feel free to swap with homemade eggnog or a spiced non-dairy milk. -
For the Cheesecake Filling
• Cream Cheese – Essential for that creamy cheesecake layer; use softened vegan cream cheese for a dairy-free version.
• Granulated Sugar (for cheesecake) – Sweetens the filling; coconut sugar is a great alternative.
• Egg – Binds the cheesecake together; replace with 1/4 cup of applesauce for a vegan option.
• Pure Vanilla Extract – Enhances flavor wonderfully; choose pure for the best results or use imitation for budget-friendly cooking.
This Eggnog Cookie Bars recipe combines delicious simplicity and festive flavors, making it a delightful must-have for your holiday gatherings!
Step‑by‑Step Instructions for Eggnog Cookie Bars
Step 1: Preheat the Oven
Begin by preheating your oven to 350°F (175°C). While the oven warms up, prepare an 8-inch square baking pan by lining it with foil or parchment paper, allowing some overhang for easy removal later. This thoughtful preparation ensures your Eggnog Cookie Bars will release effortlessly once cooled!
Step 2: Mix the Dry Ingredients
In a medium-sized bowl, whisk together 1 ½ cups of all-purpose flour, ½ cup of granulated sugar, 1 teaspoon of baking powder, ¼ teaspoon of kosher salt, ½ teaspoon of ground nutmeg, and ½ teaspoon of ground cinnamon. This blend of dry ingredients creates a fragrant base, setting the stage for your festive Eggnog Cookie Bars.
Step 3: Incorporate the Butter
Grate ½ cup of cold unsalted butter directly into your flour mixture, tossing it gently with your hands or a fork until the mixture resembles coarse crumbs. This step is crucial, as the cold butter contributes to a flaky texture and rich flavor that gives your bars that perfect melt-in-your-mouth quality.
Step 4: Add the Eggnog
Pour in ½ cup of eggnog, combining it with the dough using a fork. Once it begins to come together, switch to using your hands for a gentle knead. The dough should be slightly sticky but manageable—this blend of ingredients will form the delicious base for your Eggnog Cookie Bars.
Step 5: Press the Dough into the Pan
Take about two-thirds of the dough and press it evenly into the bottom of your prepared baking pan. Use your fingers to create a smooth and even layer, making sure to fill any corners completely. This shortbread base is where the creamy cheesecake layer will rest, so pack it tightly for a sturdy foundation.
Step 6: Prepare the Cheesecake Filling
In a separate bowl, beat together 8 ounces of softened cream cheese, ½ cup of granulated sugar, 1 egg, ½ cup of eggnog, and 1 teaspoon of pure vanilla extract until smooth and creamy. This step will yield a luscious filling that complements the shortbread perfectly, ensuring your Eggnog Cookie Bars are rich and flavorful.
Step 7: Assemble Your Bars
Pour the creamy cheesecake mixture evenly over the pressed shortbread base in your baking pan. Crumble the remaining dough over the top of the filling, creating an enticing layer that will bake beautifully. This step marries the flavors of the creamy cheesecake with the comforting shortbread, leading to a delectable treat.
Step 8: Bake the Bars
Place your assembled Eggnog Cookie Bars in the preheated oven and bake for 30 minutes or until the edges are lightly golden. The center should be set yet still have a slight jiggle—this means the bars will remain soft and creamy even once they cool. Keep an eye on them to avoid overbaking!
Step 9: Cool and Refrigerate
Once baked, remove the pan from the oven and allow it to cool completely at room temperature. After cooling, cover the pan with plastic wrap or foil and refrigerate the bars overnight. This extended chilling time allows the flavors to meld beautifully and makes slicing easier later on.
Step 10: Slice and Serve
When ready to serve, carefully lift the cooled bars out of the pan using the overhanging foil or parchment. Cut them into 16 squares for perfect portions. These delightful Eggnog Cookie Bars can be enjoyed chilled or at room temperature, creating a festive dessert that is sure to impress your guests!
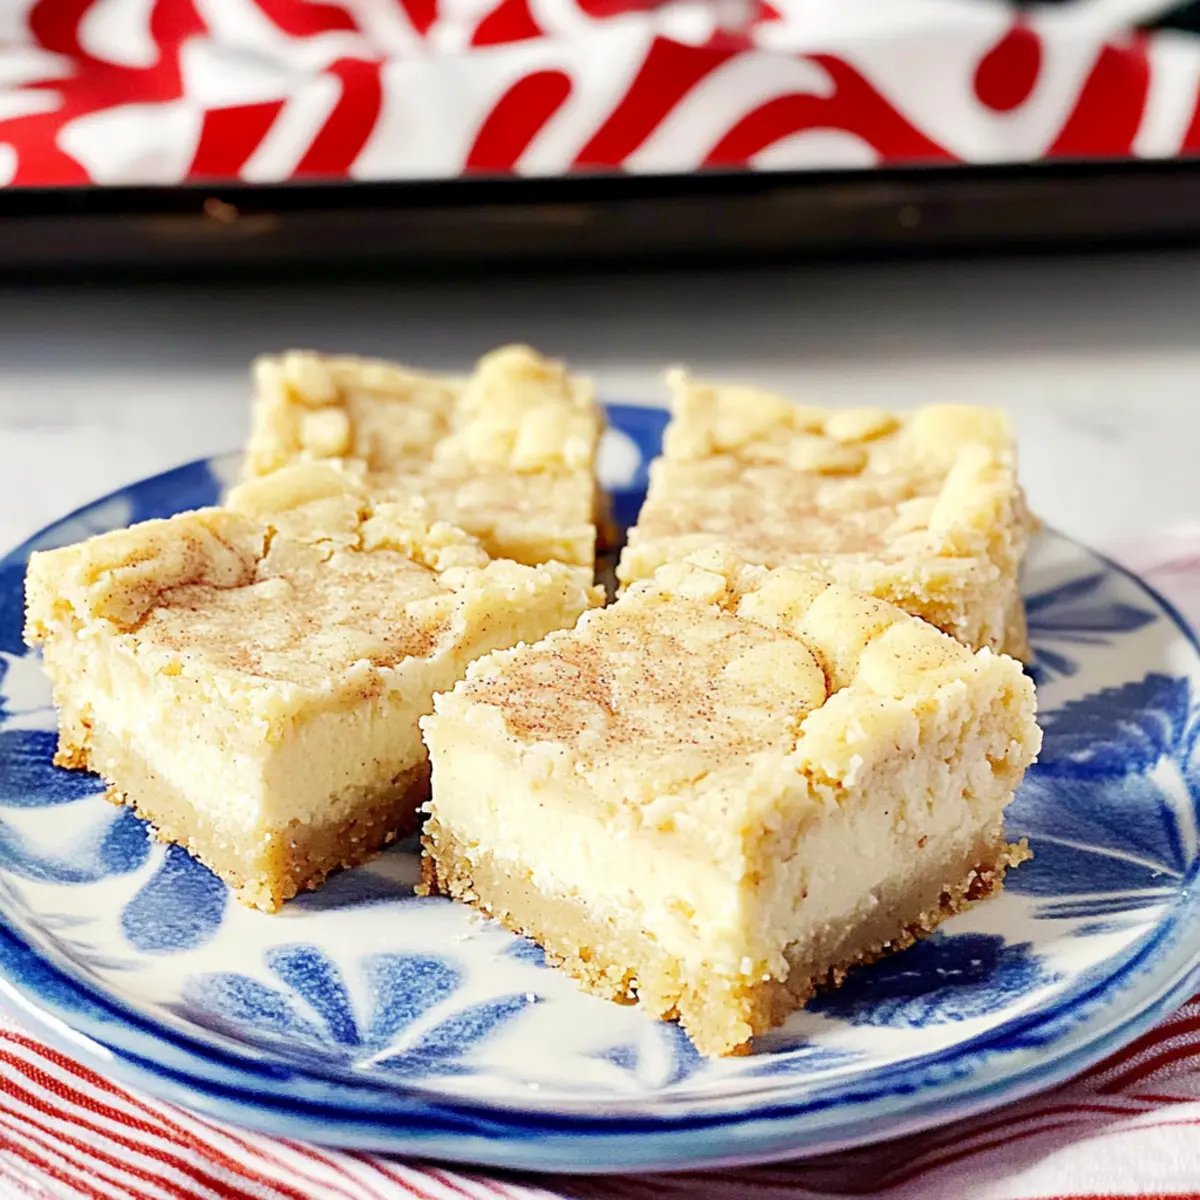
What to Serve with Eggnog Cookie Bars
Elevate your holiday gathering by pairing these delightful treats with complementary flavors that create a well-rounded dessert experience.
-
Whipped Cream:
A dollop of freshly whipped cream adds a light, airy contrast, enhancing the richness of the bars beautifully. -
Spiced Apple Cider:
Warm spiced apple cider offers a festive drink option that pairs perfectly with the cozy flavors of the cookie bars. -
Chai Tea:
The aromatic spices of chai tea create a lovely, warming beverage that complements the nutmeg and cinnamon in each bite. -
Pecan Pie:
Serve a slice of pecan pie alongside for a classic dessert duo; the nutty sweetness harmonizes with the eggnog flavors. -
Chocolate Peppermint Bark:
The cool, minty notes from chocolate peppermint bark create a refreshing contrast, adding a seasonal twist to your dessert spread. -
Cranberry Sauce:
A spoonful of tart cranberry sauce provides a burst of color and acidity, perfectly balancing the creamy sweetness of the bars.
Indulge in these delicious pairings, and watch as your holiday table comes alive with joyful flavors and festive cheer!
Make Ahead Options
These Eggnog Cookie Bars are perfect for busy home cooks looking to save time during the holiday season! You can prepare the shortbread base up to 24 hours in advance by mixing the ingredients and pressing them into the pan. Store it covered in the refrigerator to keep it fresh. Additionally, you can make the cheesecake filling ahead and refrigerate it for up to 3 days. Just remember to cover it tightly to prevent drying out. When you’re ready to bake, layer the cheesecake mixture over the chilled base, crumble the remaining dough on top, and bake as directed. This way, you’ll enjoy delicious, creamy Eggnog Cookie Bars with minimal effort on the day of your gathering!
Expert Tips for Eggnog Cookie Bars
- Keep Butter Cold: Using cold butter is essential for achieving that flaky texture. Grating it ensures even mixing and prevents melting while you prepare the dough.
- Chill for Flavor: Allowing the bars to refrigerate overnight enables the flavors to meld beautifully, leading to a richer taste and easier slicing when serving.
- Avoid Overbaking: Keep an eye on the baking time. Bake just until the edges are golden and the center has a gentle jiggle for a soft, creamy result.
- Presentation Matters: Consider serving these Eggnog Cookie Bars with a dusting of nutmeg or a dollop of whipped cream to elevate their festive appeal.
- Customize the Flavors: Feel free to experiment with different spices or add-ins like chocolate chips to give your bars a unique twist tailored to your preferences.
Eggnog Cookie Bars Variations
Customize your Eggnog Cookie Bars to suit your palate and make them even more special this holiday season!
-
Spice Swap: Replace ground nutmeg and cinnamon with cardamom or allspice for a new twist. Each spice offers its unique warmth and depth of flavor, making your bars stand out.
-
Caramel Twist: Substitute eggnog with caramel sauce for a decadent alternative. This change introduces a sweet, buttery richness, adding a delightful new layer to your cookie bars!
-
Nutty Crunch: Add chopped walnuts or pecans to the shortbread base for extra texture. The nuttiness will complement the creamy filling beautifully, giving a lovely crunch with each bite.
-
Choco-licious: Mix in chocolate chips into the cheesecake layer for an indulgent treat. The chocolate melds with the creamy filling, enhancing the flavors of the bars.
-
Dairy-Free Delight: Use coconut cream instead of cream cheese for a vegan option. The creamy texture will still be there, leaving you with a luscious dessert without any dairy!
-
Fruity Fusion: Incorporate dried cranberries or raisins into the dough for a pop of tartness. This fruity addition offers a festive touch – just imagine those bright bursts of flavor!
-
Citrus Zing: Add a teaspoon of orange zest to the cheesecake filling for a refreshing citrus note. This added brightness will elevate the holiday spirit with every delicious bite.
-
Chilled Treat: Serve these bars with a scoop of vanilla ice cream or along with a glass of warm mulled wine. Imagine the cozy atmosphere as guests savor this delightful pairing!
If you’re a fan of rich flavors and unique twists, don’t forget to check out our delicious Chocolate Chip Bars or try your hand at making Pumpkin Cheesecake Cookies for more festive inspiration!
How to Store and Freeze Eggnog Cookie Bars
Fridge: Store your Eggnog Cookie Bars in an airtight container for up to one week. This keeps them moist and flavorful, and they can be enjoyed chilled for the best experience.
Freezer: You can also freeze these delightful bars for up to 3 months. Wrap individual squares in plastic wrap and then place them in a freezer-safe bag to maintain freshness.
Thawing: For serving, simply transfer the frozen bars to the refrigerator and let them thaw overnight. This allows them to regain their creamy texture perfectly.
Reheating: If you prefer them warm, give them a quick 10-second zap in the microwave before serving; this will enhance the gooey filling and warmth, making every bite a heavenly experience.
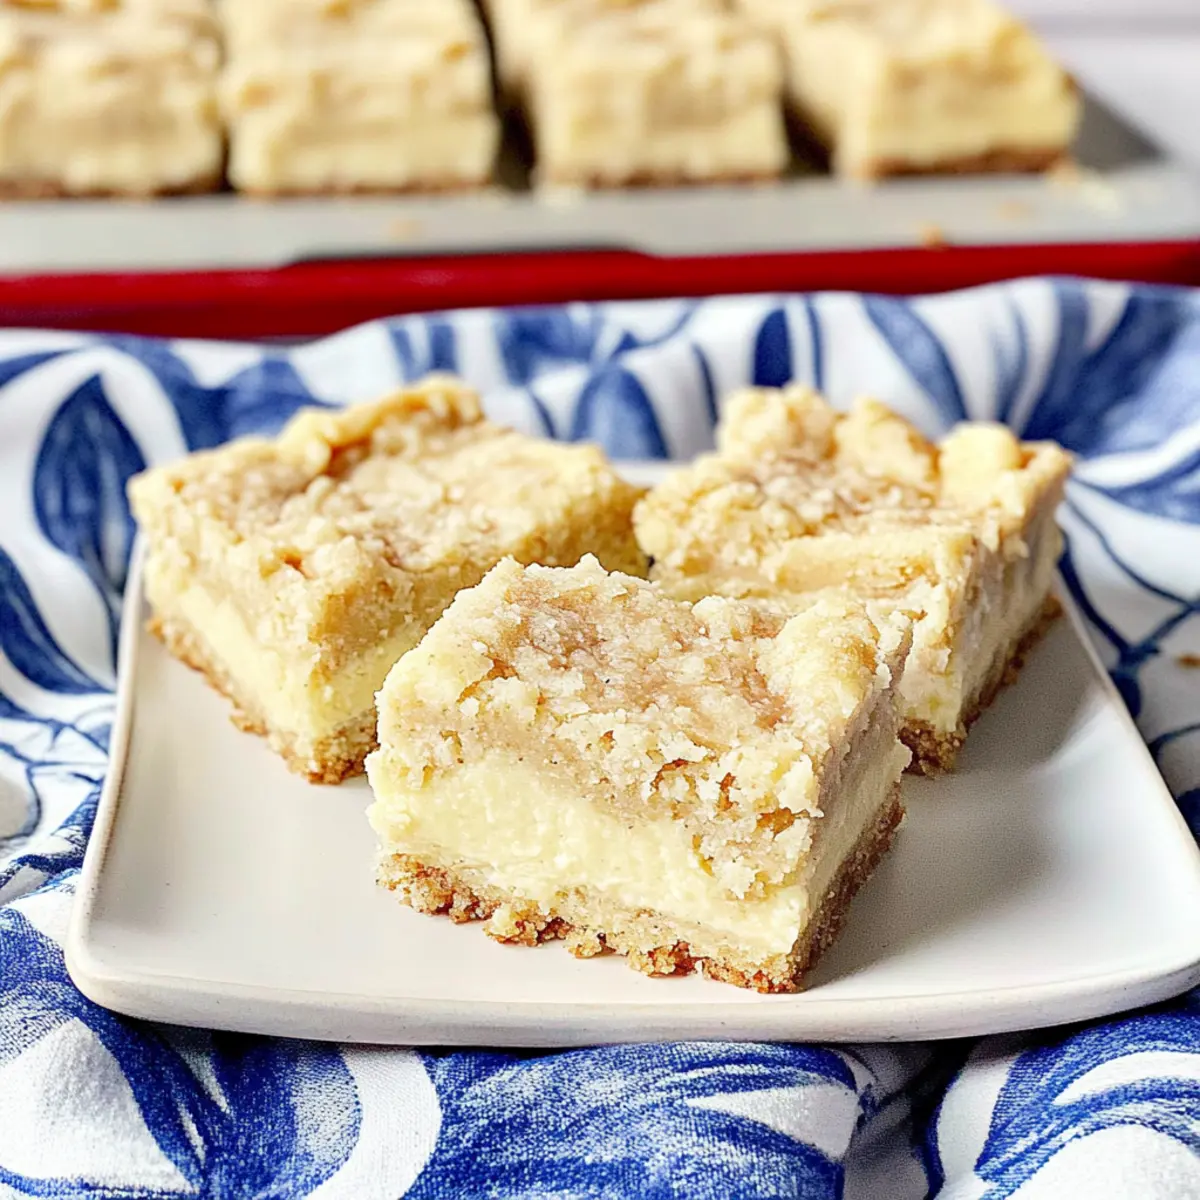
Eggnog Cookie Bars Recipe FAQs
How do I select the right eggnog for the recipe?
Absolutely! When choosing eggnog, look for a brand that uses quality ingredients; organic options often have a richer flavor. If you prefer a non-dairy version, there are delightful almond milk or coconut milk eggnogs available. Freshness is key, so check the expiration date!
How should I store leftover Eggnog Cookie Bars?
Very! You can store your Eggnog Cookie Bars in an airtight container in the fridge for up to one week. This keeps them fresh and moist. Just make sure to place a piece of parchment paper between layers if you’re stacking them, to prevent sticking.
Can I freeze Eggnog Cookie Bars and how?
Absolutely! To freeze, wrap individual squares tightly in plastic wrap and then place them in a freezer-safe bag. This method helps preserve their flavor and texture, allowing for freezer life of up to 3 months. When you’re ready to enjoy them, simply transfer to the fridge to thaw overnight.
What should I do if my cookie bars are too crumbly?
Oh, no worries! If your bars turn out crumbly, it may be due to overmixing the shortbread base or not using enough eggnog. For next time, ensure you gently mix the dough until just combined. Adding a tablespoon more of eggnog can help bind it together, leading to a more cohesive texture.
Are Eggnog Cookie Bars safe for pets?
Very good question! While they are delicious for you, Eggnog Cookie Bars are not safe for pets due to the cream cheese and sugar content. Chocolate, often found in variations, is toxic to dogs. If you’re sharing with furry friends, stick to pet-safe treats!
Can I use homemade eggnog instead of store-bought?
Absolutely! Homemade eggnog can elevate your bars to the next level with a fresh flavor. Just make sure your recipe uses pasteurized eggs to ensure safety. You can even tailor the spices in your homemade version to match your taste—what a fun way to personalize your Eggnog Cookie Bars!
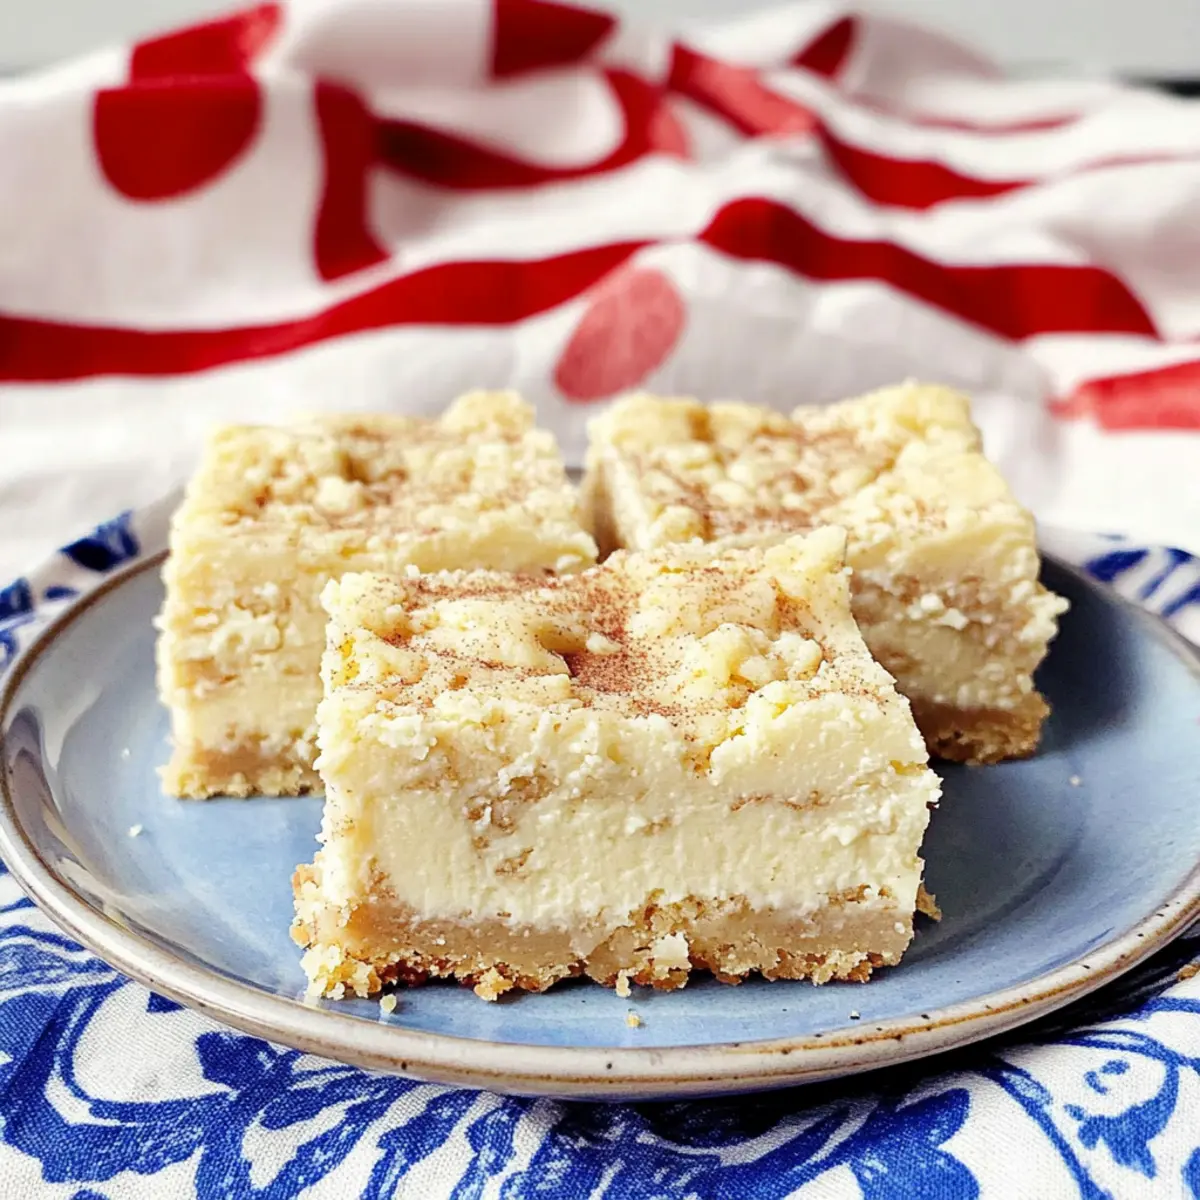
Irresistible Eggnog Cookie Bars for a Cozy Holiday Indulgence
Ingredients
Equipment
Method
- Preheat your oven to 350°F (175°C) and prepare an 8-inch square baking pan by lining it with foil or parchment paper.
- In a bowl, whisk together flour, sugar, baking powder, salt, nutmeg, and cinnamon.
- Grate cold butter into the flour mixture and mix until it resembles coarse crumbs.
- Add eggnog and combine to form a slightly sticky dough.
- Press two-thirds of the dough into the bottom of the prepared pan.
- Beat together cream cheese, sugar, egg, eggnog, and vanilla until smooth.
- Pour the cheesecake mixture over the shortbread base and crumble the remaining dough on top.
- Bake for 30 minutes or until edges are golden and the center is set with a jiggle.
- Let cool completely, then refrigerate overnight.
- Lift out and slice into squares to serve.
Leave a Reply