
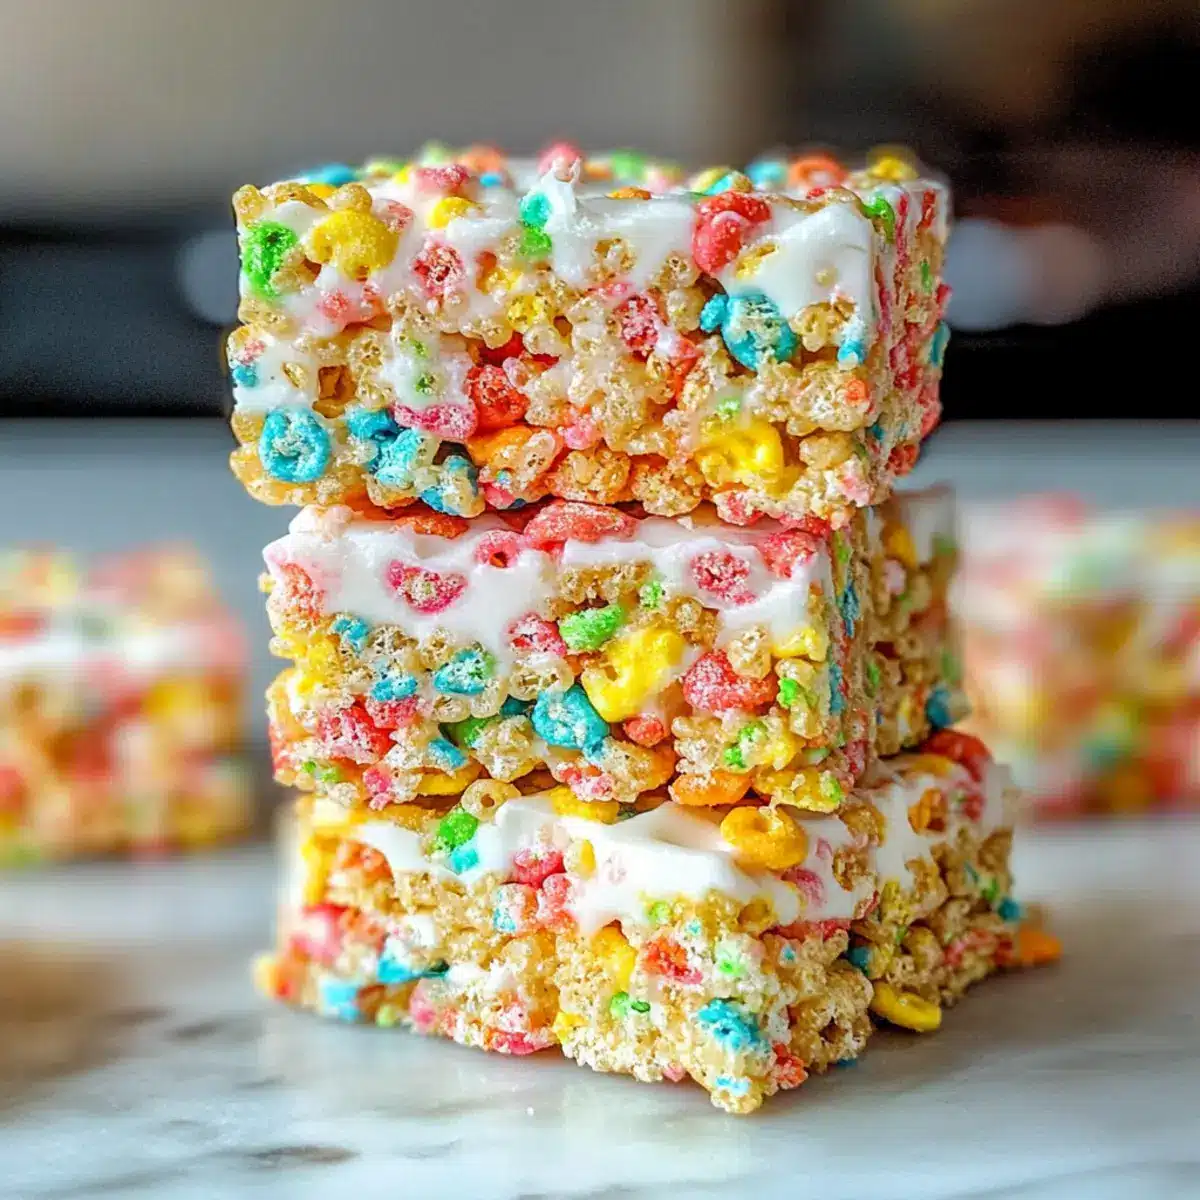
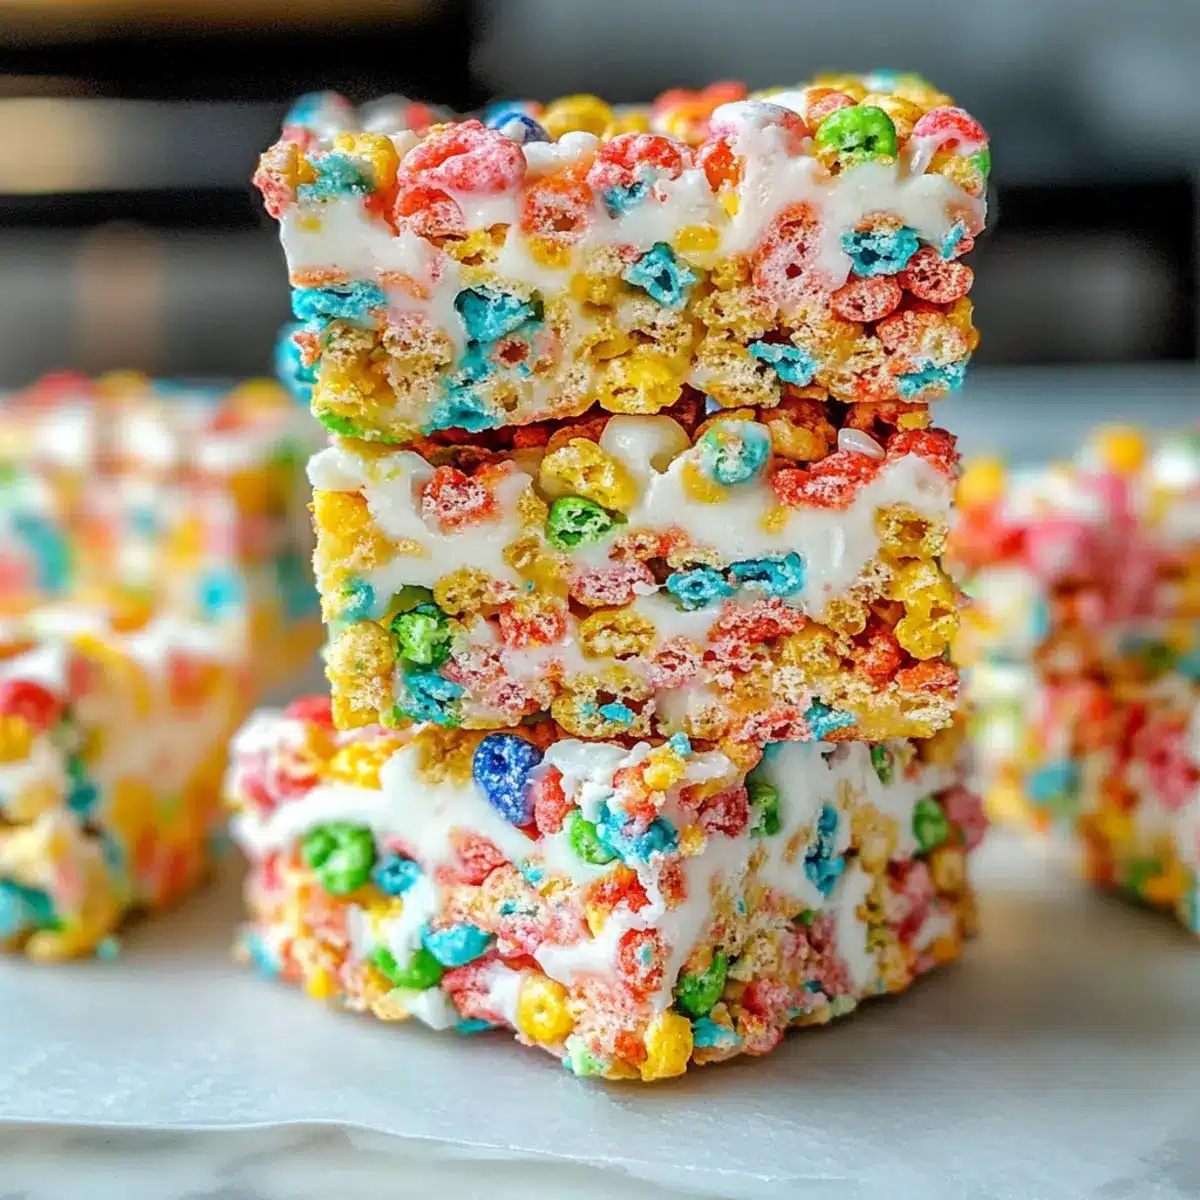
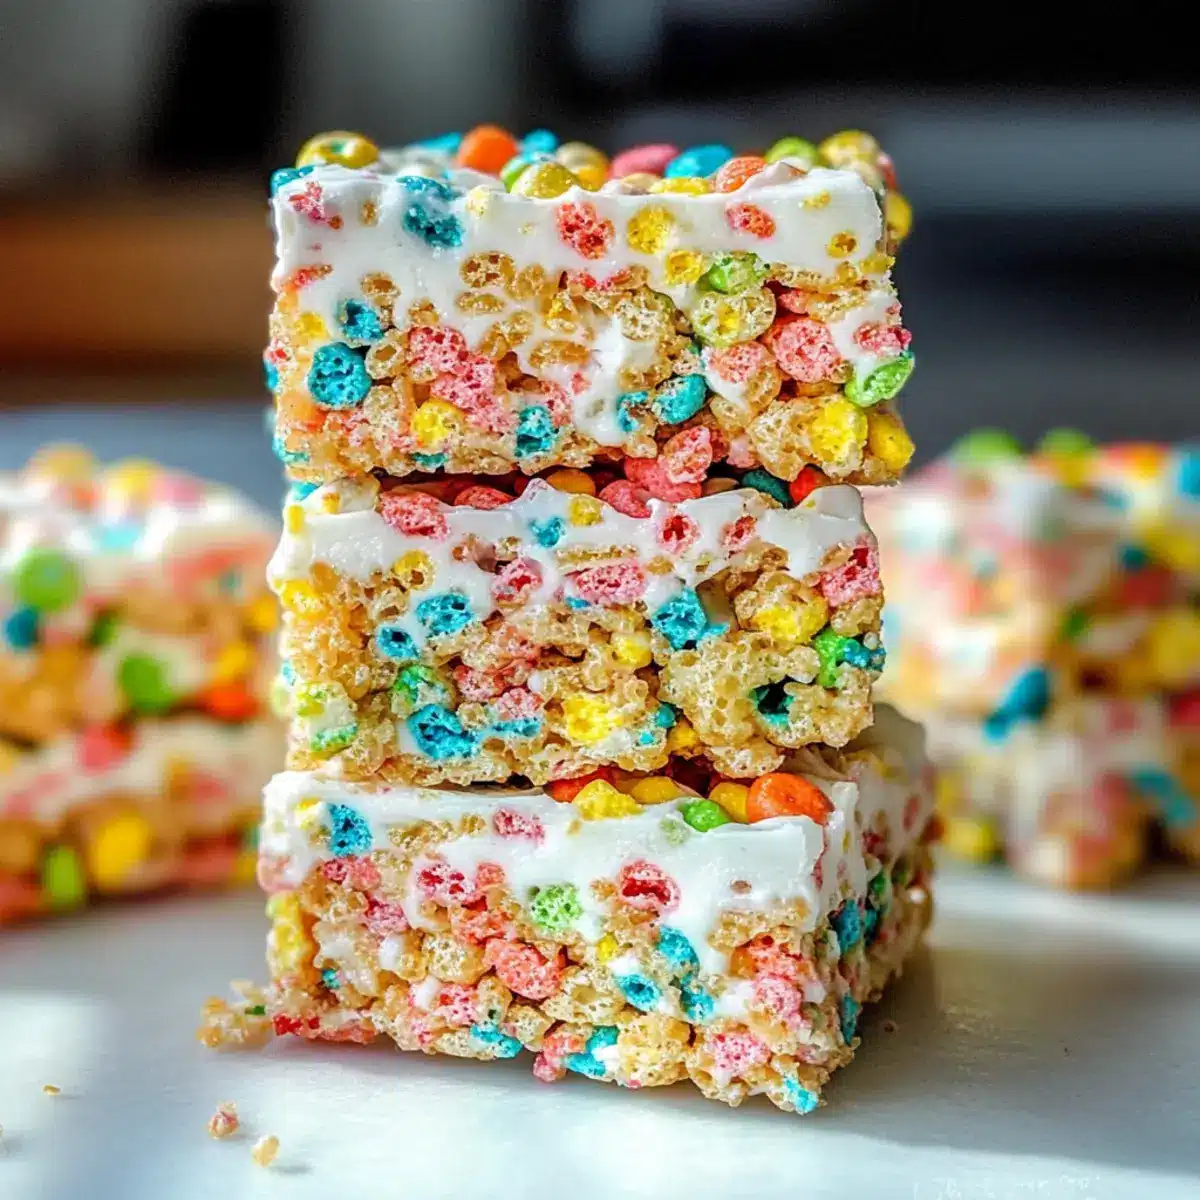
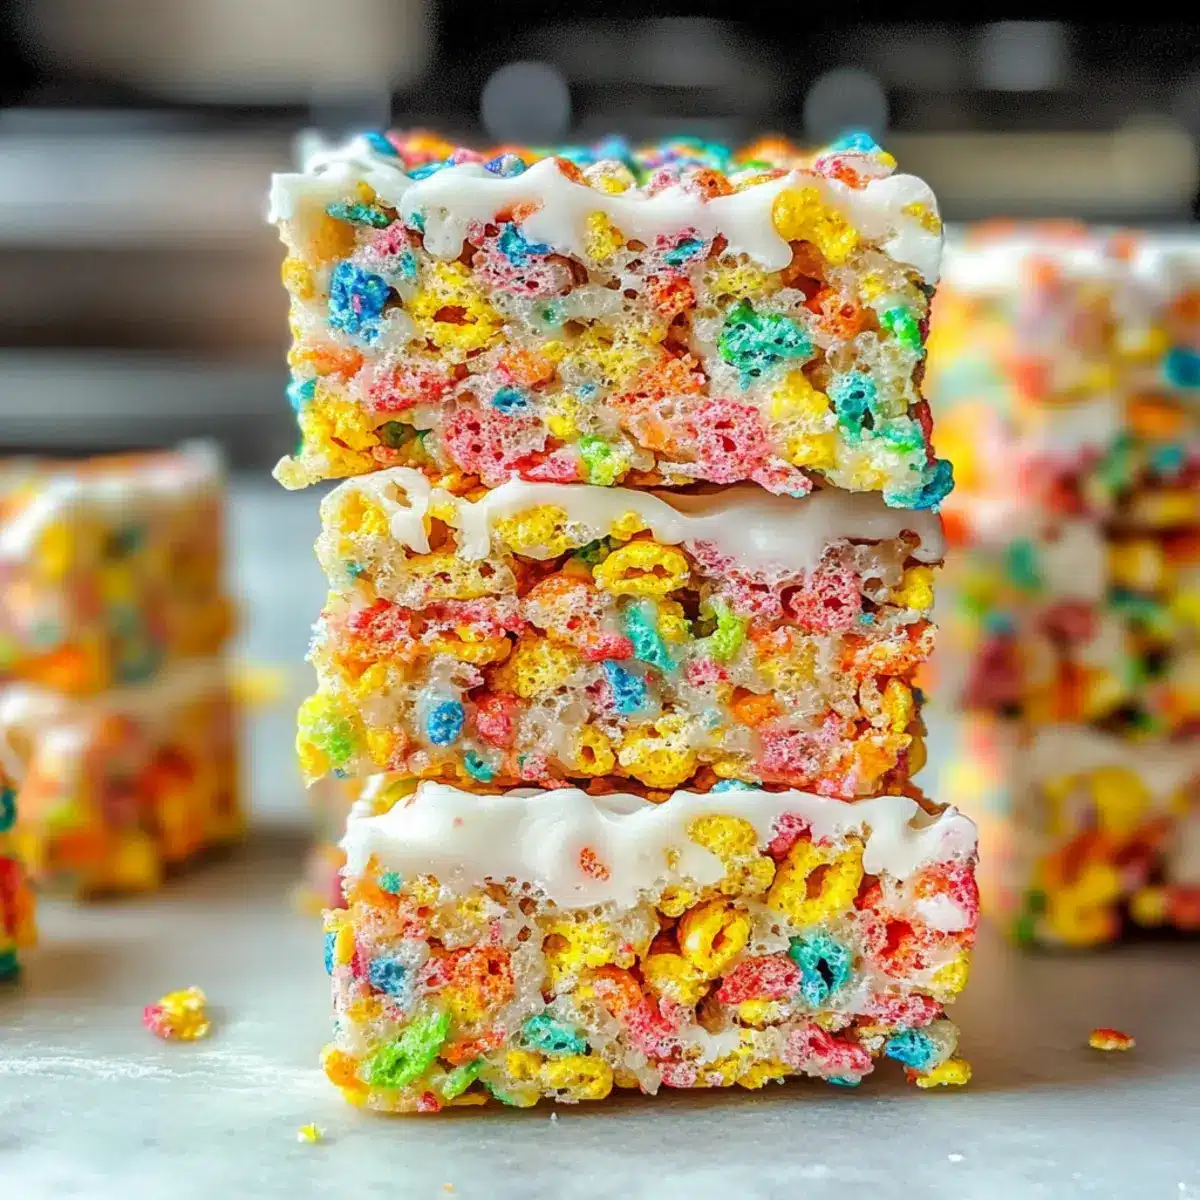
As I stood in my kitchen, a colorful box of Fruity Pebbles caught my eye, and an idea ignited—why not turn nostalgia into something scrumptiously gooey? Enter my Gooey Fruity Pebbles Rice Krispie Treats! Not only do they provide a fun, vibrant twist on the classic dessert, but they’re also incredibly quick to whip up, making them an ideal choice for busy evenings or unexpected guests. With the addition of extra marshmallows and a sprinkle of sea salt, each bite delivers a delightful contrast of sweet and salty that will have everyone reaching for seconds. Plus, they’re gluten-free and entirely customizable, allowing you to mix and match with other cereals based on your cravings. Are you ready to dive into a treat that will brighten your day? Let’s get started!
Why Will You Crave These Treats?
Gooey Goodness: Each bite of these Fruity Pebbles Rice Krispie Treats offers a blissful combination of textures and flavors that will keep you coming back for more.
Customizable Fun: Feel free to make these treats your own! From adding mini chocolate chips to trying different cereals like Cocoa Pebbles, the possibilities are endless.
Quick & Easy: Perfect for last-minute dessert cravings, this recipe takes minimal time and effort, letting you enjoy homemade treats without a hassle.
Kid-Friendly Appeal: Kids and adults alike love these vibrant, colorful squares, making them a hit at parties or as lunchbox surprises.
Indulge your sweet tooth while enjoying this fun twist on a classic recipe, and if you’re interested in more quick desserts, check out my Rice Krispie Treats for another delicious option!
Fruity Pebbles Rice Krispie Treats Ingredients
For the Base
• Butter – Provides richness and moisture; substitute with coconut oil for a dairy-free option.
• Mini Marshmallows – Key for chewiness; use 10 cups total—8 cups melted and 2 cups added whole for extra gooeyness.
• Vanilla Extract – Adds depth of flavor; using pure vanilla yields the best results.
• Rice Krispies Cereal – Forms the structure of the treats; can be substituted with a gluten-free variety for dietary preferences.
• Fruity Pebbles Cereal – Introduces flavor and color; swap for other cereals like Cocoa Pebbles or Cinnamon Pebbles for variations.
For the Finishing Touch
• Sea Salt – Enhances the sweetness of the treats; use fine grain for an even sprinkle throughout the mixture.
• Marshmallow Fluff – Contributes to the gooey texture; it’s a unique addition that ramps up the stickiness of the treats.
Dive into the colorful world of Fruity Pebbles Rice Krispie Treats and create a delightful dessert that’s sure to impress!
Step‑by‑Step Instructions for Gooey Fruity Pebbles Rice Krispie Treats
Step 1: Prepare the Pan
Start by greasing a 9×9-inch baking pan with non-stick spray. For easy removal later, line the pan with foil or parchment paper, leaving some overhang. This will create a protective layer against sticking and makes lifting out your delicious Fruity Pebbles Rice Krispie Treats a breeze once they cool.
Step 2: Melt the Marshmallows
In a large microwave-safe bowl, combine 1/2 cup of butter, 1/4 teaspoon of sea salt, and 8 cups of mini marshmallows. Microwave the mixture in 30-second intervals, stirring vigorously after each, until the marshmallows are completely melted and smooth, which should take about 2-3 minutes. The mixture should be glossy and fluffy.
Step 3: Add Flavorings
Once the marshmallows have melted, mix in 1 teaspoon of vanilla extract and 1 cup of marshmallow fluff until well combined. The fluff should incorporate easily into the melted marshmallow mixture, adding to the delightful gooeyness of your Fruity Pebbles Rice Krispie Treats.
Step 4: Combine the Cereals
Remove the bowl from the microwave and immediately stir in 4 cups of Rice Krispies and 2 cups of Fruity Pebbles. Use a spatula to gently fold the cereals until they are evenly coated with the marshmallow mixture, creating a vibrant and sticky blend. Add the remaining 2 cups of mini marshmallows while the mixture is still warm for added chewiness.
Step 5: Press into the Pan
Using a buttered spatula, gently press the colorful mixture into your prepared pan, spreading it evenly into all corners. Make sure not to compact the mixture too tightly, as you want your Fruity Pebbles Rice Krispie Treats to remain soft and chewy. A light touch will ensure a perfect final texture.
Step 6: Cool and Cut
Allow the treats to cool at room temperature for at least 30 minutes. Once cooled, lift the treats out of the pan using the overhang of the foil or parchment paper. Cut into squares or rectangles with a sharp knife, and your Gooey Fruity Pebbles Rice Krispie Treats are ready to be enjoyed!
What to Serve with Gooey Fruity Pebbles Rice Krispie Treats
Imagine a lively gathering where colorful treats take center stage, and each bite brings bursts of flavor and joy.
-
Creamy Vanilla Ice Cream: A scoop of creamy ice cream perfectly contrasts the chewy texture, adding an inviting chill to every delightful bite. The flavors dance together, providing a luscious treat.
-
Fruity Smoothie: Blend your favorite fruits with yogurt for a refreshing drink that complements the fruity flavors in the treats, keeping the celebration vibrant and fun.
-
Chocolate Dipped Strawberries: Decadent strawberries dipped in rich chocolate create a luscious pairing, adding layers of flavor that elevate your dessert experience. Each bite offers a satisfying contrast to the treats.
-
Rainbow Fruit Salad: A medley of fresh fruits adds brightness and an element of healthiness to the table, making for a colorful and nutritious addition that balances the sweetness of the treats.
-
Sparkling Lemonade: A fizzy, refreshing lemonade pairs beautifully, offering a bright, zesty flavor that cuts through the sweetness and invigorates your palate, making it a perfect drink companion.
-
Peanut Butter Cups: For chocolate lovers, these sweet and salty treats add richness and an extra crunch, creating a delightful mix of flavors that enhances the overall dessert spread and satisfies those cravings.
Let these pairings inspire your next sweet affair, making it an event to remember!
Fruity Pebbles Rice Krispie Treats Variations
Ready to make these treats even more exciting? Customize your Gooey Fruity Pebbles Rice Krispie Treats with these fun twists!
-
Dairy-Free: Replace butter with coconut oil for a dairy-free version that maintains the delicious richness.
-
Chocolatey Twist: Swap in Cocoa Pebbles instead of Fruity Pebbles for a delightful chocolatey version that kids will adore. Who can resist chocolate?
-
Cinnamon Spice: For a warm, cozy flavor, add a sprinkle of cinnamon to the marshmallow mixture before incorporating the cereals. It’s like a hug in treat form!
-
Nutty Crunch: Add a handful of chopped nuts or nut butter for a delightful crunch! An almond or peanut flourish adds an extra layer of heartiness.
-
Extra Marshmallows: Craving even more gooeyness? Toss in an additional cup of mini marshmallows for maximum chewiness. Everyone loves a little extra ooey-gooey action!
-
Rainbow Sprinkles: Give these treats a festive flair by mixing in colorful sprinkles at the end. They’re perfect for birthday parties or just a cheerful treat!
-
Peanut Butter Drizzle: Drizzle melted peanut butter on top before they set for a nutty, creamy finish. It’s a delightful surprise in each bite!
-
Coconut Flakes: Stir in some unsweetened coconut flakes for a tropical twist that elevates the texture and flavor. It’s like a mini vacation for your taste buds!
If you’re inspired by the customizable nature of this treat, you might also enjoy experimenting with variations in my delicious Rice Krispie Treats!
How to Store and Freeze Fruity Pebbles Rice Krispie Treats
Room Temperature: Keep your treats in an airtight container at room temperature for up to 2-3 days. This will retain their gooey texture and delightful flavor.
Fridge: For longer freshness, store the Fruity Pebbles Rice Krispie Treats in the refrigerator. They can last for about a week, but be sure to seal them tightly.
Freezer: If you want to make a big batch, freeze the treats for up to 6 weeks. Wrap them in plastic wrap, then place in an airtight container. Thaw in the fridge when ready to enjoy!
Reheating: If chilled, you can warm the treats in the microwave for about 10-15 seconds to revive their gooey texture before serving.
Make Ahead Options
These Fruity Pebbles Rice Krispie Treats are perfect for busy home cooks looking to save time! You can prepare the entire mixture and press it into the pan up to 24 hours in advance. Simply cover the pan tightly with plastic wrap and refrigerate to maintain freshness. For best results, press the mixture into the pan gently to keep them soft and chewy. When you’re ready to serve, just let them sit at room temperature for about 15 minutes before cutting into squares. This way, you’ll enjoy delicious, gooey treats with minimal last-minute effort, making your busy weeknights a little sweeter!
Expert Tips for Fruity Pebbles Rice Krispie Treats
-
Heat Control: Keep the microwave at medium power when melting marshmallows to prevent hardening and ensure a smooth mixture.
-
Butter for Ease: Lightly butter your spatula before pressing the mixture into the pan. This will help avoid sticking and make for easier spreading.
-
Don’t Over-Compact: When pressing the mixture into the pan, use a gentle touch. Over-packing can lead to dense, hard treats instead of the desired gooey texture.
-
Layering Marshmallows: Add the extra marshmallows while the mixture is still warm to achieve that delightful chewy texture in your Fruity Pebbles Rice Krispie Treats.
-
Storage Tips: Keep your treats in an airtight container at room temperature for 2-3 days for optimal freshness, or freeze them for up to 6 weeks.
Fruity Pebbles Rice Krispie Treats Recipe FAQs
How do I choose the right ripeness for my ingredients?
Absolutely! When selecting ingredients, particularly the butter and marshmallows, make sure they are fresh. Use unsalted butter for control over the saltiness. Mini marshmallows should be soft and fluffy, without any hard or stale bits, to ensure that the treats turn out gooey and delicious.
How should I store leftover Fruity Pebbles Rice Krispie Treats?
These delightful treats can be stored at room temperature in an airtight container for up to 2-3 days. For longer storage, place them in the fridge, where they’ll stay fresh for about a week. Keep them sealed tightly to prevent them from becoming stale.
Can I freeze Fruity Pebbles Rice Krispie Treats?
Yes, you can freeze them! Wrap your treats tightly in plastic wrap and then place them in an airtight container. They can be frozen for up to 6 weeks. When you’re ready to enjoy, simply thaw them in the fridge overnight, and if you prefer, pop them in the microwave for 10-15 seconds to warm them back up and restore their gooey texture.
What should I do if my treats are too hard after cooling?
Very! If your Fruity Pebbles Rice Krispie Treats turn out hard, it’s likely due to over-packing while pressing into the pan. For the perfect texture, gently press the mixture without compacting it too tightly. If they’re already too hard, try heating them slightly in the microwave for a few seconds to soften them up again!
Are Fruity Pebbles Rice Krispie Treats safe for pets or people with allergies?
It’s essential to be careful here! While these treats are gluten-free if you use gluten-free Rice Krispies, they may still pose an allergy risk to those with sensitivities to dairy (butter and marshmallows), or eggs (found in some marshmallow brands). Always check the labels! As for pets, it’s best to keep these sweet treats away from dogs and cats, as they may not digest sugary foods well.
Gooey Fruity Pebbles Rice Krispie Treats for Your Sweet Cravings
Ingredients
Equipment
Method
- Prepare the Pan: Grease a 9x9-inch baking pan with non-stick spray and line with foil or parchment paper.
- Melt the Marshmallows: In a microwave-safe bowl, combine butter, sea salt, and 8 cups of mini marshmallows. Microwave in 30-second intervals until melted and smooth.
- Add Flavorings: Mix in vanilla extract and marshmallow fluff until well combined.
- Combine the Cereals: Stir in Rice Krispies and Fruity Pebbles, folding until evenly coated. Add remaining mini marshmallows while warm.
- Press into the Pan: Using a buttered spatula, press the mixture evenly into the pan.
- Cool and Cut: Allow to cool for at least 30 minutes, then cut into squares.
Leave a Reply