
As I watched the vibrant, crunchy taco cups emerge from the oven, I felt a wave of excitement. These Healthy Vegan Taco Cups with Lentils and Vegetables not only look impressive but are also incredibly satisfying—perfectly crispy homemade taco shells filled with a colorful medley of flavors. The best part? They’re ready in just 25 minutes, making them a swift yet delightful option for busy weeknights. Plus, they’re vegan, gluten-free, and low-fat, so you can indulge without guilt. Whether you’re hosting a gathering or simply treating yourself to a wholesome meal, these taco cups are guaranteed to please. Curious about how to create this fun and healthy alternative to traditional tacos? Let’s dive into the recipe!
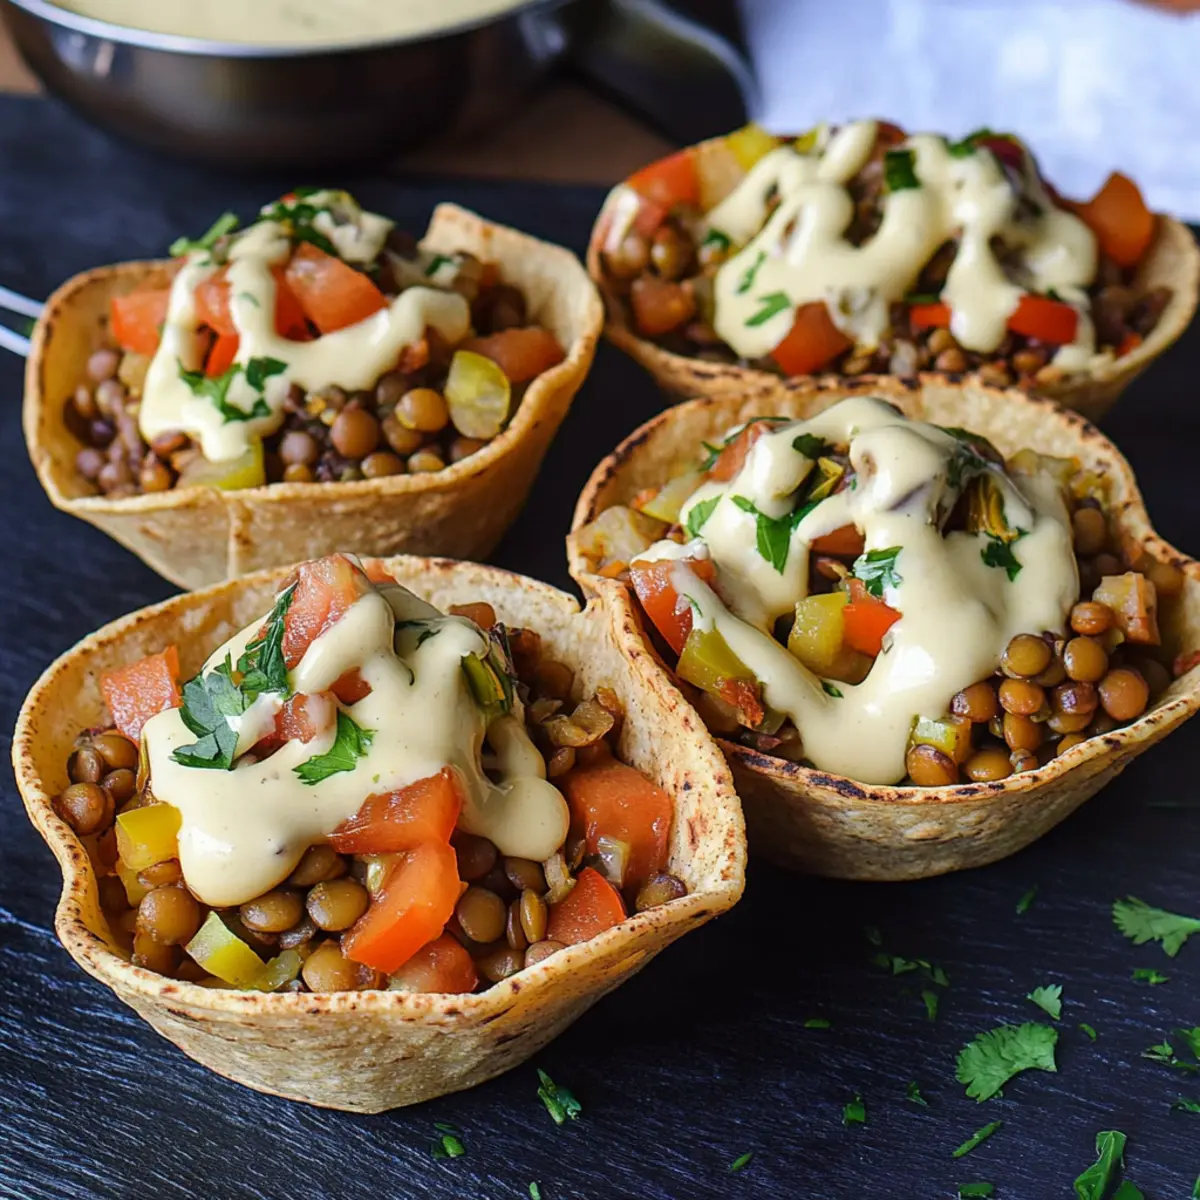
Why Make Homemade Taco Shells?
Creative cooking: Transform ordinary tortillas into delicious crispy taco shells—perfect for filling with lentils and veggies!
Health-conscious: Enjoy your tacos guilt-free; these shells are gluten-free, low-fat, and vegan!
Quick and easy: Ready in just 25 minutes, these taco cups are ideal for busy weeknights.
Versatile options: Fill them with your choice of proteins and veggies, making each batch unique! Try pairing them with a side of Rajas Con Crema for an extra flavor kick.
Crowd pleaser: Impress family and friends with these eye-catching bites—perfect for parties or family dinners!
Give these a try; your taco night will never be the same!
Homemade Taco Shells Ingredients
• Let’s create the perfect crispy homemade taco shells to hold our delicious fillings!
For the Taco Shells
- Tortillas – The backbone of your taco cups; consider using gluten-free options for dietary needs.
- Vegetable Oil – Helps the shells crisp up beautifully while baking. Substitute with olive oil for a healthier alternative.
For the Taco Filling
- Lentils – A hearty protein source that brings a wonderful texture; feel free to swap with beans like black or chickpeas as needed.
- Onion – Adds a layer of sweetness and depth; red or yellow onions work beautifully.
- Garlic – Enhances flavor and aroma; fresh garlic will make your taco filling sing!
- Bell Pepper – Brings a delightful crunch and vibrant color; any color will do!
- Cherry Tomatoes – Juicy bursts of flavor; diced regular tomatoes can be a great alternative.
- Ground Cumin – Adds earthiness and warmth to the filling’s flavor profile.
- Smoked Paprika – Imparts a subtle smokiness; regular paprika can work if needed.
For Seasoning
- Salt and Pepper – Crucial for bringing all the flavors together; season to your individual preference.
- Red Pepper Flakes – A dash of heat to kick things up; adjust to your spice tolerance!
- Brown Sugar – Balances flavors with a hint of sweetness; you can switch this for maple syrup if desired.
- Soy Sauce – Adds depth and umami; use tamari for a gluten-free choice.
- Balsamic Vinegar – Enhances acidity for balance; apple cider vinegar offers a great substitute if you prefer.
For Creaminess
- Almond Milk or Cream – Keeps your filling moist and delicious; any non-dairy milk can easily be substituted.
- Vegan Cheese Sauce – A rich topping that adds an extra layer of creaminess; skip it entirely if you want!
These homemade taco shells promise crispiness and provide the perfect base for your flavorful filling, making your taco night a truly memorable experience!
Step‑by‑Step Instructions for Healthy Vegan Taco Cups with Lentils and Vegetables
Step 1: Preheat the Oven
Begin by preheating your oven to 390°F (200°C). This will ensure the homemade taco shells bake evenly and achieve that delightful crunch. While the oven heats up, gather your ingredients and equipment, including a muffin tin or heat-proof bowls for shaping the taco shells.
Step 2: Bake the Tortillas
Once the oven is ready, lightly brush the tortillas with vegetable oil for extra crispiness. Press each tortilla into a muffin tin or heat-proof bowls, making sure they form a nice cup shape. Bake them for about 15 minutes, or until they’re lightly browned and firm to the touch. Once out of the oven, allow them to cool slightly to enhance their crispiness.
Step 3: Chop the Vegetables
While the taco shells are baking, chop the onion, garlic, bell pepper, and cherry tomatoes into small pieces. This step is crucial for ensuring even mixing and cooking of your filling. You want the vegetables to be colorful and uniformly sized to create a visually appealing and flavorful filling for your healthy vegan taco cups.
Step 4: Sauté the Base Ingredients
In a large skillet, heat a splash of vegetable oil over medium heat. Add the chopped onion and sauté for about 2-3 minutes until it becomes soft and translucent. Next, incorporate the garlic and bell pepper, stirring frequently and cooking for an additional 3-5 minutes until the bell pepper is tender and vibrant.
Step 5: Combine and Cook the Filling
Once the vegetables are sautéed, stir in the cooked lentils along with the remaining filling ingredients (excluding the cheese). You’ll want to mix well and let the filling cook for 3-4 minutes, allowing all the flavors to meld beautifully. The mixture should smell fragrant and look colorful, providing a hearty and satisfying filling for your taco cups.
Step 6: Fill the Taco Cups
Carefully remove the baked taco shells from the muffin tin, ensuring they maintain their shape. Begin to generously fill each homemade taco shell with the lentil and vegetable mixture. The filling should be heaping, so each bite packs a punch of flavor. If desired, drizzle the top with vegan cheese sauce for added creaminess and richness.
Step 7: Serve and Enjoy
Once your healthy vegan taco cups are filled, they’re ready to serve! You can enjoy them immediately, or if needed, warm them briefly in the oven before serving. For an extra touch, garnish with fresh herbs or pair with your favorite sides like salsa or guacamole. These delightful taco cups promise to be a hit any night of the week!
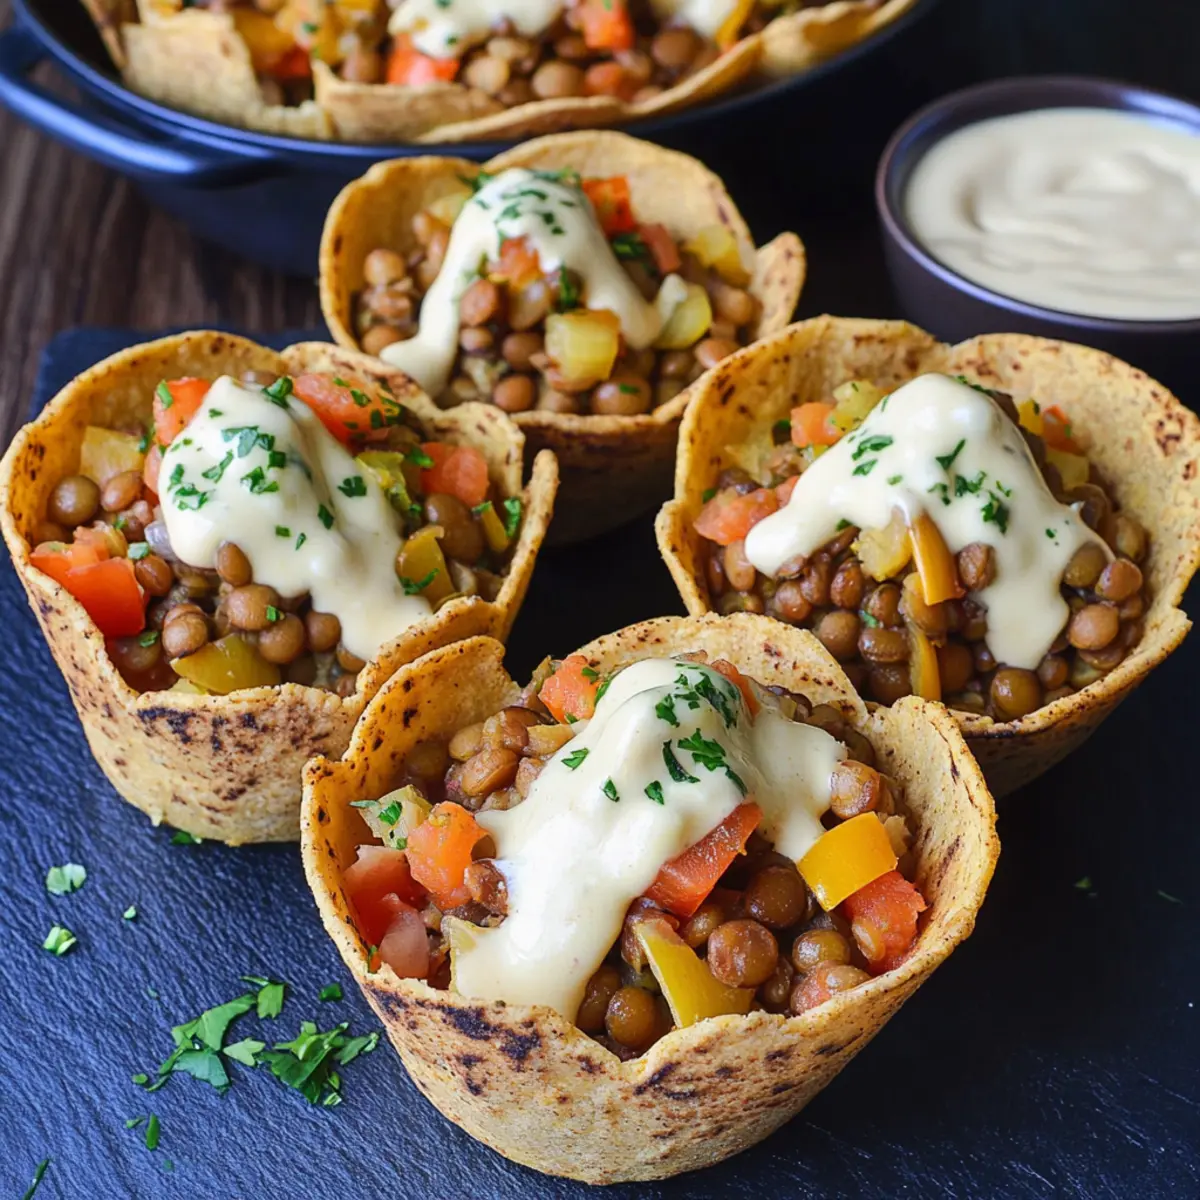
Homemade Taco Shells Variations
Feel free to unleash your culinary creativity with these fun twists on your taco shells!
-
Gluten-Free: Use gluten-free tortillas to make these taco cups accessible for everyone, ensuring no one misses out on the fun.
-
Baked Instead of Fried: Skip the oil altogether and bake the tortillas dry for an even healthier option while keeping the delicious crunch.
-
Spicy Kick: Add a sprinkle of cayenne pepper or jalapeños to the filling for an extra layer of heat that’ll dance on your taste buds.
-
Cheesy Bliss: Replace the vegan cheese sauce with your favorite cheese blend for a gooey, melty experience that adds richness.
-
Add Crunch: Toss in some crushed corn chips into the filling mix for an exciting texture contrast that adds an additional crunchy layer.
-
Sweet Surprise: Transform these taco cups into dessert by using sweet tortillas and filling them with fruit and a dollop of non-dairy yogurt. A delightful twist!
-
Salsa Circles: Instead of standard salsa, use salsa verde or a fruit salsa to give your taco cups a fresh, zesty flair. It’s a perfect pairing!
These delightful variations can truly elevate your taco night! And for a fantastic filling option, consider pairing them with veggie-packed Rajas Con Crema for even more flavor adventure.
How to Store and Freeze Homemade Taco Shells
Room Temperature: Store crispy homemade taco shells in an airtight container at room temperature for up to 2 days to maintain their crunch.
Fridge: If you have leftover taco shells, keep them in the fridge to last up to 5 days. However, expect them to soften over time.
Freezer: Place taco shells in a zip-lock bag and freeze for up to 2 months. Thaw them in the fridge overnight before reheating.
Reheating: To regain their crispiness, reheat thawed shells in a preheated oven at 350°F (175°C) for about 5 minutes. Enjoy your taco night!
What to Serve with Healthy Vegan Taco Cups with Lentils and Vegetables
Elevate your taco night by pairing these delightful cups with fresh, flavorful sides that enhance every bite.
-
Creamy Guacamole: Smooth and rich, this avocado-based dip adds a refreshing contrast to the zesty taco cups. It’s a crowd favorite!
-
Mango Salsa: The sweet and spicy notes of mango salsa will complement the earthy flavors of the lentil filling perfectly, creating a tropical fiesta on your plate.
-
Zesty Cilantro Lime Rice: Fluffy and fragrant, this dish adds a bright and tangy element that balances the savory filling of the taco cups beautifully.
-
Southwest Salad: Crisp greens tossed with black beans, corn, and a lime dressing provide a crunchy freshness that’s both nutritious and delicious when served alongside the taco cups.
-
Roasted Corn on the Cob: Hot and buttery with a sprinkle of chili powder, this classic side adds a sweet crunch that pairs harmoniously with your homemade taco shells.
-
Spicy Bean Dip: Serve this creamy dip for those who enjoy a kick—its smooth texture and bold flavors complement the crispy taco cups brilliantly.
-
Chilled Coconut Water: Refreshing and hydrating, this drink pairs wonderfully with the spicy flavors in the taco cups, offering a tropical twist to your meal.
-
Cinnamon Sugar Fruit Cups: For a sweet finish, these vibrant fresh fruit cups tossed in cinnamon sugar provide a light and satisfying dessert option to complete your meal.
Expert Tips for Homemade Taco Shells
• Crispiness Secret: For perfectly crispy homemade taco shells, ensure you bake them until they’re just lightly browned—this prevents them from becoming soggy.
• Oil Options: Use a high-quality vegetable oil or olive oil for frying the taco shells; this enhances the crisp while keeping them light and healthy.
• Fill Just Before Serving: To keep the taco shells crispy, fill them just before serving. If you make them in advance, store the shells and filling separately.
• Check Tortilla Thickness: Thinner tortillas tend to crisp up better than thicker ones; opt for medium or thin corn tortillas for optimal results.
• Flavor Variations: Don’t hesitate to experiment with your taco fillings; variety not only keeps things interesting but also aligns with your desired flavor profiles.
• Avoid Overfilling: While it’s tempting to pack your taco cups, overfilling can lead to breakage. Leave a little space so your homemade taco shells can shine!
Make Ahead Options
These Healthy Vegan Taco Cups with Lentils and Vegetables are perfect for meal prep enthusiasts looking to save time! You can prepare the taco shells up to 3 days in advance by baking them, then storing them in an airtight container to maintain their crispiness. The flavorful lentil filling can be cooked, refrigerated, and kept for up to 5 days. Simply warm the filling on the stovetop or microwave before assembling. For the best quality, fill the taco cups shortly before serving to prevent sogginess. With these prep-ahead tips, you’ll have a quick and satisfying meal ready to go, ensuring your taco night is deliciously effortless!
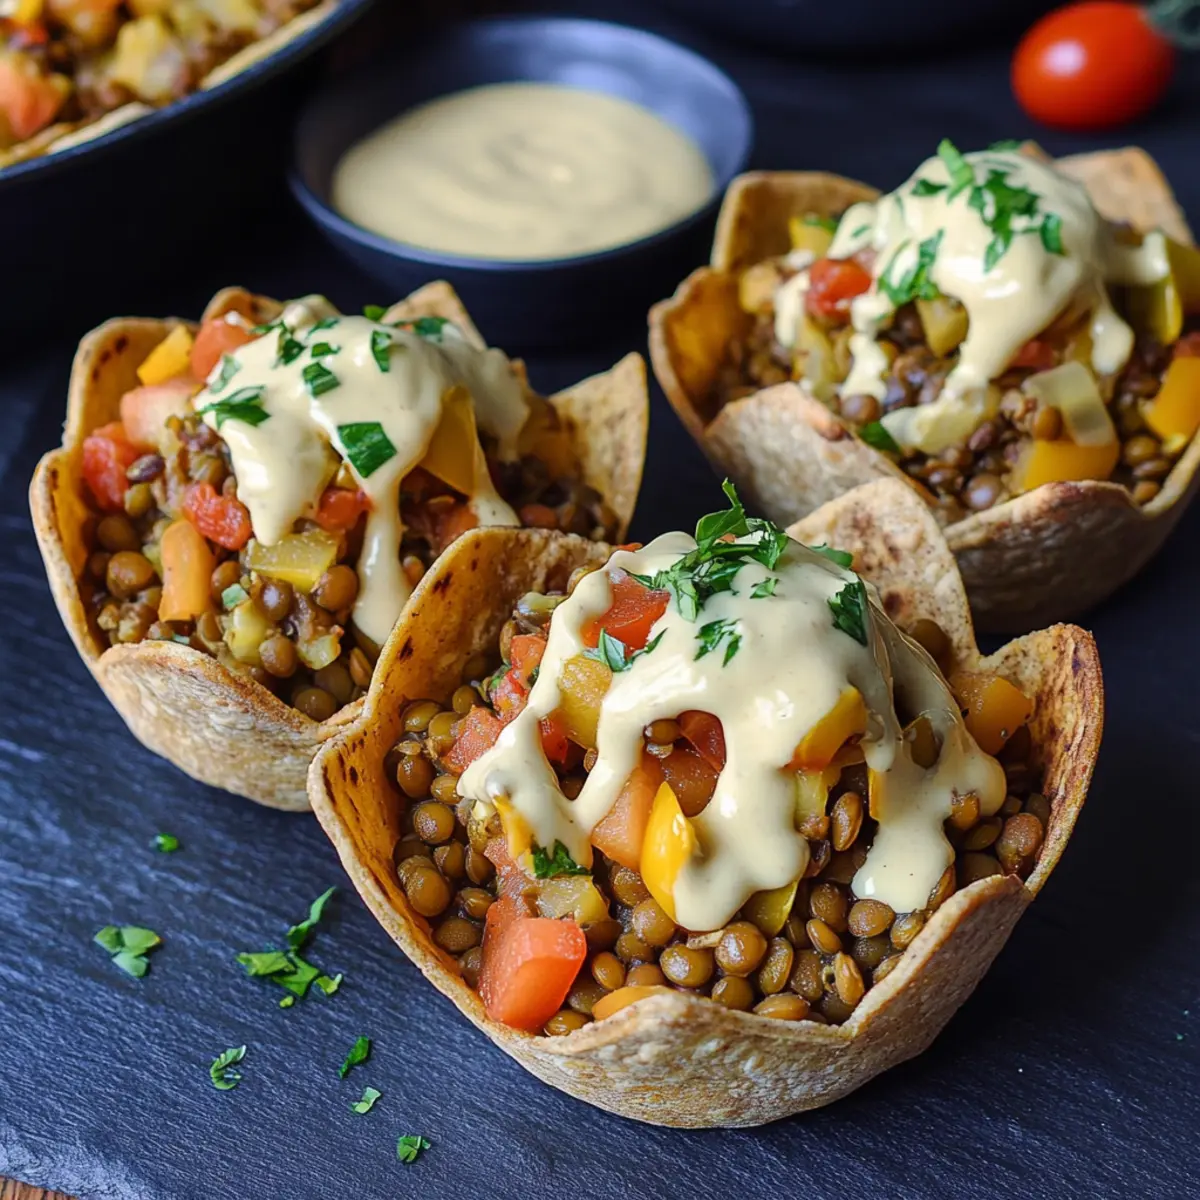
Crispy Homemade Taco Shells Recipe FAQs
How do I choose the right tortillas for my taco shells?
Absolutely! For crispy homemade taco shells, opt for thin or medium corn tortillas as they crisp up beautifully. If you’re gluten-free, be sure to select gluten-free tortillas. Look for tortillas that are fresh and pliable, avoiding any that have dark spots or are brittle.
How long can I store my homemade taco shells?
To keep your homemade taco shells at their best, store them in an airtight container at room temperature for up to 2 days. If you have leftover shells, they can be refrigerated for up to 5 days, but note they may lose some crispiness.
Can I freeze leftover taco shells?
Very! To freeze your taco shells, simply place them in a zip-lock bag lined with parchment paper to prevent sticking, and freeze for up to 2 months. When you’re ready to use them, just thaw in the fridge overnight, then reheat in a preheated oven at 350°F (175°C) for about 5 minutes to regain their crispiness.
What should I do if my taco shells turn out soggy?
If your taco shells end up soggy, don’t worry! This can happen if they’re filled too early or not baked long enough. To rescue them, simply place the filled taco cups back in the oven at 350°F (175°C) for 5-7 minutes to let them crisp up again. Additionally, avoid generously packing your tacos to reduce moisture retention.
Are there any dietary restrictions I should consider when making taco shells?
Yes, definitely! While homemade taco shells can be a great gluten-free option using corn tortillas, always check the ingredient list for any potential allergens. If preparing for guests, it’s lovely to ask about dietary restrictions beforehand to ensure everyone can enjoy these crispy delights!
How can I make my taco shells extra flavorful?
To enhance the flavor of your taco shells, consider brushing them lightly with a mixture of garlic powder, paprika, and olive oil before baking. Additionally, sprinkle with some spices or herbs to elevate the taste. Feel free to get creative; mix and match according to your preferences!
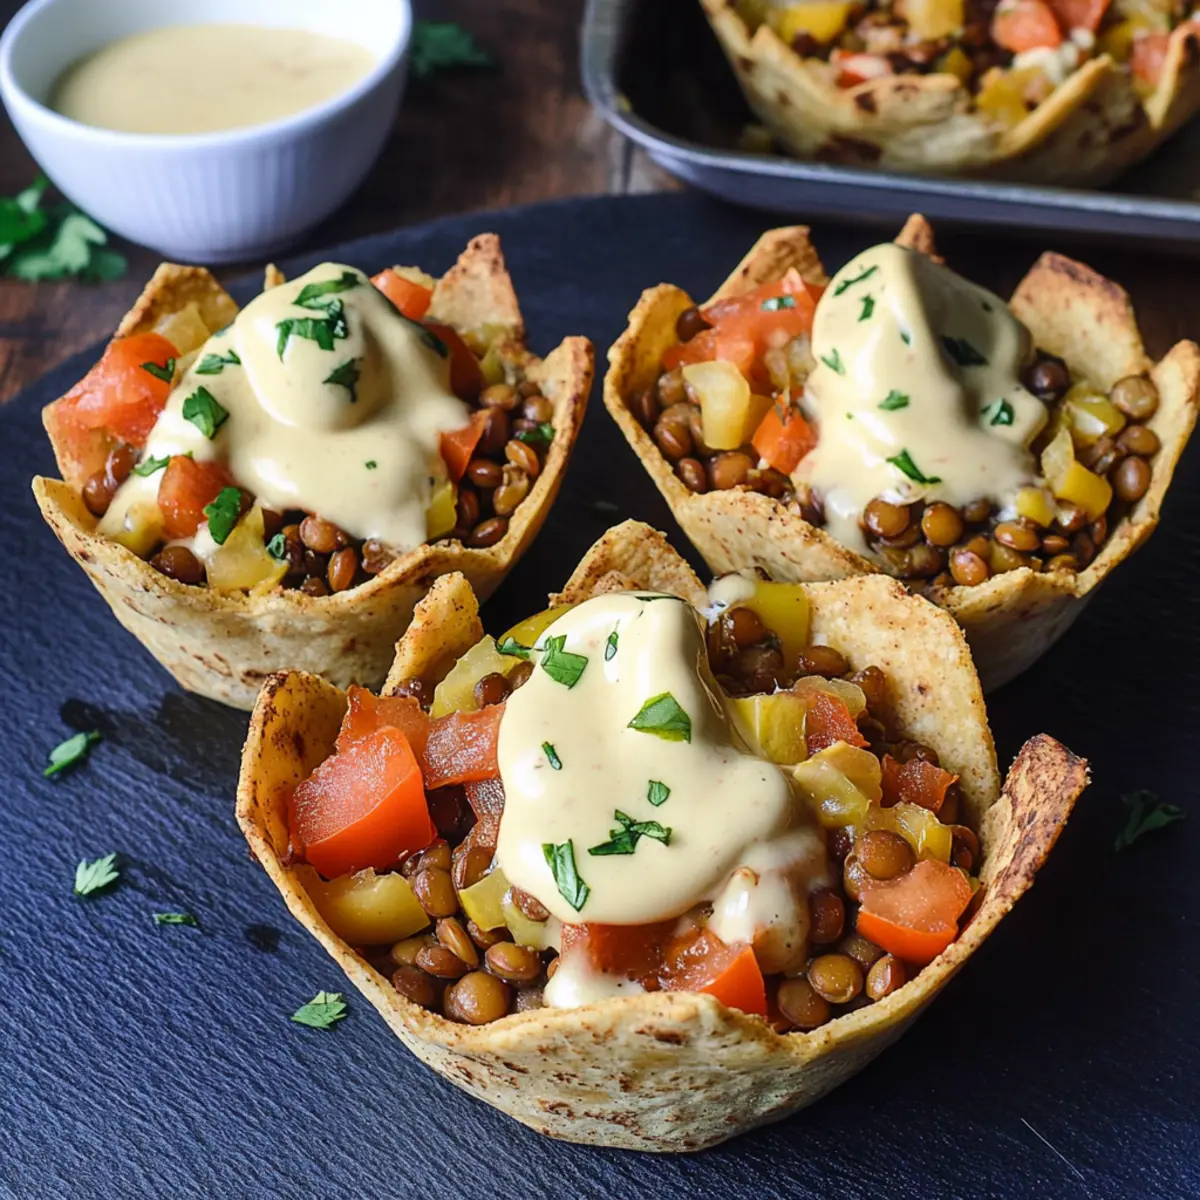
Crispy Homemade Taco Shells: A Fun Twist on Taco Night
Ingredients
Equipment
Method
- Preheat your oven to 390°F (200°C). Gather the ingredients and equipment.
- Brush the tortillas with vegetable oil. Press into the muffin tin or bowls and bake for about 15 minutes until lightly browned.
- Chop the onion, garlic, bell pepper, and cherry tomatoes into small pieces.
- Sauté onion in oil for 2-3 minutes, then add garlic and bell pepper, cooking until tender.
- Stir in cooked lentils and remaining filling ingredients, cook for 3-4 minutes.
- Fill each taco shell with the lentil and vegetable mixture, topping with cheese sauce if desired.
- Serve immediately or warm briefly before serving. Garnish if desired.
Leave a Reply