
There’s nothing quite like the satisfaction of creating a snack that’s not only healthy but also utterly delicious! These Healthy No Bake Chocolate Granola Bars are a delightful treat you can whip up in under 10 minutes, perfect for when cravings strike. With simple ingredients like oats and nut butter, these bars avoid the hassle of baking while providing a wholesome snack option that’s both high in protein and gluten-free. Whether you need a quick energy boost for your afternoon slump or a guilt-free dessert, these bars are your answer. Plus, they’re customizable—swap in your favorite nut butter or add in some dried fruits for a personal twist. What flavor combination will you try first?
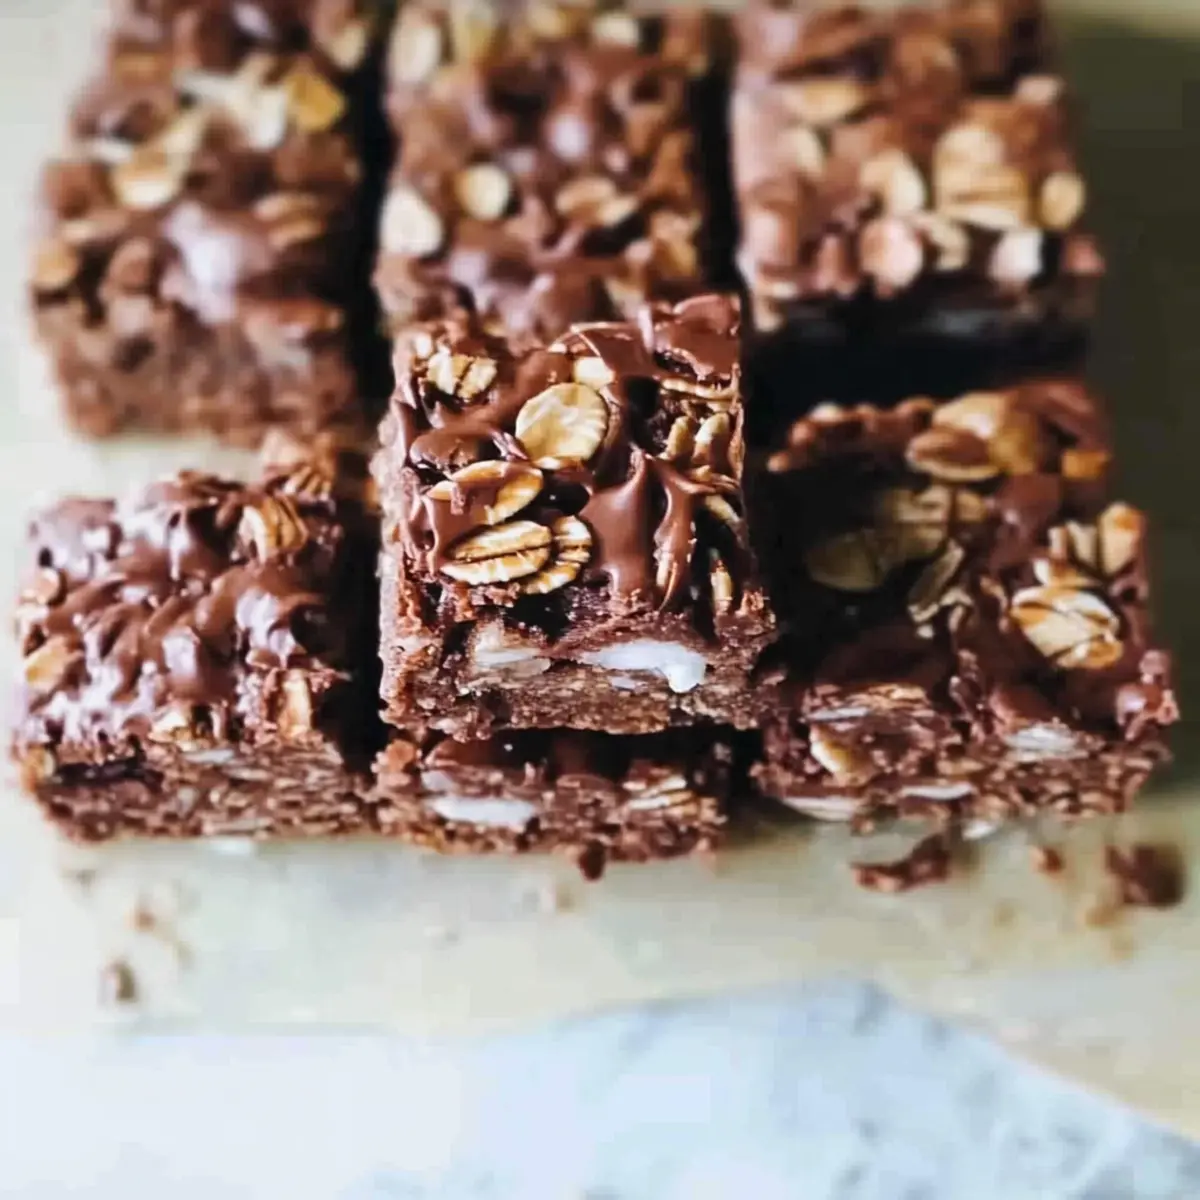
Why Are No Bake Chocolate Granola Bars So Great?
Quick and Easy: You can whip up these bars in under 10 minutes, no baking required!
Health Benefits: Made with wholesome ingredients, these bars are gluten-free and high in protein, making them a smart snack choice.
Customizable: Feel free to experiment with different nut butters and mix-ins for a unique twist each time. You could even add in some dried fruits for a burst of flavor!
Perfect for Anytime: Whether it’s a midday snack or a post-workout treat, these bars cater to all your cravings and needs.
Crowd-Pleaser: Everyone from kids to adults will love munching on these delicious bars, making them a hit at gatherings. Enjoy them alongside Chocolate Peanut Butter muffins or as a great addition to your lunchbox!
No Bake Chocolate Granola Bar Ingredients
For the Base
- Nut Butter – Choose peanut butter for a classic taste or try almond butter for a nutty twist.
- Honey – This acts as a natural sweetener; substitute with maple syrup for a vegan version.
- Unsalted Butter or Coconut Oil – Use butter for a softer chew or coconut oil for a firmer texture.
- Old-Fashioned Oats – These give the bars structure and chewiness; quick oats create a softer texture.
For Extra Flavor
- Unsweetened Flaked Coconut – Adds texture and a hint of sweetness; omit for a simpler bar.
- Mini Chocolate Chips – Sprinkle these in for rich chocolate flavor; swap with regular chocolate chips as desired.
- Chocolate Protein Powder (optional) – Incorporates extra protein and enhances the chocolate flavor in these no bake chocolate granola bars.
Toppings (Optional)
- Chopped Nuts – Add almonds or walnuts for a crunchy texture.
- Dried Fruits – Incorporate raisins or cherries for natural sweetness and added flavor.
- Cocoa Powder – Increase the cocoa powder for a more intense chocolate experience, or drizzle melted chocolate on top for a decadent touch.
With these ingredients on hand, you’re only moments away from delicious no bake chocolate granola bars that satisfy every craving!
Step‑by‑Step Instructions for No Bake Chocolate Granola Bars
Step 1: Melt the Base
In a microwave-safe bowl, combine 1/2 cup of unsalted butter or coconut oil, 1/2 cup of nut butter, and 1/3 cup of honey or maple syrup. Heat in the microwave for about 30-45 seconds until everything is melted and smooth, stirring well after each increment to ensure a creamy consistency. You want this mixture to be thoroughly blended before moving to the next step.
Step 2: Incorporate Protein Powder
If you choose to include chocolate protein powder, add 1/4 cup to the melted mixture. Use a whisk to mix it in thoroughly for about 30 seconds until fully blended and free of lumps. The protein powder will give your No Bake Chocolate Granola Bars an extra nutritional boost and a richer chocolate flavor, so make sure it’s well incorporated.
Step 3: Mix in the Oats
Next, add 2 cups of old-fashioned oats to the creamy mixture. Stir gently with a spatula or wooden spoon until the oats are evenly coated and fully combined. This step should take about 1-2 minutes, and you’ll notice a sticky, thick mixture forming, indicative of the chewy base of your granola bars.
Step 4: Fold in Extras
Now, enhance your No Bake Chocolate Granola Bars by folding in 1/2 cup of unsweetened flaked coconut and 1/2 cup of mini chocolate chips. Gently mix for another minute until these ingredients are evenly distributed throughout the oat mixture, creating a rich, chocolatey batter that tempts the taste buds.
Step 5: Pack into the Pan
Line an 8×8 inch baking pan with parchment paper, allowing some overhang to make removal easier later. Transfer the mixture into the lined pan and use your hands or a spatula to press it down firmly. Aim for an even thickness, as this ensures uniform bars that slice nicely after chilling.
Step 6: Chill and Set
Place the packed pan in the refrigerator and allow your No Bake Chocolate Granola Bars to chill for 30-45 minutes. This chilling time is crucial as it helps the bars firm up, making them easier to cut into perfect squares or rectangles once set. Look for a firm texture before proceeding to the final step.
Step 7: Slice and Serve
After the bars have chilled, remove them from the pan by lifting the parchment paper. Use a sharp knife to cut them into desired sizes, whether mini bites or full bars. Store any leftovers in an airtight container in the fridge for up to a week, ready to satisfy your cravings whenever they strike!
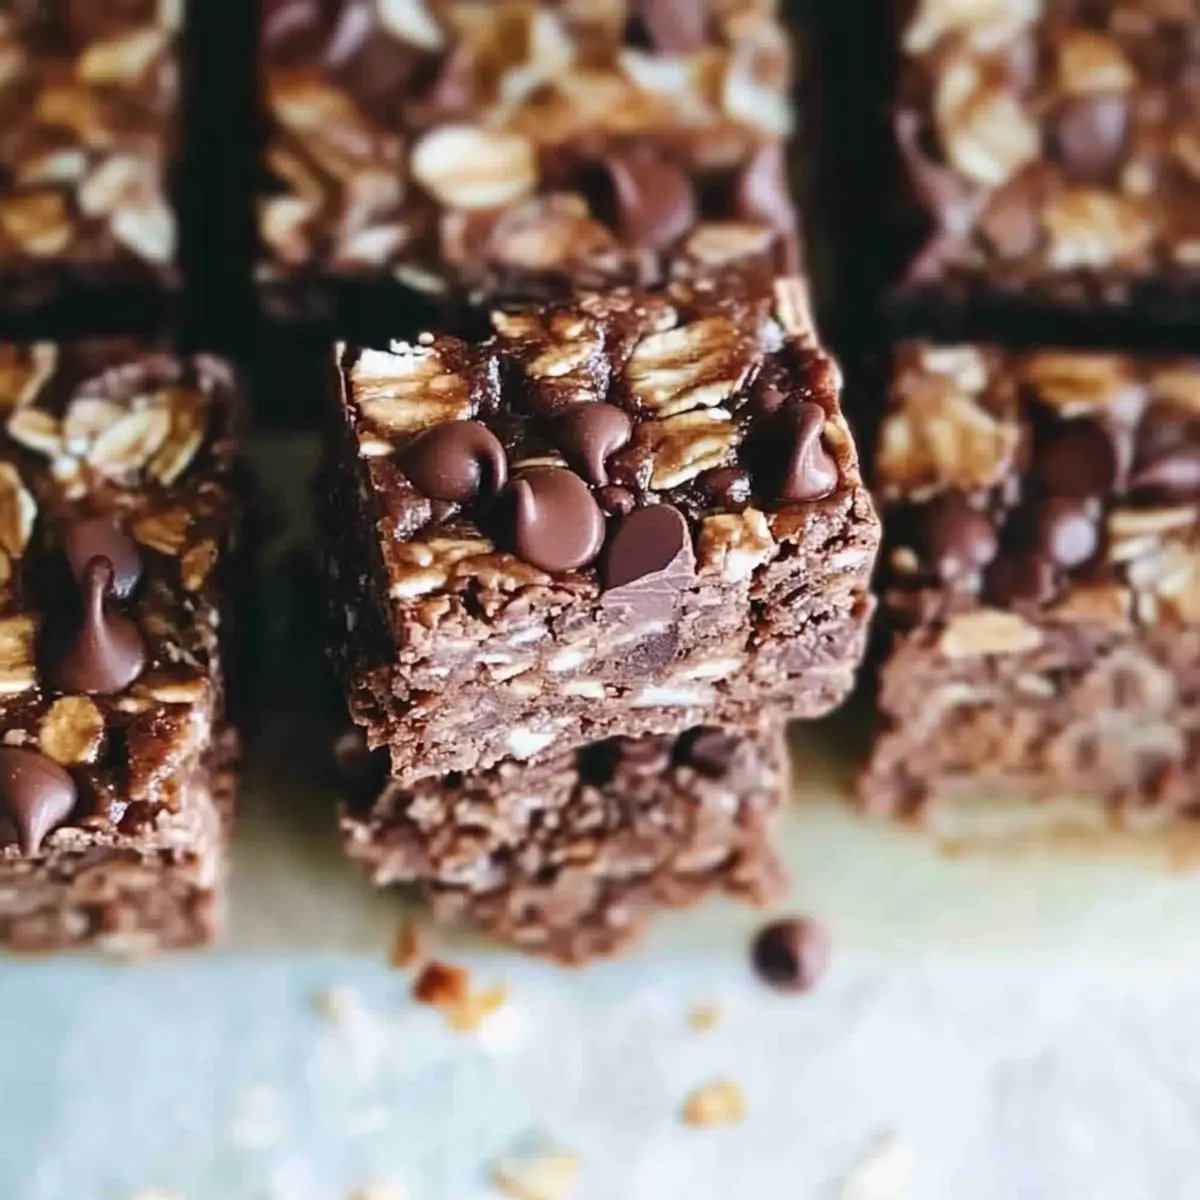
What to Serve with Healthy No Bake Chocolate Granola Bars
Indulging in these chewy, chocolate delights opens a world of flavors to explore alongside your treats.
- Fresh Fruit Salad: A vibrant mix of berries and citrus adds a refreshing burst that complements the rich chocolate flavors beautifully.
- Greek Yogurt Parfait: Layer creamy Greek yogurt and fruity compote for a nutritious pairing that balances the bar’s sweetness with tanginess.
- Nutty Smoothie: A creamy almond or peanut butter smoothie with banana melds perfectly with the bars, providing extra protein and healthy fats.
- Coconut Chia Pudding: This light and fluffy pudding, infused with coconut, contrasts nicely with the dense texture of the granola bars.
Serving these granola bars with delightful accompaniments makes for an unforgettable snack experience. For a sweet finish, enjoy them with a Dark Chocolate Mocha—the rich coffee and chocolate flavors will satisfy your cravings while fueling your day!
- Matcha Latte: The earthy tones of matcha beautifully balance the sweetness, making for a delightful afternoon treat alongside your bars.
How to Store and Freeze No Bake Chocolate Granola Bars
Fridge: Store bars in an airtight container in the fridge for up to 1 week, keeping them fresh and ready for snacking.
Freezer: For longer storage, freeze the bars for 2-3 months. Layer them between parchment paper in a sealed bag for easy access later.
Reheating: When ready to enjoy, simply take them out of the freezer and let them thaw in the fridge for a couple of hours or at room temperature for 30 minutes.
Serving Freshness: To maintain texture, bring the bars to room temperature before serving, enhancing the delightful chewy experience!
Expert Tips for No Bake Chocolate Granola Bars
-
Pack Firmly: Press the mixture into the pan tightly. A well-packed base ensures clean cuts and a sturdy bar after chilling.
-
Choosing Oats: Use old-fashioned oats for chewiness; quick oats make a softer bar. Avoid sogginess by measuring oats accurately.
-
Vegan Adjustments: Opt for coconut oil and maple syrup for a vegan treat without sacrificing flavor. Experiment with dairy-free chocolate chips!
-
Mix Wisely: Add protein powder while the mixture is warm to avoid clumping. This keeps your No Bake Chocolate Granola Bars smooth and creamy.
-
Flavor Combinations: Mix and match nut butters and add-ins like dried fruits or seeds. This flexibility keeps your creations fresh and exciting!
No Bake Chocolate Granola Bars Variations
Feel free to get creative and customize your No Bake Chocolate Granola Bars to make them uniquely yours!
-
Nut Butter Swap: Replace peanut butter with almond or sunflower seed butter for a different flavor profile. Each nut butter brings its own magic, adding richness and depth to this delightful snack.
-
Sweetener Options: Use maple syrup instead of honey for a vegan-friendly version. You can achieve similar sweetness while keeping everything plant-based!
-
Increased Texture: Add chopped nuts or seeds like almonds or sunflower seeds for a satisfying crunch. The contrast of textures makes every bite a pleasure, enhancing the overall experience.
-
Fruity Addition: Incorporate dried fruits like raisins or cherries for bursts of natural sweetness. This will elevate the flavor while giving you that chewy, fruity delight with every nibble!
-
Coconut Variations: Omit unsweetened flaked coconut if you’re not a fan, or swap it for extra oats for a denser bar. You might also consider adding toasted coconut for an added layer of flavor and texture.
-
Protein Boost: Sprinkle in some chocolate protein powder for extra nutrition. Or, try adding a scoop of vanilla protein powder for a subtle change that still packs a punch.
-
Chocolate Lovers’ Drizzle: Drizzle melted chocolate on top for an even richer chocolate experience. This simple addition not only looks fabulous but also enhances the overall chocolate flavor!
-
Spicy Kick: For a surprise twist, sprinkle in a pinch of cinnamon or cayenne pepper. It’s a delightful way to warm up your bars and awaken your taste buds!
Get ready to explore these variations and find your perfect combination! They’ll pair wonderfully with Baked Pears Berries for a delicious snack duo!
Make Ahead Options
These Healthy No Bake Chocolate Granola Bars are perfect for meal prep enthusiasts! You can prepare the mixture up to 24 hours in advance, storing it in the refrigerator before packing it into the baking pan. Simply follow the instructions up to pressing the mixture into the pan and then cover it tightly. This will help maintain its delightful texture and prevent it from drying out. When you’re ready to enjoy them, just chill and slice. For optimal flavor, consider adding chocolate chips or coconut right before serving to keep their fresh taste. These make-ahead options ensure you have a quick, healthy snack ready to go anytime!
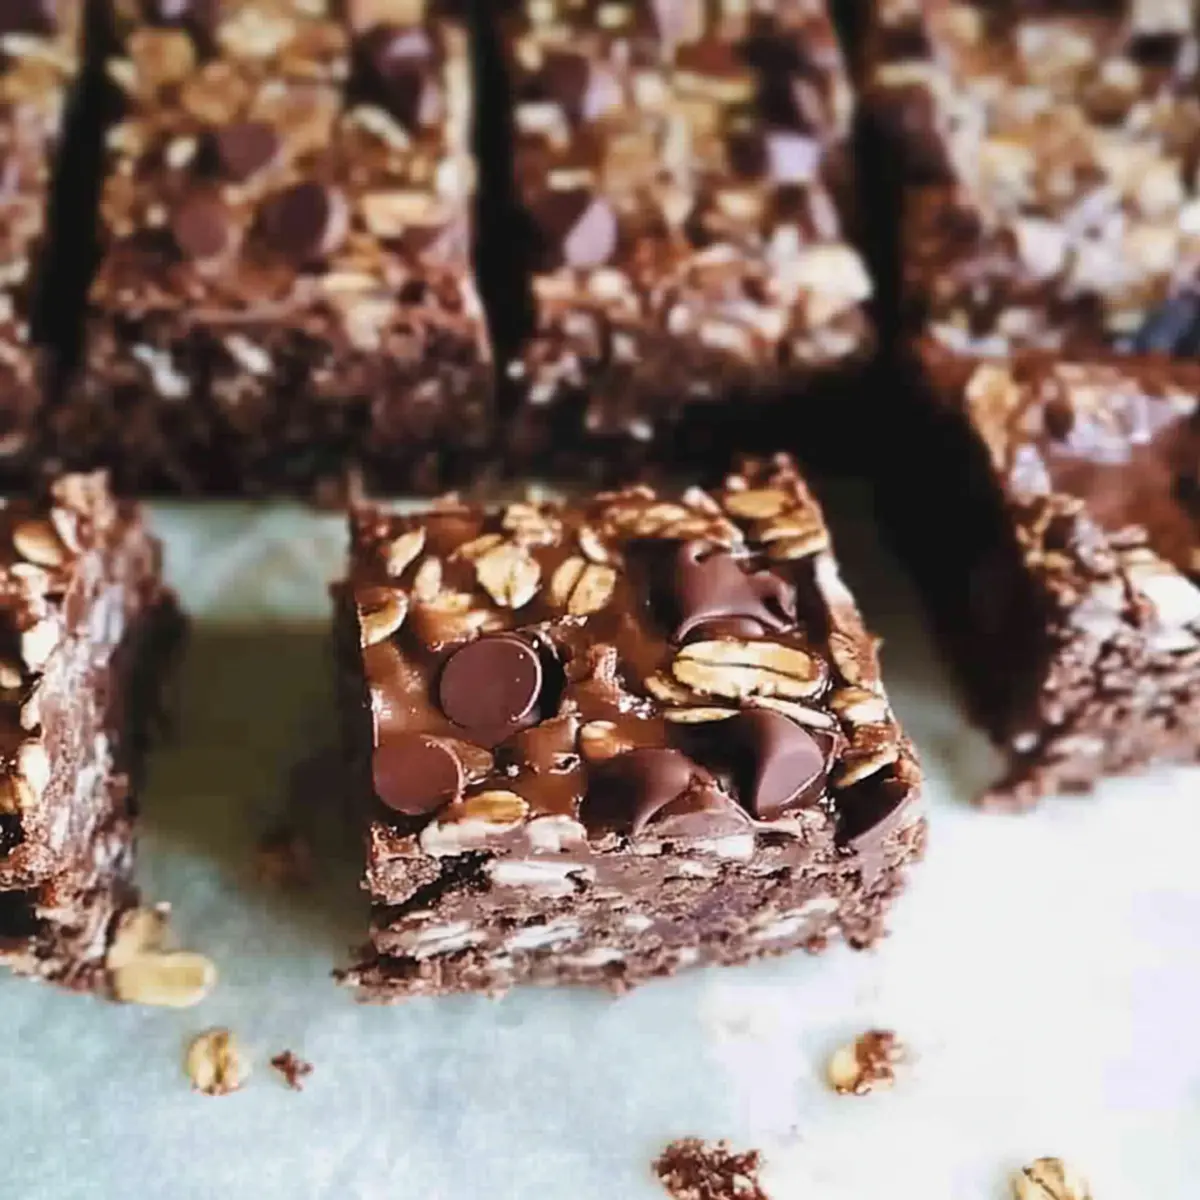
No Bake Chocolate Granola Bars Recipe FAQs
How do I choose the right nut butter?
Absolutely! For these No Bake Chocolate Granola Bars, peanut butter provides a classic creamy flavor, but almond butter adds a delightful nutty twist. Be sure to choose a natural nut butter with minimal ingredients, ideally just nuts and a pinch of salt. Avoid brands with added sugars or hydrogenated oils for a healthier treat.
What’s the best way to store these granola bars?
Very simple! Store your No Bake Chocolate Granola Bars in an airtight container in the fridge for up to 1 week. This keeps them fresh while ensuring they maintain their delightful chewy texture. Alternatively, if you want to keep them longer, place them in the freezer. Just layer them between parchment paper in a sealed bag or container, and they can last up to 2-3 months.
Can I freeze these granola bars? How?
Absolutely! To freeze your No Bake Chocolate Granola Bars, first slice them into your preferred sizes. Then, layer a sheet of parchment paper between each bar as you stack them in a freezer-safe container. This prevents them from sticking together, making it easy to grab one whenever a craving strikes. When you’re ready to enjoy, let them thaw in the refrigerator for about 2 hours, or at room temperature for 30 minutes.
What should I do if my bars are too crumbly?
No problem! If your No Bake Chocolate Granola Bars turn out crumbly, it’s usually because they weren’t packed firmly enough in the pan. Next time, make sure to press the mixture down with your hands or a spatula really well. If they’re already made, you can try melting a bit more nut butter or honey and mixing it into the bars. Then, press them again to help them stick together.
Are there any dietary concerns with these bars?
Definitely something to consider! These No Bake Chocolate Granola Bars are gluten-free if made with certified gluten-free oats. For nut allergies, you can substitute the nut butter with sunflower seed butter or a seed blend. If you’re avoiding sugar, maple syrup or agave are great alternatives to honey. Always check labels for cross-contamination if you’re preparing these for those with allergies.
How can I customize the flavors of these bars?
The more the merrier! Feel free to experiment with flavors by adding in your favorite mix-ins, such as chopped nuts for crunch, dried fruits for natural sweetness, or even extra cocoa powder or chocolate drizzle for intense chocolate flavor. Just keep the overall balance of dry and wet ingredients in mind to ensure your bars hold together nicely.
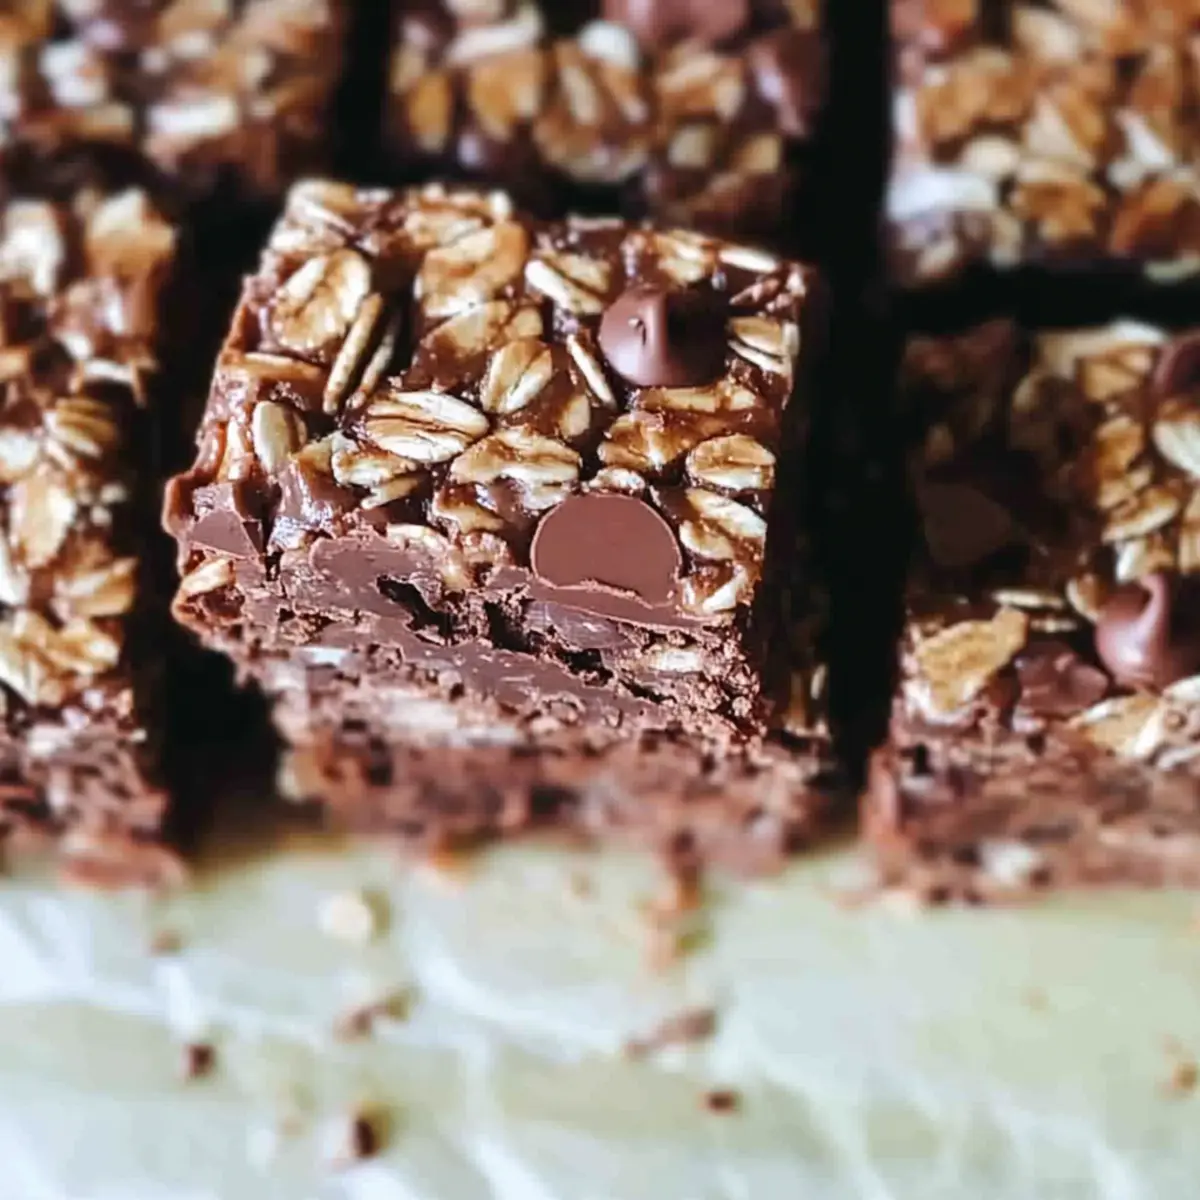
No Bake Chocolate Granola Bars That Satisfy Every Craving
Ingredients
Equipment
Method
- Combine butter or coconut oil, nut butter, and honey or maple syrup in a microwave-safe bowl. Heat for 30-45 seconds until melted and smooth.
- If using, add chocolate protein powder to melted mixture and mix until fully blended.
- Stir in old-fashioned oats until evenly coated with the mixture.
- Fold in unsweetened flaked coconut and mini chocolate chips until evenly distributed.
- Line an 8x8 inch baking pan with parchment paper. Transfer mixture to pan and press down firmly.
- Chill in the refrigerator for 30-45 minutes until firm.
- Remove from pan and cut into bars or squares.
Leave a Reply