
As I savored the last bite of a classic Bomb Pop during childhood summers, I couldn’t help but daydream about recreating that nostalgic joy. Enter the Red, White & Blue Sorbet Loaf—a vibrant, no-bake dessert that perfectly embodies the flavors of cherry, lime, and coconut. This patriotic treat not only celebrates our love for summer gatherings but also offers a quick and fun way to impress family and friends. Picture this stunning sorbet loaf gracing your table, inviting smiles and oohs and aahs as it melts in your mouth with every spoonful. What better way to enjoy those sun-kissed days than with a refreshing dessert that’s just as easy to prepare as it is beautiful? Let’s dive into this cheerful delight and make summer memories that last!
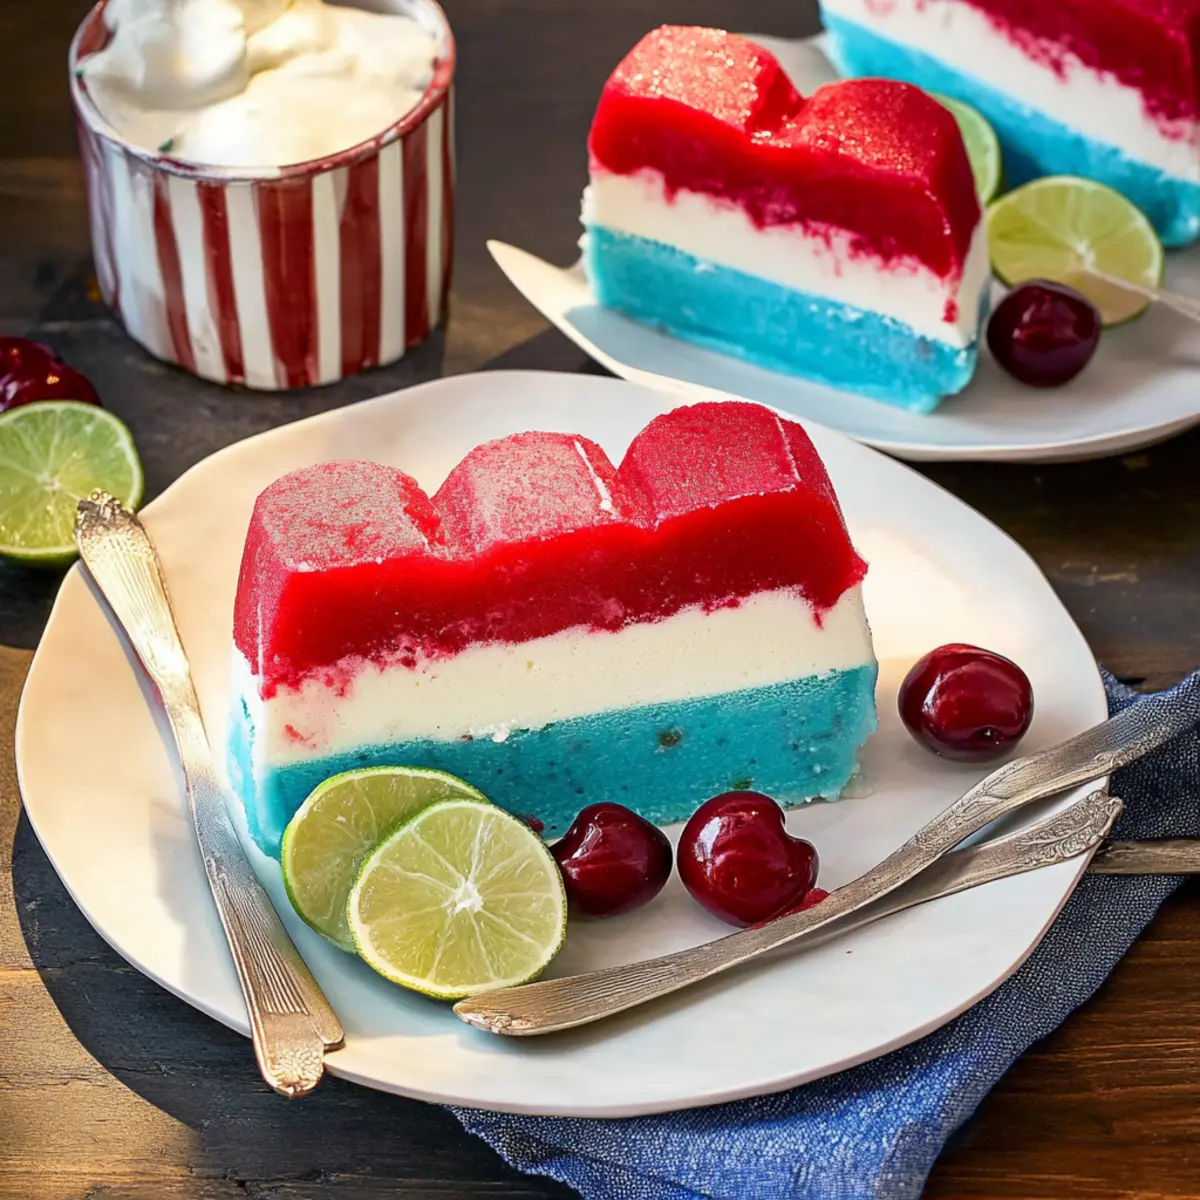
Why is this sorbet loaf a must-try?
Easy Preparation: This no-bake dessert is effortlessly simple, requiring minimal kitchen skills and quick assembly.
Vibrant Presentation: The striking layers of cherry, lime, and coconut create a visual feast that’s sure to impress at any gathering.
Refreshing Flavors: Each bite combines fruity sweetness with creamy coconut, delivering a delightful summer flavor explosion.
Family-Friendly: Perfect for all ages, this dish brings everyone together, making it a hit for barbecues and holiday celebrations!
Whether you’re hosting a cookout or looking for a delightful treat to share, serve this Red, White & Blue Sorbet Loaf alongside fresh fruit for a truly memorable summer dessert!
Red, White & Blue Sorbet Loaf Ingredients
For the Cherry Layer
• Cherry Sorbet – Provides a sweet, fruity base layer; for a different flavor profile, try raspberry sorbet instead.
For the Lime Layer
• Lime Sorbet – Adds a refreshing and tangy contrast; a lemon sorbet can be swapped in for an alternative citrus taste.
For the Cream Layer
• Coconut Cream – Creates a creamy texture with a subtle coconut flavor; use coconut milk for a non-dairy option.
For Garnish
• Fresh Berries (strawberries/boysenberries) – Adds freshness, color, and texture; blueberries work beautifully to enhance those blue hues.
• Whipped Cream – Optional topping for added richness and creaminess.
This delightful Red, White & Blue Sorbet Loaf is a perfect summer dessert that will be loved by everyone!
Step‑by‑Step Instructions for Red, White & Blue Sorbet Loaf
Step 1: Prepare the Cherry Layer
Begin by spooning the cherry sorbet into a loaf pan, carefully spreading it into an even layer. Use a spatula to smooth the top, and press it down gently for a compact base. Place the pan in the freezer for at least 1 hour, or until the layer is solid and firm to the touch, ensuring a stable foundation for your refreshing Red, White & Blue Sorbet Loaf.
Step 2: Add the Lime Layer
Once the cherry layer is set, remove the loaf pan from the freezer. Scoop the lime sorbet and spread it evenly over the frozen cherry layer, using a spatula to create a smooth, level surface. Return the loaf pan to the freezer for another hour, allowing the lime layer to freeze solid. This zesty layer will complement the sweetness of the cherry beautifully.
Step 3: Incorporate the Coconut Cream
After the lime layer has frozen, take the loaf pan back out of the freezer. Spoon the coconut cream over the lime layer, smoothing it evenly with the spatula to ensure it covers the entire surface. Place the loaf back in the freezer once again for 1 hour, allowing the creamy layer to solidify, contributing to the luscious texture of the Red, White & Blue Sorbet Loaf.
Step 4: Repeat Layering Process
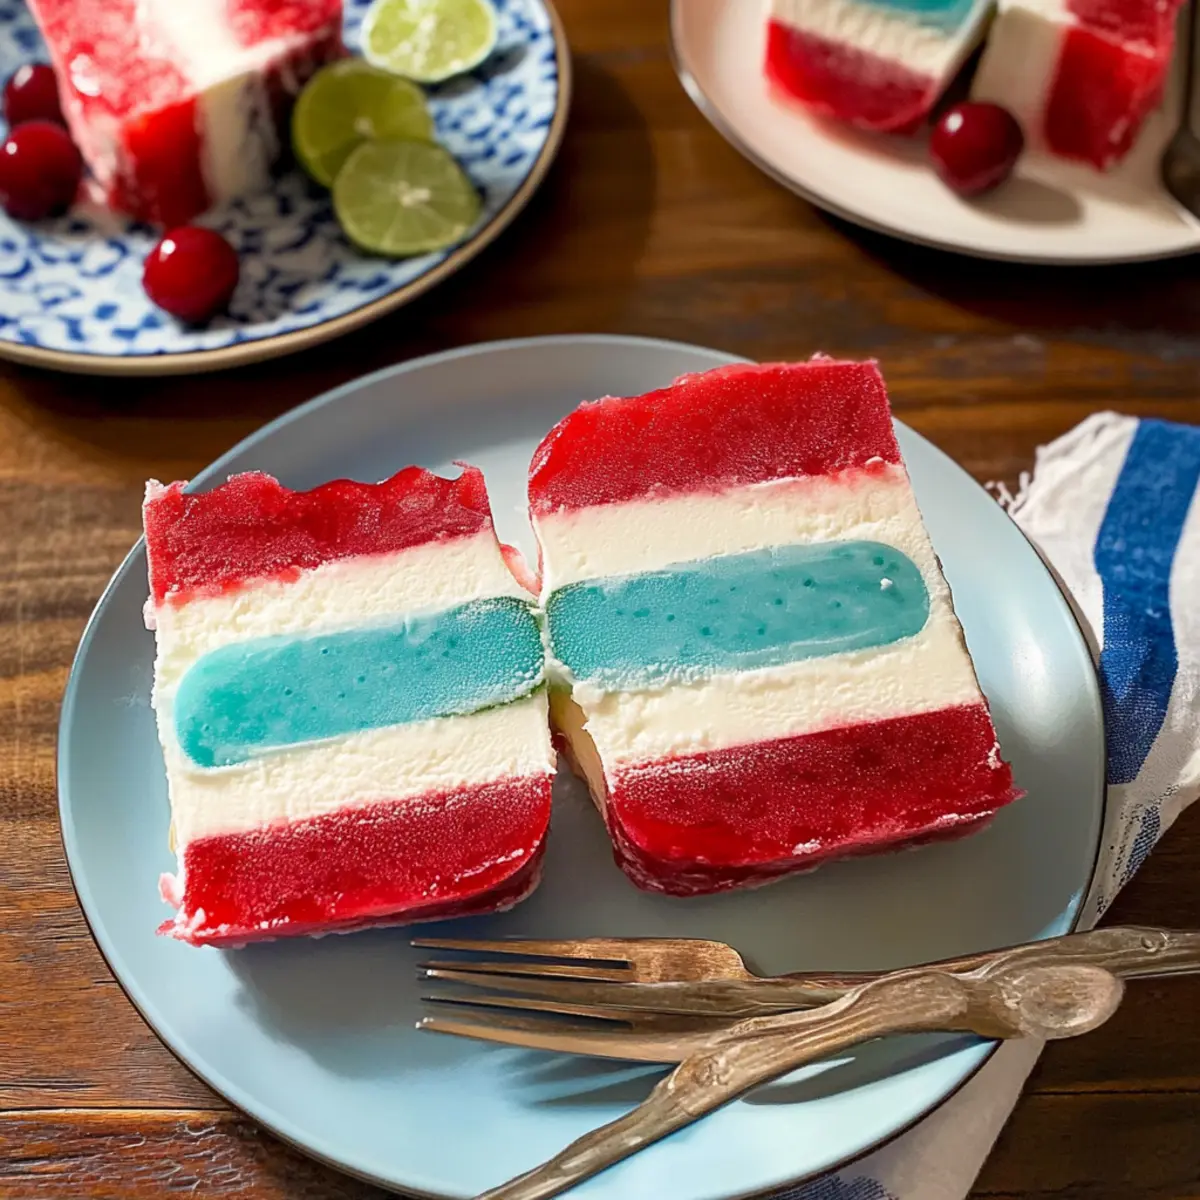
Now it’s time to repeat the layering process. Alternate between adding more cherry sorbet and lime sorbet for the next layers, ensuring to freeze each layer for 1 hour. This technique will build beautiful, defined layers that make the Red, White & Blue Sorbet Loaf visually striking and deliciously balanced in flavor.
Step 5: Final Freezing
After all layers have been added, cover the loaf pan with plastic wrap and freeze the sorbet loaf for an additional 4 to 6 hours, or until fully set. This long freeze ensures that the loaf will slice beautifully once ready to serve. Keep an eye on the time to ensure it’s perfectly frozen for your summer gatherings.
Step 6: Remove and Serve
When you’re ready to serve your Red, White & Blue Sorbet Loaf, take it out of the freezer and let it sit at room temperature for a couple of minutes. Gently warm the outside of the loaf pan with room temperature water to help release the dessert. Invert it onto a serving plate, and remove the pan carefully, revealing the stunning layers.
Step 7: Garnish for Presentation
To elevate the presentation, garnish the top of the loaf with fresh berries and whipped cream, if desired. This adds a pop of color and a touch of elegance to your summer dessert. The vibrant touches will invite smiles as you prepare to slice this refreshing treat for your family and friends.
Step 8: Slice and Enjoy
Using a warm, wet knife, slice the Red, White & Blue Sorbet Loaf into thick pieces. Serve immediately to savor the refreshing, fruity flavors and enjoy your festive, no-bake dessert that’s perfect for summer celebrations.
Make Ahead Options
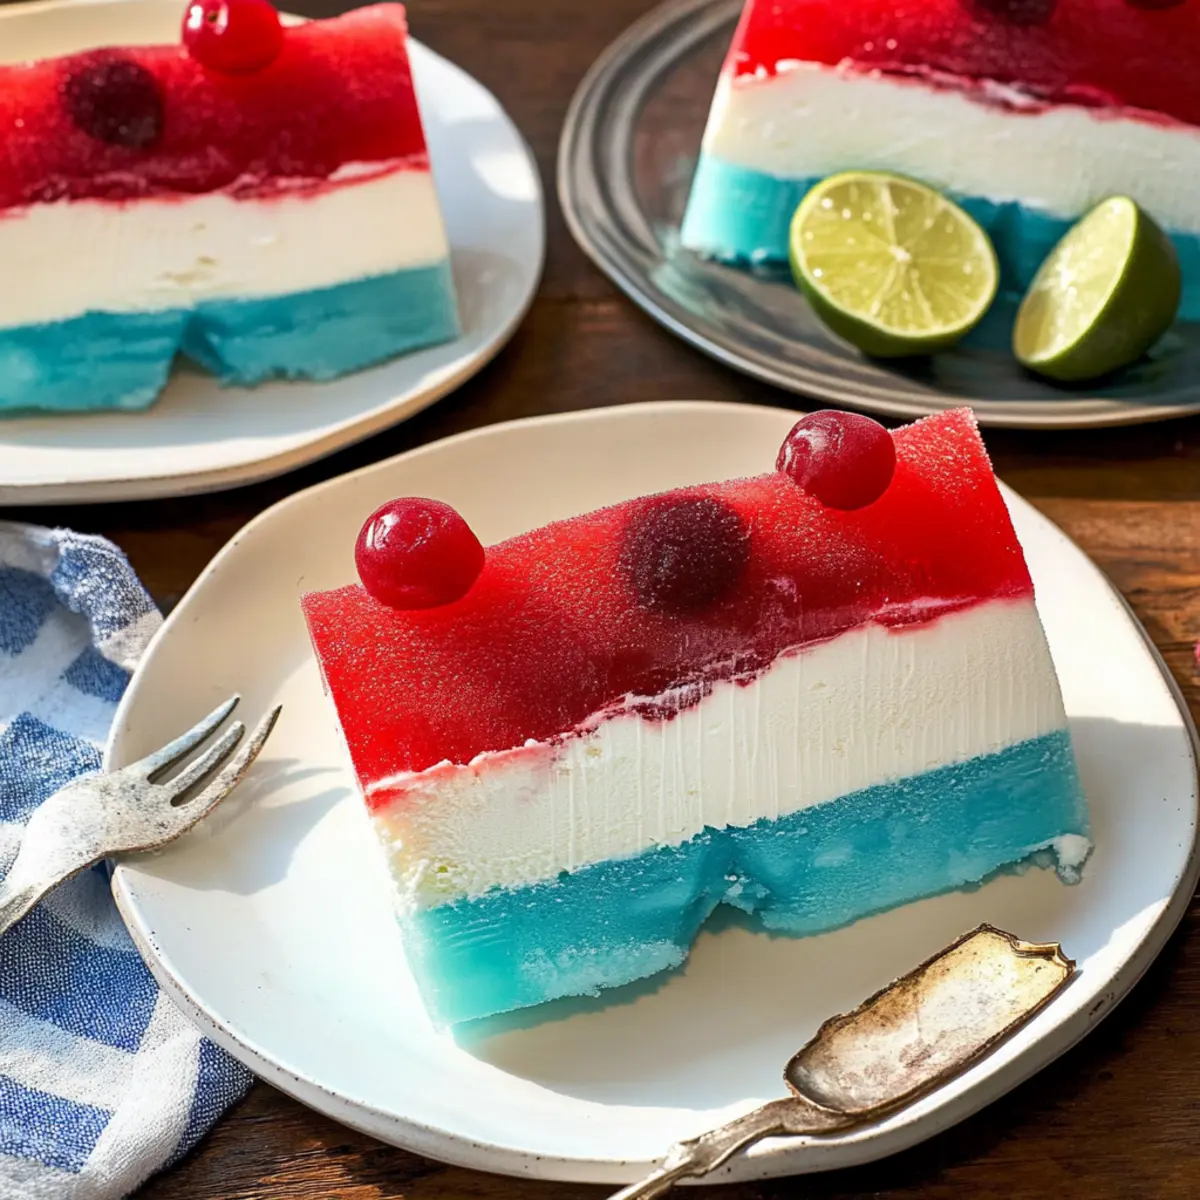
The Red, White & Blue Sorbet Loaf is a fantastic dessert to prepare ahead for those busy summer days! You can make this delightful treat up to 2 days in advance—just assemble and freeze the loaf as directed. To maintain the vibrant colors and creamy texture, ensure each layer is fully frozen before adding the next. After preparing the loaf, simply cover it tightly in plastic wrap or store it in an airtight container to prevent freezer burn. When you’re ready to serve, allow the sorbet loaf to thaw slightly for about 10 minutes before slicing for easier servings. This way, you’ll have a stunning, refreshing dessert ready to wow your guests with minimal last-minute effort!
How to Store and Freeze Red, White & Blue Sorbet Loaf
Fridge: Store any leftovers in the fridge for up to 1 day, but note that the texture may change; it’s best enjoyed fresh from the freezer.
Freezer: Keep the sorbet loaf wrapped tightly in plastic wrap or in an airtight container for up to 2 weeks. This will help maintain its delightful flavors and texture.
Reheating: There’s no need to reheat the sorbet loaf, but if you want it softer for slicing, let it sit at room temperature for about 10 minutes before serving.
Expert Tips for Red, White & Blue Sorbet Loaf
-
Layer Firmly: Ensure each layer is fully frozen before adding the next one to maintain those beautiful defined layers you want in your Red, White & Blue Sorbet Loaf.
-
Room Temperature Water: To easily remove the loaf from the pan, warm the outside of the loaf pan with water at room temperature for a few seconds.
-
Slice with Care: Use a warm, wet knife to cut the sorbet loaf. This method helps achieve clean cuts, allowing the striking layers to shine through.
-
Storage Solution: Wrap the finished sorbet loaf tightly in plastic wrap or store it in an airtight container to extend freshness, keeping it delicious for up to 2 weeks.
-
Make Ahead: This vibrant dessert can be prepared 1-2 days ahead. Just let it thaw slightly for about 10 minutes before slicing for easy serving on the day of your gathering!
What to Serve with Red, White & Blue Sorbet Loaf
Brighten your summer gatherings with perfect pairings that complement this fruity, no-bake dessert.
- Grilled Pineapple: The charred sweetness of grilled pineapple adds a tropical flair and enhances the fruity flavors of the sorbet loaf.
- Fresh Berries Medley: A mix of strawberries, blueberries, and raspberries provides a burst of color and juicy freshness that mirrors the loaf’s vibrant appearance.
- Lemonade Sparklers: Sparkling lemonade or lemon-lime soda creates a refreshing, fizzy contrast that invigorates your palate alongside the creamy dessert.
- Coconut Macaroons: These chewy delights echo the coconut cream in the loaf, providing a satisfying textural contrast that plays off the creamy layers.
- Minted Fruit Salad: A light salad featuring mint, melons, and citrus brings a refreshing cooling sensation that complements the tropical vibes of the loaf.
- Chocolate Dipped Cookies: Rich and sweet cookies add a delightful crunch, creating an indulgent experience when paired with the refreshing sorbet.
These pairings will beautifully enhance your enjoyment of the Red, White & Blue Sorbet Loaf, making every summer celebration unforgettable!
Red, White & Blue Sorbet Loaf Variations
Invite your creativity into the kitchen with these delightful twists to the classic Red, White & Blue Sorbet Loaf!
- Berry Burst: Substitute any berry sorbet for the cherry layer to boost the fruity flavor. A mix of strawberry and raspberry makes it a berry explosion.
- Citrus Zing: Instead of lime sorbet, use tangy grapefruit sorbet for a refreshing citrus twist. The surprise flavor will make your taste buds dance!
- Graham Cracker Layer: Add crushed graham crackers between layers for a satisfying crunch. It also mimics the texture of a classic pie, adding another layer of nostalgia.
- Minty Fresh: Stir in finely chopped mint leaves into the coconut layer for a refreshing herbal note. This adds an unexpected burst of freshness that partners beautifully with the fruity flavors.
- Vegan Delight: Use a plant-based whipped topping or coconut yogurt instead of regular whipped cream for a vegan-friendly version that remains indulgent and creamy.
- Fruity Layering: Experiment by tossing in some fresh fruit slices between layers, such as kiwi or mango. This not only adds flavor, but also a colorful visual element.
- Spicy Kick: For those who enjoy heat, add a pinch of cayenne pepper to the coconut cream layer. This surprising heat balances nicely with the sweetness of the sorbets.
- Chocolate Drizzle: Drizzle melted dark chocolate on top before serving for a luxurious finish. The bitterness of the chocolate beautifully contrasts the sweetness of the sorbet.
Explore these variations and create a unique Red, White & Blue Sorbet Loaf that celebrates summer as wonderfully as your family does! If you’re inspired by fresh ingredients, consider pairing it with a lovely salad like the Barefoot Contessa Pear and Blue Cheese Salad for a complete meal that delights the senses.
Red, White & Blue Sorbet Loaf Recipe FAQs
How do I choose the best sorbet for my Red, White & Blue Sorbet Loaf?
Absolutely! For the best flavor and texture, opt for high-quality sorbet with natural fruit ingredients. Look for vibrant colors without synthetic dyes. If you’re feeling adventurous, substituting cherry sorbet with raspberry provides a delightful twist, keeping the exciting essence of your loaf intact!
How long can I store the sorbet loaf in the freezer?
The Red, White & Blue Sorbet Loaf can be stored in the freezer for up to 2 weeks. Just make sure to wrap it tightly in plastic wrap or transfer it to an airtight container to preserve that refreshing flavor and creamy texture. I often prepare mine ahead of time for parties!
Can I freeze leftover slices of the sorbet loaf?
Absolutely! If you have any leftover slices, you can freeze them. Wrap each slice in plastic wrap and place them in an airtight container. They’ll stay fresh in the freezer for up to 3 months. When ready to enjoy, just let them thaw in the refrigerator for a few hours or at room temperature for about 30 minutes before indulging.
What should I do if my sorbet loaf is too hard to slice?
Very! If you find your sorbet loaf is too hard to slice, just let it sit at room temperature for about 10 minutes. Additionally, warm a knife under hot water, then wipe it dry before slicing. This method ensures clean cuts and lets those vibrant layers shine through beautifully!
Are there any dietary considerations I should keep in mind?
Certainly! For those with dairy allergies, you can substitute coconut cream with coconut milk. Always check labels for allergens, especially if serving to guests. Also, for a vegan option, ensure the sorbets are dairy-free and use non-dairy whipped cream or skip it entirely. Enjoy making a dessert that fits everyone’s dietary needs!
How can I enhance the texture of my sorbet loaf?
If you want to add an extra layer of texture to your Red, White & Blue Sorbet Loaf, try mixing crushed graham crackers between layers or incorporating a layer of yogurt. This not only adds more creaminess but also a delightful crunch that elevates the dessert experience!
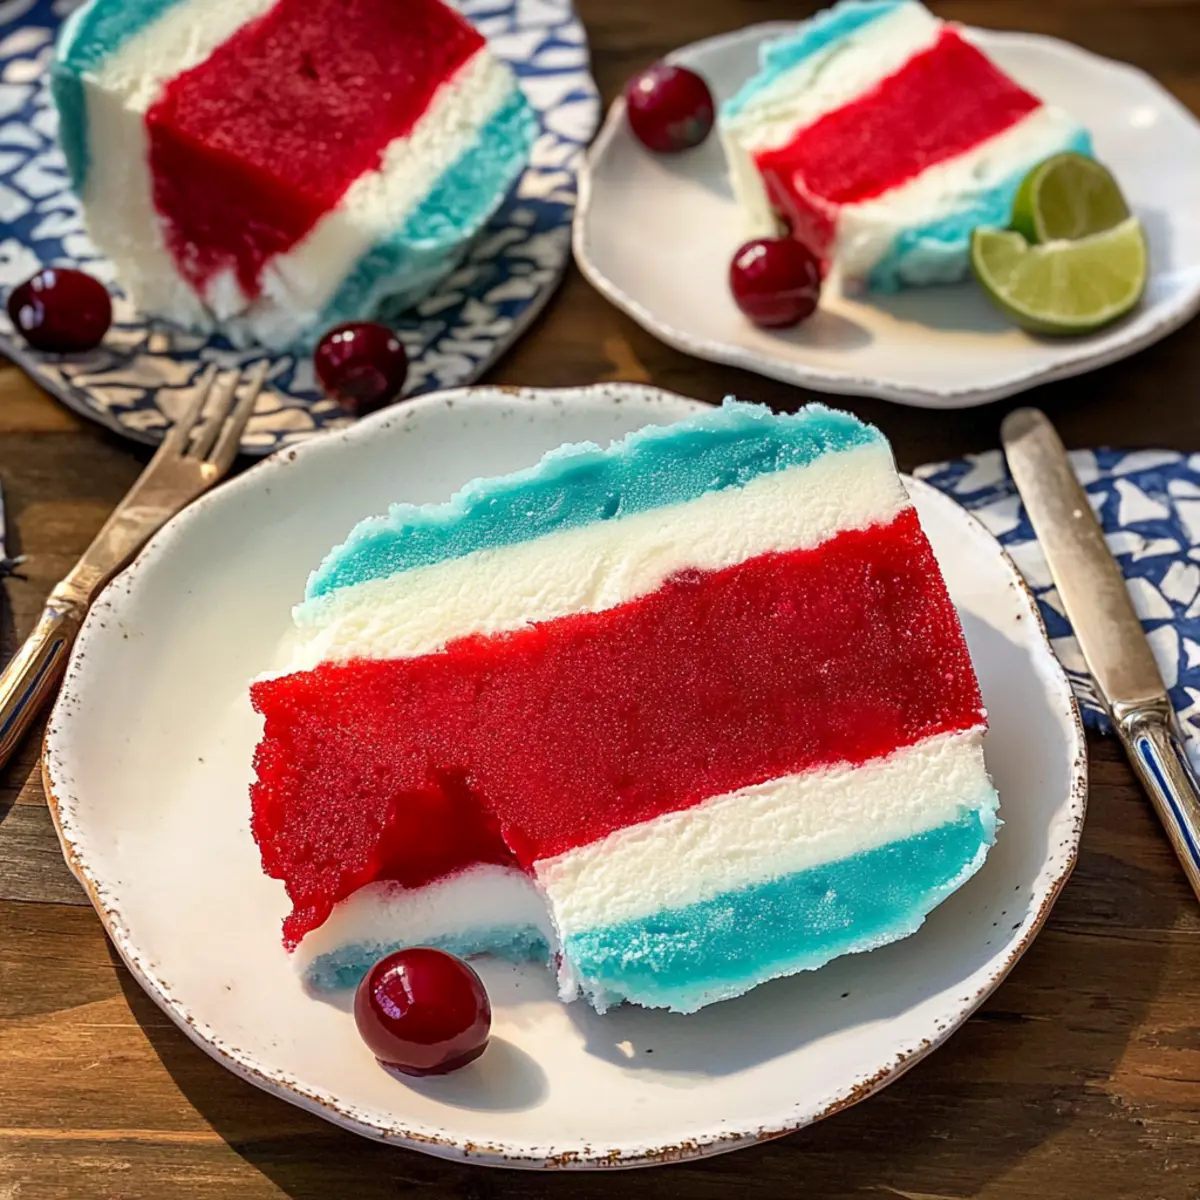
Refreshing Red, White & Blue Sorbet Loaf for Summer Celebrations
Ingredients
Equipment
Method
- Spoon the cherry sorbet into a loaf pan, spreading it into an even layer. Freeze for at least 1 hour.
- Remove the loaf pan and add the lime sorbet over the cherry layer. Return to freezer for 1 hour.
- Smooth the coconut cream over the lime layer, then freeze for 1 hour.
- Repeat layering with more cherry and lime sorbet, freezing each layer for 1 hour.
- Cover the loaf pan and freeze for an additional 4 to 6 hours until fully set.
- Remove from freezer, sit at room temperature for a couple of minutes and invert onto a serving plate.
- Garnish with fresh berries and whipped cream, then slice and enjoy.
Leave a Reply