
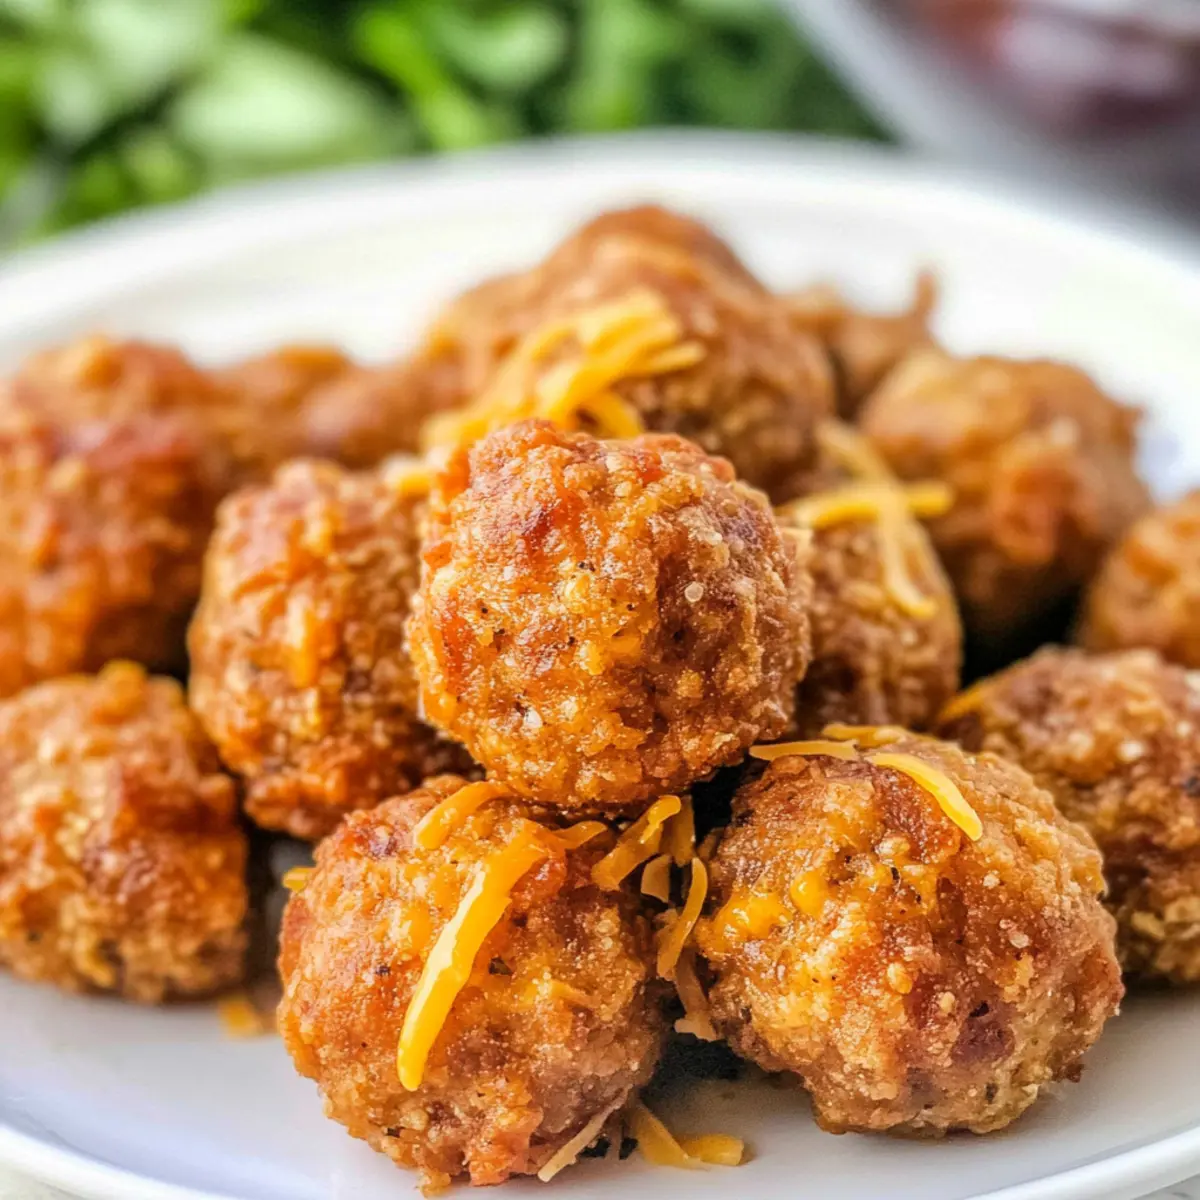
Amid the bustling rhythm of my kitchen, I stumbled upon a delightful solution to turn a regular night into a fiesta: Bisquick Taco Balls. These bite-sized wonders are not only quick to whip up—ready in just 30 minutes—but they’re also a delicious appetizer packed with vibrant Mexican flavors that are perfect for sharing. Imagine the savory blend of seasoned ground beef and gooey cheddar cheese nestled in a perfectly crispy coating, offering a delightful crunch with every bite. Whether you’re hosting game day or a casual gathering, these taco balls are sure to impress, and I promise, they will vanish from the platter in no time! Curious about how to make your own batch? Let’s dive into this simple yet satisfying recipe together!
Why Are These Taco Balls a Must-Try?
Irresistible Flavor: Each bite bursts with the savory goodness of seasoned beef and melted cheese, creating a flavor explosion that will have everyone coming back for more.
Quick & Easy: Ready in just 30 minutes, this recipe is perfect for those busy days when you crave something homemade without the fuss.
Customizable Delight: Whether you prefer baking for a healthier option or frying for extra crispiness, these taco balls adapt to your cooking style.
Perfect for Sharing: Ideal as an appetizer or game day treat, they’re a crowd-pleaser that pairs well with dips like ranch or salsa.
Gluten-Free Option: Swap in gluten-free Bisquick, and you still get to enjoy these delicious snacks without missing out!
Ready to see how easy it is to make these delightful taco balls? Grab your ingredients, and you’ll be on your way to a fantastic snack that rivals any fast food option. For more tasty ideas, check out my Pumpkin Pie Tacos, or give my Spaghetti Meatballs Comfort a try!
Taco Balls Ingredients
For the Filling
• Ground Beef – Main protein source; opt for lean ground beef for a lighter option.
• Cheddar Cheese – Adds rich flavor; use shredded sharp cheddar for a delightful taste.
• Taco Seasoning – Infuses a punch of Mexican flavors; choose mild for a lighter spice or go fiery!
• Green Onions – For freshness and a hint of crunch; make sure to dice them finely.
• Sour Cream – Brings moisture and richness; Greek yogurt can be used for a healthier swap.
• Egg – Essential binder that holds everything together beautifully.
For the Dough
• Bisquick – Provides that fluffy base; gluten-free Bisquick makes a perfect substitute.
For Extra Flavor
• Salsa – Adds a zesty kick and moisture; feel free to use your favorite chunky salsa to enhance the dish.
These Taco Balls are not just flavorful but are incredibly flexible and can easily suit your taste buds. Now, let’s kick off our cooking adventure!
Step‑by‑Step Instructions for Taco Balls
Step 1: Preheat the Oven
Begin by preheating your oven to 350°F (175°C). While it heats up, take a moment to line a baking sheet with parchment paper, which will help prevent the Bisquick Taco Balls from sticking. This step is essential for achieving that perfect, golden-brown exterior.
Step 2: Mix the Filling
In a large mixing bowl, combine the ground beef, shredded cheddar cheese, Bisquick, taco seasoning, finely diced green onions, sour cream, and beaten egg. Use your hands or a sturdy spoon to mix everything until it’s well incorporated. The mixture should be thick and cohesive, showcasing the vibrant colors of the ingredients.
Step 3: Shape the Taco Balls
Now, take about a tablespoon of the mixture and roll it into a ball shape using your hands. Place each Ball onto the prepared baking sheet, ensuring there is enough space between them for even cooking. You should see little pockets of cheese peeking through to promise deliciousness.
Step 4: Bake to Perfection
Transfer the baking sheet to your preheated oven and bake the Taco Balls for 18-20 minutes. Keep an eye on them, and look for a golden-brown color; they should be firm to the touch when done. An internal temperature of 160°F (70°C) ensures the ground beef is perfectly cooked.
Step 5: Let Them Rest
Once they are out of the oven, allow your Bisquick Taco Balls to sit on the baking sheet for a few minutes. This resting period lets the flavors settle and makes them easier to handle, so don’t rush to dig in just yet!
Step 6: Serve and Enjoy
Serve your Taco Balls warm, alongside your favorite dipping sauces like ranch or salsa. The crispy outer layer and juicy inside promise a delightful bite. Gather your family and friends around for a delicious sharing experience that will have everyone asking for the recipe!
Taco Balls: Exciting Variations & Substitutions
Feel free to put your own spin on these bite-sized delights, letting your creativity shine in the kitchen!
-
Sausage Option: Swap ground beef for Italian sausage for a spicier, flavor-packed experience. The seasonings will add a new layer of yumminess!
-
Turkey Twist: Use ground turkey for a leaner alternative that’s perfect for health-conscious snackers. It’s just as juicy and satisfying!
-
Cheese Choices: Experiment with pepper jack cheese for a kick or mozzarella for a milder flavor; both will complement the spices beautifully.
-
Gluten-Free Delight: Replace Bisquick with almond or coconut flour mixed with a bit of baking powder for a gluten-free version without sacrificing texture.
-
Dough Variations: Use ready-made biscuit dough instead of Bisquick for a softer, pillowy texture that will keep you coming back for seconds.
-
Baked vs. Fried: While baking keeps things lighter, don’t hesitate to pan-fry your taco balls in a hot skillet for an undeniable crunch that elevates their deliciousness!
-
Zesty Additions: Mix in some finely chopped jalapeños or bell peppers for a burst of flavor and crunch! They add a fresh element that balances the richness.
For more scrumptious ideas, make sure to check out my Pumpkin Pie Tacos or try the cozy warmth of Spaghetti Meatballs Warm—they’re both sure to delight your taste buds just like these taco balls!
What to Serve with Delicious Bisquick Taco Balls
These scrumptious bites beckon for companions that amplify their vibrant flavors and textures.
-
Creamy Guacamole: A rich and creamy avocado dip adds smoothness and a refreshing contrast, enhancing the delightful crunch of the taco balls.
-
Zesty Salsa: Pair with your favorite chunky salsa for an extra kick—a perfect match that brings out the Mexican flair.
-
Spicy Cilantro Lime Rice: The zesty flavors of lime and fresh cilantro create a bright accent, balancing the savory richness of the taco balls.
-
Crisp Garden Salad: A light salad with mixed greens and tomatoes adds a refreshing crunch, making your meal well-rounded and satisfying.
-
Cheesy Nachos: With layers of melted cheese and jalapeños, nachos add indulgence to your appetizer spread, transforming casual snacking into a fiesta.
-
Chilled Mexican Beer: A light lager complements the bold flavors of the taco balls, refreshing your palate with every bite.
-
Sweet Cornbread: Its slightly sweet and buttery taste pairs remarkably, providing a comforting contrast to the savory taco balls.
-
Fluffy Queso Dip: A warm cheese dip serves as a delightful accompaniment, offering a creamy texture that’s irresistible for dipping.
-
Frozen Margaritas: The icy, citrusy drink provides a refreshing twist, making your gathering feel like a festive retreat.
When you treat your taste buds to this lineup, you’ll create an unforgettable meal designed for sharing and savoring.
Storage Tips for Taco Balls
-
Fridge: Store leftover Taco Balls in an airtight container for up to 3 days to maintain their freshness and flavor. Just ensure they are cooled down completely before sealing.
-
Freezer: If you want to keep them longer, freeze the Taco Balls on a baking sheet until solid. Then, transfer them to a resealable freezer bag for up to 3 months.
-
Reheating: To reheat, bake the frozen Taco Balls at 375°F (190°C) for 15-20 minutes or until heated through. This will help restore their crispy exterior, bringing them back to life!
-
Make-Ahead: You can prepare the filling and shape the Taco Balls, then cover and refrigerate them up to 24 hours before baking. This makes them a fantastic make-ahead option for parties!
Make Ahead Options
These Bisquick Taco Balls are fantastic for meal prep, making them a breeze to enjoy even on the busiest nights! You can prepare the filling mixture (ground beef, cheese, Bisquick, taco seasoning, green onions, sour cream, and egg) up to 24 hours in advance by storing it covered in the refrigerator. This not only saves time but helps the flavors meld beautifully. When you’re ready to serve, simply scoop and roll the mixture into balls, place them on a baking sheet, and bake as directed for 18-20 minutes until golden brown. With this prep, you’ll have delicious, homemade appetizer goodness ready to share with minimal effort!
Expert Tips for Taco Balls
-
Meat Selection: Choose lean ground beef for a healthier option. Avoid fatty cuts to prevent greasy taco balls that may not hold together well.
-
Mixing: Don’t overmix the filling; just combine until everything is well incorporated. Overmixing can lead to tough taco balls instead of soft and juicy ones.
-
Baking vs. Frying: Opt for baking for a healthier snack. If frying, heat oil adequately to ensure a crispy texture, and avoid overcrowding the pan to maintain even cooking.
-
Parchment Paper: Always use parchment paper on the baking sheet. This prevents sticking and ensures easy cleanup, helping your taco balls stay intact during serving.
-
Cheese Choices: Experiment with different cheeses like pepper jack for added flavor. Just remember, the cheese should melt well to keep the taco balls moist and delicious.
Enjoy these expert tips for making the perfect Taco Balls that are sure to impress your family and friends!

Bisquick Taco Balls Recipe FAQs
What kind of ground beef should I use for the taco balls?
Absolutely! Opt for lean ground beef, ideally 80/20 or 90/10, to reduce greasiness while keeping the meat flavorful. This ratio helps ensure your taco balls remain juicy without excess fat that can affect both taste and texture.
How should I store like-baked Bisquick Taco Balls?
To keep your leftover taco balls fresh, store them in an airtight container in the refrigerator for up to 3 days. Make sure to let them cool completely before sealing to preserve their moisture and flavor.
Can I freeze Bisquick Taco Balls, and how?
Yes, you can! To freeze the taco balls, first place them on a baking sheet in a single layer to flash freeze until solid. Once frozen, transfer them to a resealable freezer bag and store for up to 3 months. When ready to enjoy, bake the frozen balls at 375°F (190°C) for 15-20 minutes or until heated through for that delightful crispiness!
What if my mixture is too dry or too wet?
If your filling seems too dry, consider adding a bit more sour cream or salsa to moisten it. On the other hand, if it’s too wet, adding a tablespoon more of Bisquick can help absorb the excess moisture, making it easier to form into balls.
Can I make these taco balls gluten-free?
Very! Simply substitute regular Bisquick with a gluten-free Bisquick mix, and you’ll still get all the delightful flavors without the gluten. Just keep an eye on the texture; sometimes gluten-free mixes require slight adjustments in the liquid ingredients.
Are these taco balls safe for pets?
While the ingredients are generally safe in moderation, be cautious with taco seasoning and certain additives which may not be suitable for pets. It’s best to avoid sharing with furry friends due to spices and potential allergens like onions.
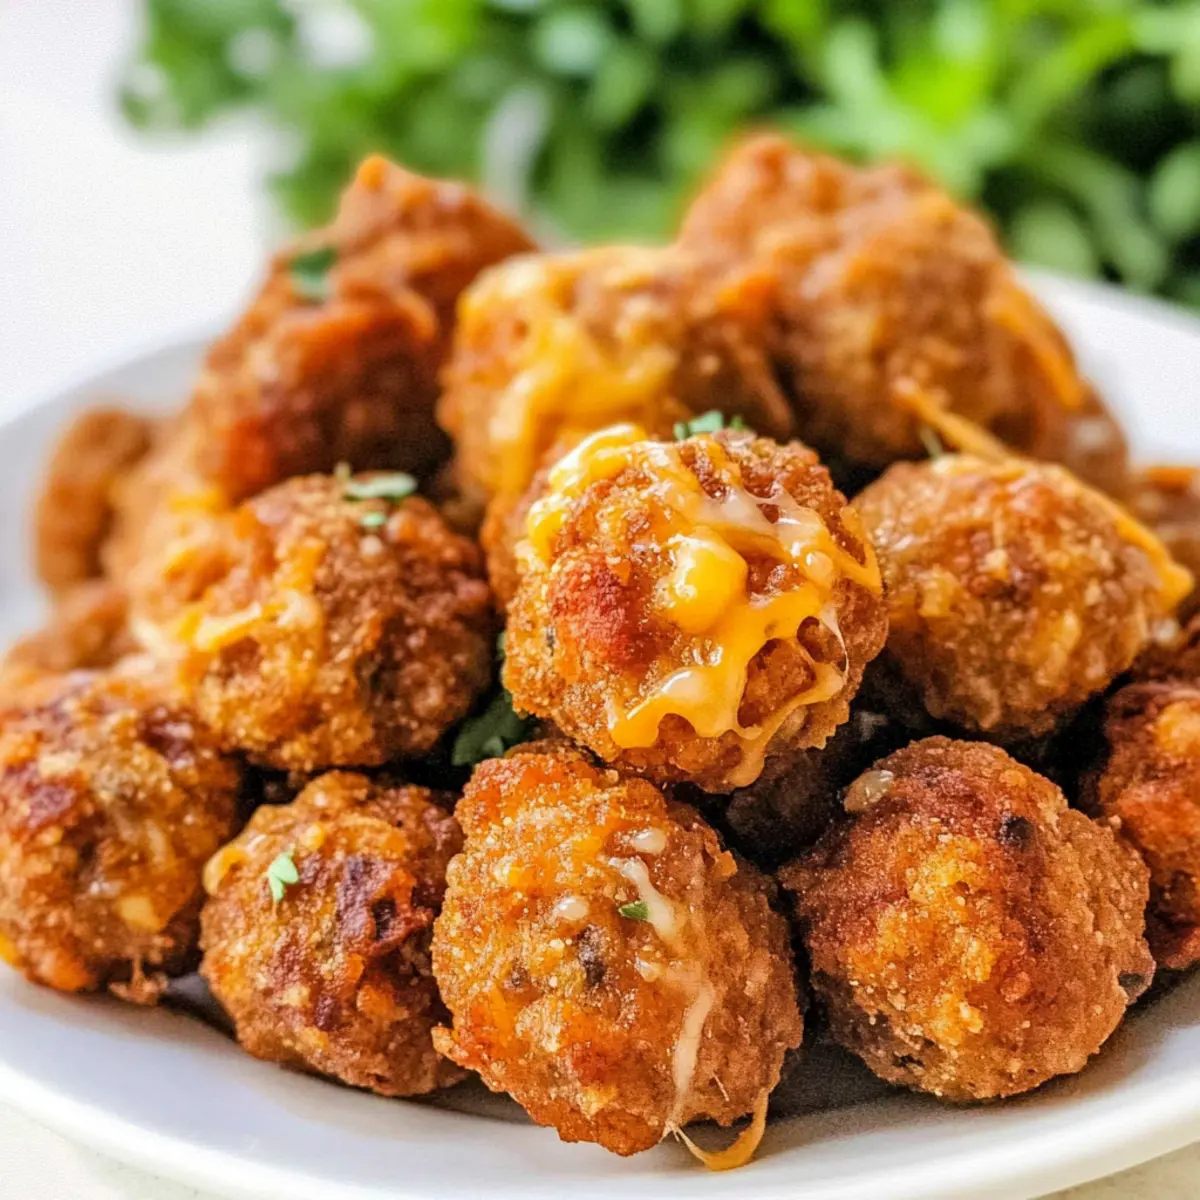
Crispy Taco Balls: A Flavorful Twist on Game Day Snacks
Ingredients
Equipment
Method
- Preheat your oven to 350°F (175°C) and line a baking sheet with parchment paper.
- In a large mixing bowl, combine the ground beef, cheddar cheese, Bisquick, taco seasoning, green onions, sour cream, and beaten egg. Mix until well incorporated.
- Roll about a tablespoon of the mixture into a ball shape, and place each ball onto the prepared baking sheet.
- Bake the Taco Balls for 18-20 minutes until golden-brown and firm to the touch.
- Allow the Taco Balls to rest on the baking sheet for a few minutes.
- Serve warm with your favorite dipping sauces like ranch or salsa.
Leave a Reply