
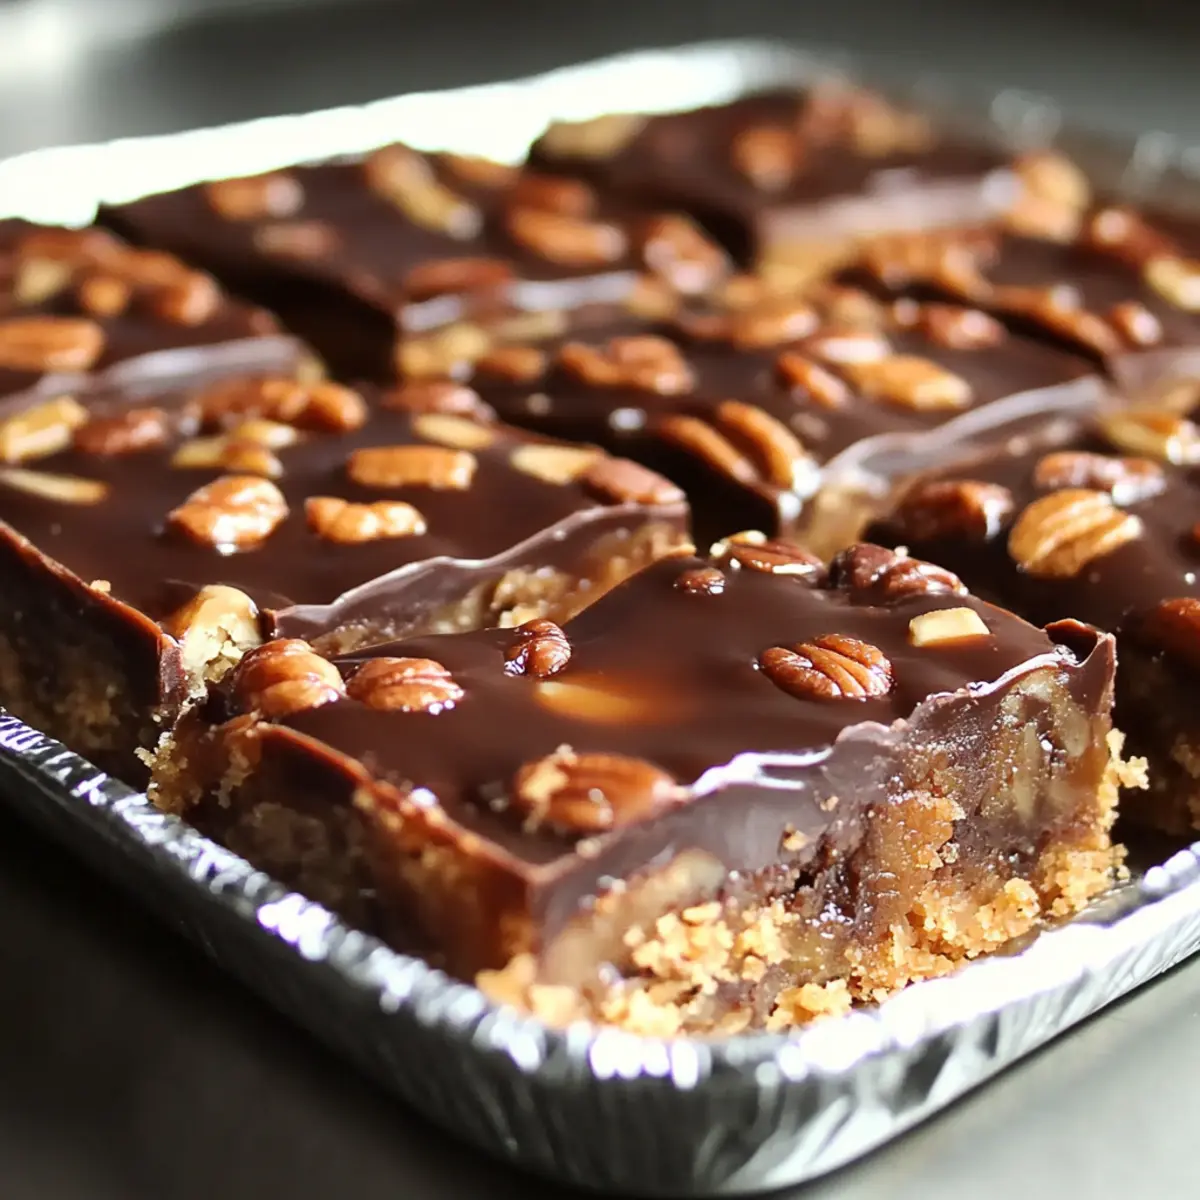
As I stood in my kitchen, whipping up yet another dessert, I couldn’t help but think about those perfect moments that chocolate, caramel, and pecans can create. Enter my Easy Turtle Bars, where every bite combines a buttery shortbread crust, gooey caramel, and a smooth chocolate topping into a heavenly treat. What I adore most about this recipe is its simplicity; it’s perfect whether you’re a baking novice or a seasoned pro looking for a quick indulgence. Plus, these rich, irresistible bars are guaranteed to impress your friends and family at any gathering. Isn’t it wonderful to have a dessert that’s not only easy to prepare but also can elevate any ordinary day into something special? Ready to charm your taste buds? Let’s dive in!
Why Choose Easy Turtle Bars?
Indulgence at Its Finest: These Turtle Bars bring together the ultimate trio of chocolate, caramel, and pecans for a truly decadent treat.
Simple Preparation: Crafted with straightforward steps, this recipe is perfect for bakers of all skill levels.
Crowd-Pleasing Delight: With their rich flavors, these bars are sure to impress guests at parties or family get-togethers.
Versatile Flavor: Feel free to experiment with different nuts or chocolate types for a unique twist—try using dark chocolate or walnuts for an added gourmet touch!
Make-Ahead Magic: Perfect for busy days, these bars taste even better the next day as the flavors meld together beautifully. If you’re looking for a quick sweet fix, these Gooey Salted Caramel bars are another delightful option!
Turtle Bars Ingredients
• Discover the essential ingredients for making delightful Turtle Bars!
For the Crust
- Butter – Provides richness and helps create a crumbly, tender crust; for a non-dairy option, use margarine.
- Granulated Sugar – Sweetens the crust and contributes to texture; coconut sugar can be used for a more natural sweetness.
- All-Purpose Flour – Forms the structure of the crust; a gluten-free flour blend is great for a gluten-free version.
For the Filling
- Caramels – Creates the gooey middle layer; be sure to use soft caramels for easy melting.
- Pecans – Adds a satisfying crunch and nutty flavor; substitute with walnuts or almonds if desired.
For the Topping
- Semi-Sweet Chocolate Chips – Provides a smooth topping and rich flavor; dark chocolate offers a more intense taste experience.
Feel free to gather your ingredients, and let’s dive into the blissful world of Turtle Bars that are sure to make your taste buds dance!
Step‑by‑Step Instructions for Easy Turtle Bars
Step 1: Prepare the Crust
Preheat your oven to 350°F (175°C) and grease a 9×13-inch baking pan. In a mixing bowl, blend together 1 cup of softened butter, 1 cup of granulated sugar, and 2 cups of all-purpose flour. Mix until you achieve a crumbly texture, then firmly press the mixture into the bottom of the prepared pan, ensuring it’s evenly distributed.
Step 2: Bake the Crust
Place the crust in the preheated oven and bake for 15-20 minutes, or until it turns lightly golden. Keep an eye on it to avoid over-baking; the edges should be just starting to brown, signaling that your crust for the Turtle Bars is ready for the next step.
Step 3: Make Caramel Layer
While the crust is baking, unwrap and place 14 oz of soft caramels in a medium saucepan over low heat. Stir continuously until the caramels melt and smoothly blend together. Once melted, mix in 1 cup of chopped pecans, ensuring they’re evenly coated with the gooey caramel before pouring this luscious mixture over the baked crust.
Step 4: Add Chocolate Topping
In a microwave-safe bowl, combine 2 cups of semi-sweet chocolate chips. Microwave in 30-second intervals, stirring between each until the chocolate is completely melted and smooth. Carefully spread the melted chocolate over the caramel-pecan layer, creating a glossy and even finish atop your Turtle Bars.
Step 5: Cooling
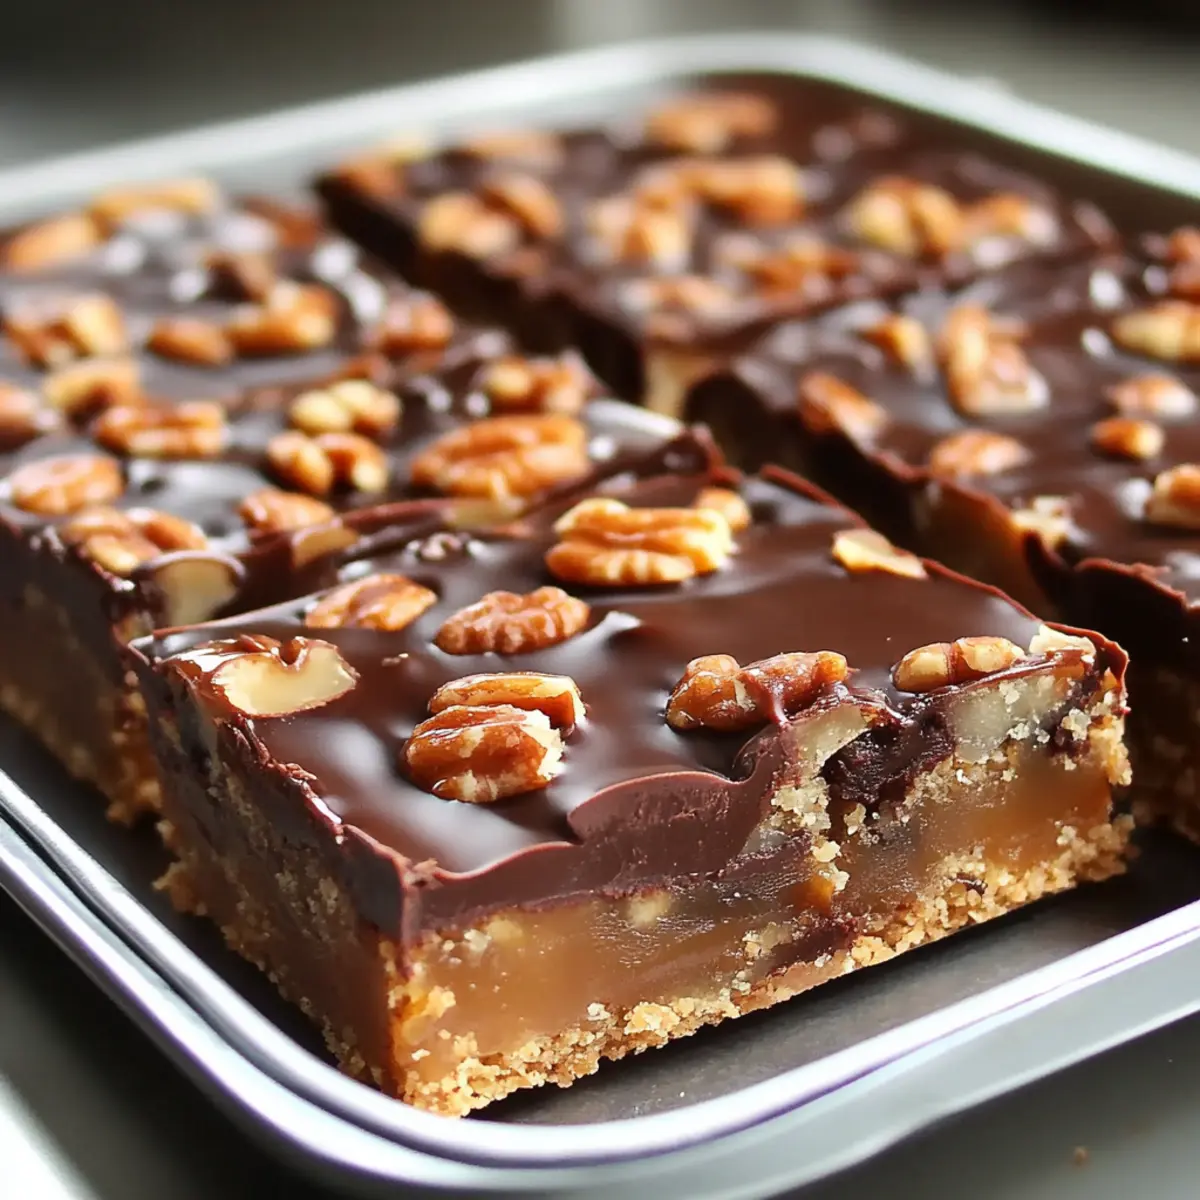
Allow the Easy Turtle Bars to cool at room temperature for about 1-2 hours, or until the layers have set firmly. This cooling stage is crucial for ensuring clean cuts when you slice the bars, enhancing the overall presentation and indulgent experience.
What to Serve with Easy Turtle Bars
Pair your dessert with delightful accompaniments that elevate your Turtle Bars experience to new heights!
-
Vanilla Ice Cream: The classic pairing of warm Turtle Bars with a scoop of creamy vanilla ice cream is a must-try. The coolness balances the sweetness perfectly.
-
Fresh Berries: Bright and tart, berries like strawberries or raspberries cut through the rich flavors, adding a refreshing touch to each bite.
-
Whipped Cream: A dollop of homemade whipped cream provides a light and airy contrast to the dense layers of chocolate and caramel, making each bite feel indulgent yet balanced.
-
Caramel Drizzle: Amplify the decadence by drizzling extra caramel sauce over your bars. This enhances both visual appeal and flavor, creating a mouthwatering treat.
-
Nutty Coffee: A warm cup of nutty coffee pairs excellently—especially with hints of chocolate and caramel. It awakens the palate and completes the dessert experience beautifully.
-
Chocolate Dipped Fruit: For a sophisticated addition, serve chocolate-dipped strawberries or bananas alongside your Turtle Bars. The fusion of flavors feels luxurious and indulgent!
-
Milkshake: Treat yourself to a rich milkshake, perhaps vanilla or salted caramel, to match the turtle theme. The thick shake complements the bars’ gooeyness splendidly.
-
Hazelnut Liqueur: Consider a small glass of hazelnut liqueur after dessert to enhance those nutty flavors in the bars while adding a delightful warmth to your evening.
Make Ahead Options
These Easy Turtle Bars are a fantastic choice for meal prep, making your life easier on busy weeknights! You can prepare the crust and caramel layer up to 24 hours in advance. Simply bake the crust and allow it to cool completely before storing it wrapped in plastic wrap to maintain its freshness. For the caramel, melt the caramels and mix in the pecans, then pour this mixture over the crust the next day before adding the chocolate topping. Just ensure the bars have enough time to cool and set before slicing; this way, you’ll enjoy delicious Turtle Bars that taste just as indulgent as if made fresh!
Expert Tips for Easy Turtle Bars
- Crust Crafting: Use cold butter, and mix it quickly with sugar and flour to ensure a crumbly texture without melting.
- Caramel Consistency: Stir constantly while melting the caramels to avoid burning and achieve that silky smooth filling crucial for your Turtle Bars.
- Cooling Time: Allow the bars to cool completely before cutting to get those neat, clean squares that make for a beautiful presentation.
- Flavor Enhancement: For added richness, consider substituting in dark chocolate instead of semi-sweet for a deeper flavor profile that pairs beautifully with the caramel.
- Make-Ahead Convenience: Prepare these bars a day in advance; they taste even better as the flavors meld overnight, making serving a breeze!
How to Store and Freeze Turtle Bars
Room Temperature: Store your Turtle Bars in an airtight container at room temperature for up to 5 days to keep them fresh and flavorful.
Fridge: If you want to extend their freshness, keep them in the fridge for up to 2 weeks in an airtight container. This will also help maintain the texture of the caramel layer.
Freezer: For long-term storage, wrap the bars tightly in plastic wrap and freeze for up to 3 months. Thaw in the fridge overnight before serving for the best flavor and texture.
Reheating: If you prefer them warm, gently reheat in the microwave for 10-15 seconds. Enjoy the indulgent experience of these Turtle Bars as if they were just made!
Turtle Bars Variations & Substitutions
Feel free to customize these Turtle Bars to suit your taste, dietary needs, or creative flair!
-
Nut-Free: Replace the pecans with sunflower seeds for a delightful crunch without the nuts.
Using sunflower seeds not only keeps it nut-free but adds a unique flavor twist that the whole family can enjoy. -
Dairy-Free: Use coconut oil instead of butter and dairy-free chocolate chips for a rich alternative.
This swap lets you savor the indulgent flavors while accommodating dairy sensitivities, making these bars enjoyable for everyone! -
Gluten-Free: Substitute all-purpose flour with a 1:1 gluten-free flour blend for the crust.
Gluten-free doesn’t have to mean flavorless—watch the bars turn out just as delicious but suitable for sensitive tummies. -
Spicy Sweet: Add a pinch of cayenne pepper to the caramel layer for a surprising kick.
The heat complements the sweetness of the caramel, creating a fabulous contrast that will leave your taste buds tingling. -
Decadent Drizzle: Top with a drizzle of caramel sauce for an extra layer of indulgence.
A little extra caramel can take those rich flavors and elevate them beyond your wildest dessert dreams! -
Flavored Chocolate: Experiment with flavored chocolate chips like sea salt dark chocolate or butterscotch for unique hints.
Each alternative packs a punch and can add an exciting flavor dimension to your classic Turtle Bars! -
Mixed Nuts: Try using a mix of nuts, such as macadamias and almonds, for different textures and flavors.
This nut combo will create a diverse bite every time, keeping things deliciously interesting.
Feel inspired to put your own spin on these Turtle Bars? Experimenting with flavors and textures can create memorable twists, making baking even more enjoyable. If you’re looking for another sweet treat to try, consider making some delightful Chocolate Chip Bars that are guaranteed to please!
Easy Turtle Bars Recipe FAQs
How do I know if my ingredients are ripe or good to use?
Absolutely! For the best results in your Turtle Bars, ensure your butter is softened but not melted, which can mess with the texture. The pecans should be fresh, without dark spots or an off smell. When selecting caramels, choose soft ones, as they melt better and blend perfectly with the pecans.
How should I store Turtle Bars for optimal freshness?
Great question! Store your Turtle Bars in an airtight container at room temperature for up to 5 days. If you’d like them to last longer, keep them in the fridge where they will stay fresh for up to 2 weeks. Just make sure to seal them well to prevent them from drying out!
Can I freeze Turtle Bars? How do I do it?
Yes, absolutely! To freeze, wrap the bars tightly in plastic wrap and then place the wrapped bars in an airtight container or freezer bag. These Turtle Bars can be frozen for up to 3 months. When you’re ready to enjoy them, simply thaw them overnight in the fridge for the best taste and texture.
What if my caramel layer isn’t smooth enough?
No worries! If your caramel layer isn’t as smooth as you’d like, you may have cooked the caramels too quickly. To fix this, return the mixture to low heat, add a splash of cream or milk, and stir continuously until it reaches a silky consistency. The key is to keep the heat low to avoid burning!
Are there any dietary considerations for this recipe?
Very much so! If someone has nut allergies, you can easily omit the pecans, or substitute them with seeds like sunflower seeds to maintain the crunch. For a dairy-free version, use margarine in place of butter and non-dairy chocolate chips. There’s always a way to accommodate dietary needs while still enjoying these delicious Turtle Bars!
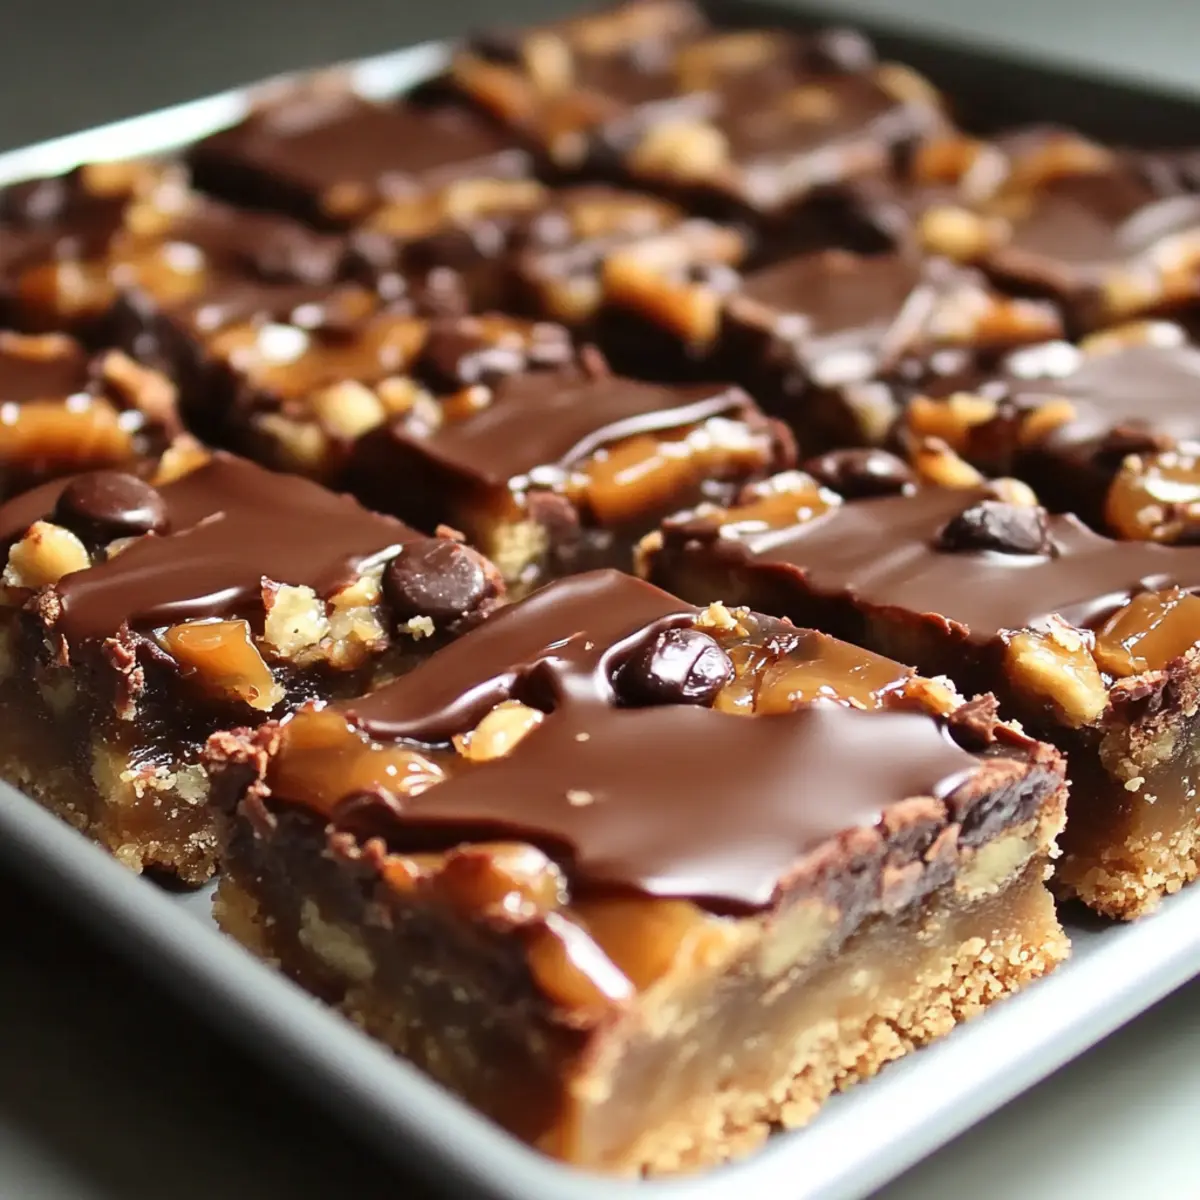
Delicious Turtle Bars: Your Indulgent Treat Made Easy
Ingredients
Equipment
Method
- Preheat your oven to 350°F (175°C) and grease a 9x13-inch baking pan.
- In a mixing bowl, blend together softened butter, granulated sugar, and all-purpose flour until crumbly. Press evenly into the bottom of the prepared pan.
- Bake for 15-20 minutes until lightly golden. Watch for edges to brown.
- While the crust bakes, unwrap and melt caramels in a saucepan over low heat, stirring continually. Mix in chopped pecans.
- Pour the caramel-pecan mixture over the baked crust.
- Melt chocolate chips in a microwave-safe bowl in 30-second intervals, stirring until smooth. Spread over the caramel layer.
- Allow to cool at room temperature for 1-2 hours until set.
Leave a Reply